You’ll love learning how to draw peonies with pencil! These gorgeous flowers are perfect for beginners because they have simple shapes you can conquer quickly. Start with basic heart-shaped petals and work your way up to more detailed blooms! Drawing peonies isn’t just relaxing—it’s a wonderful way to express yourself through art. Grab your pencil and paper, and let’s explore how these charming flowers can change your sketching skills! What beautiful peony creation will you make first?
35 Second-Level Headings for “25+ Easy Peony Flower Pencil Drawing Ideas for Beginners”
Creating the right headings for your peony drawing guide will make everything so much easier to follow! 🌸
You’ll want headings that break down the process into simple steps that flow naturally.
Make sure you include “Basic Petal Shapes” first!
Then add another section called “Overlapping Techniques.”
You’re going to draw beautiful peonies in no time with clear headings to guide you! 🖌️
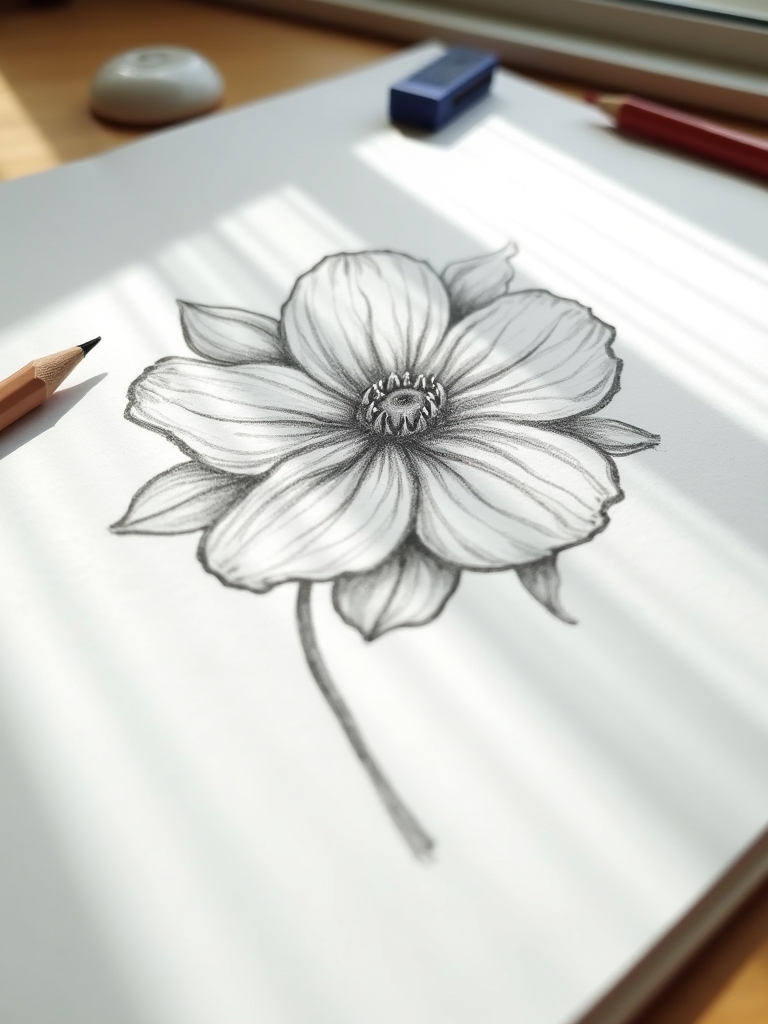
Simple Heart-Shaped Petal Technique
When you perfect the heart-shaped petal technique, your peony drawings will bloom with life! 🌸 The secret to this magical method starts with a simple heart shape that forms each beautiful petal.
I’m going to add a little bit of detail towards the top of each petal.
Try making bigger hearts for outer petals and overlap them for a charming, layered look! ✏️
Layered Peony Sketching for Depth
To create gorgeous depth in your peony drawings, you’ll need to perfect the art of layering! 🌸
Once you’ve drawn your flower’s center, add petals in different shapes and sizes around it.
Make some petals bigger and others smaller! Overlap them for a 3D look.
Your layered peony sketch will look incredible when you check the overall balance and adjust as needed.
Try heart and “C” shapes too! ✏️
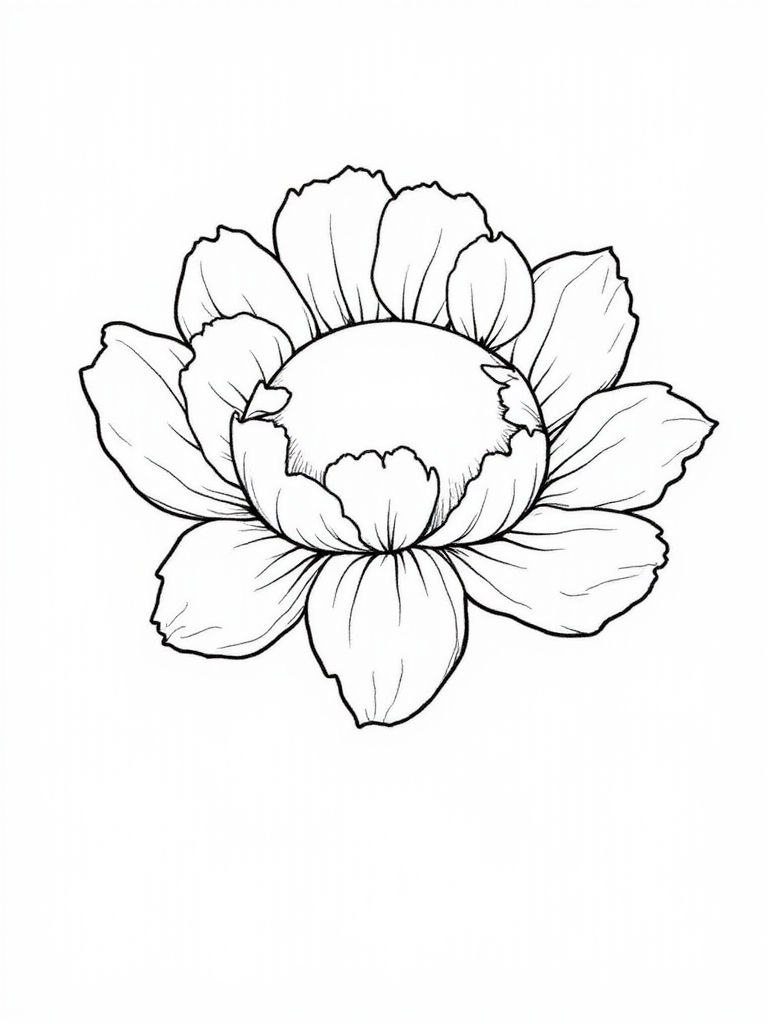
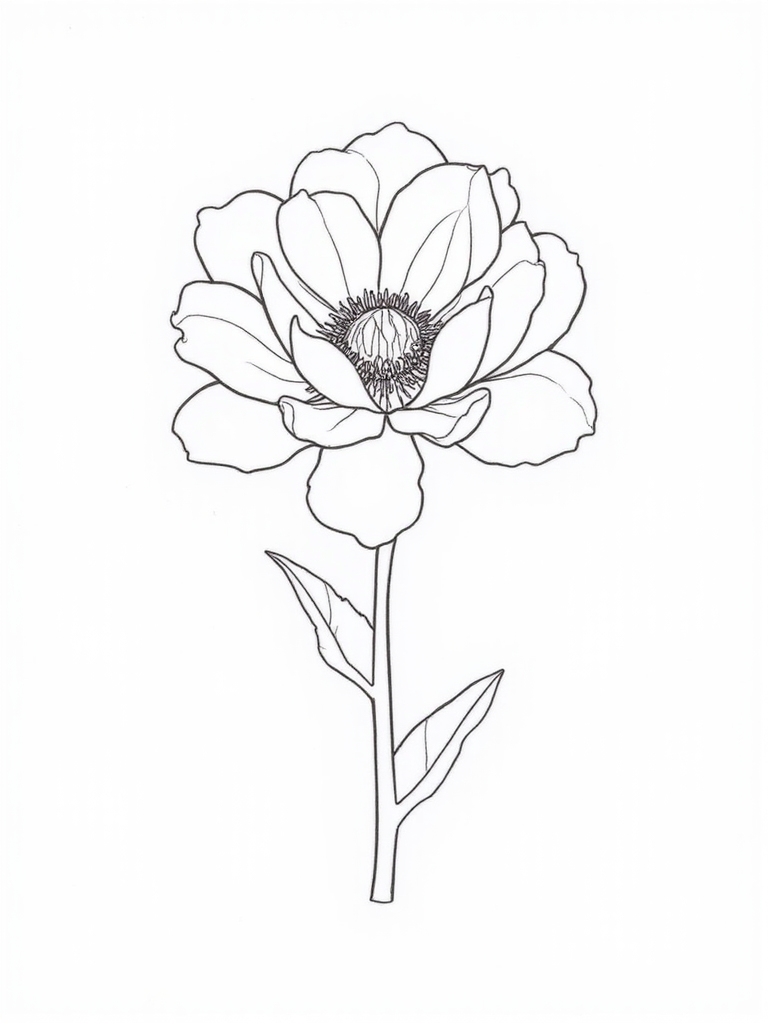
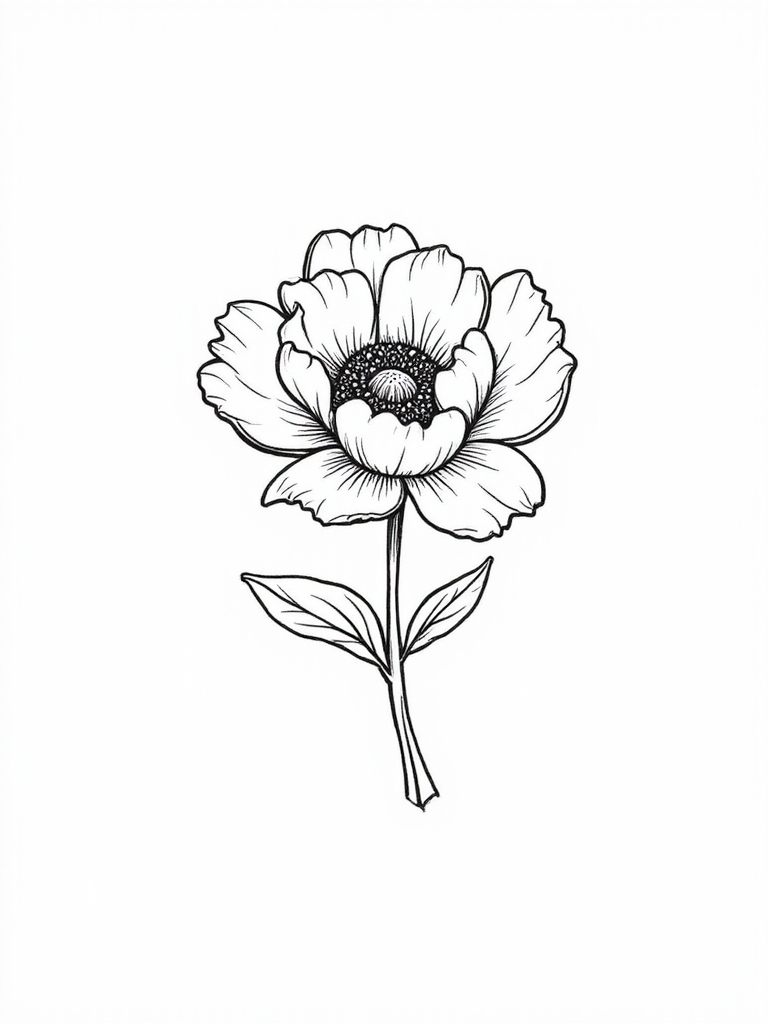
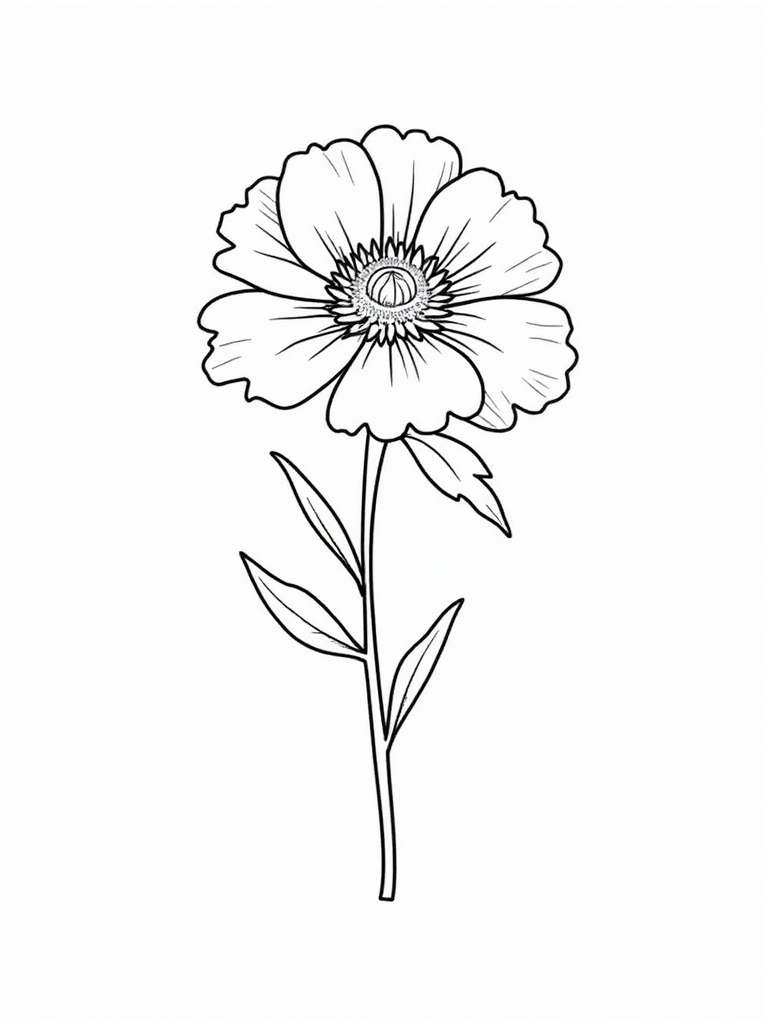
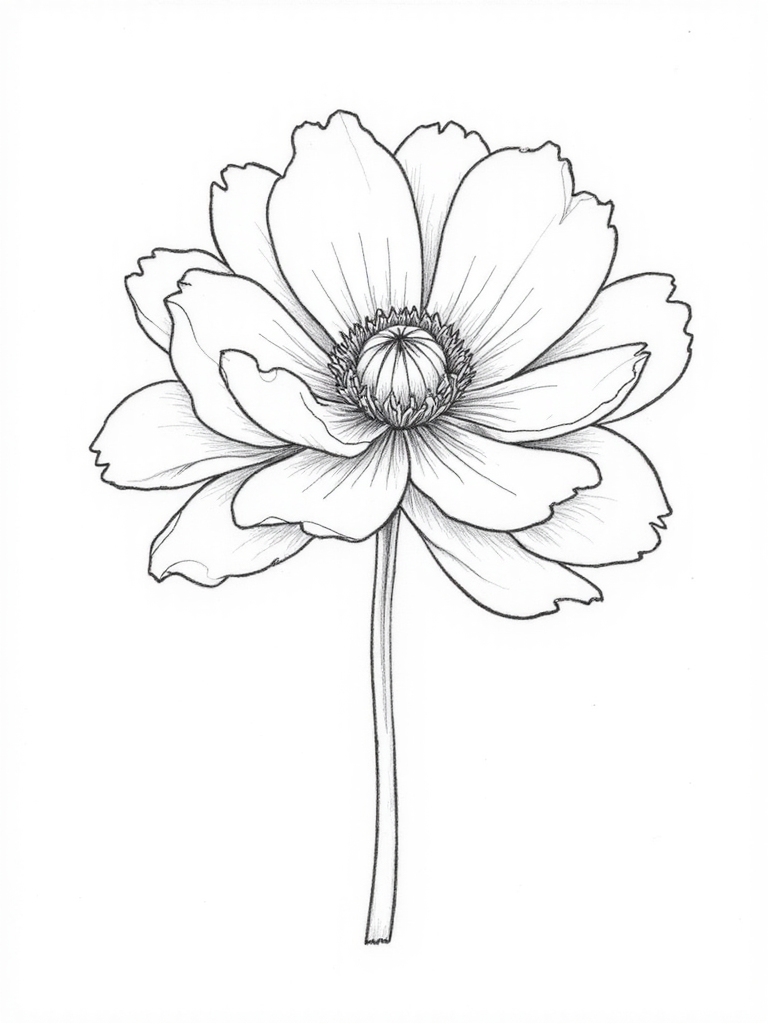
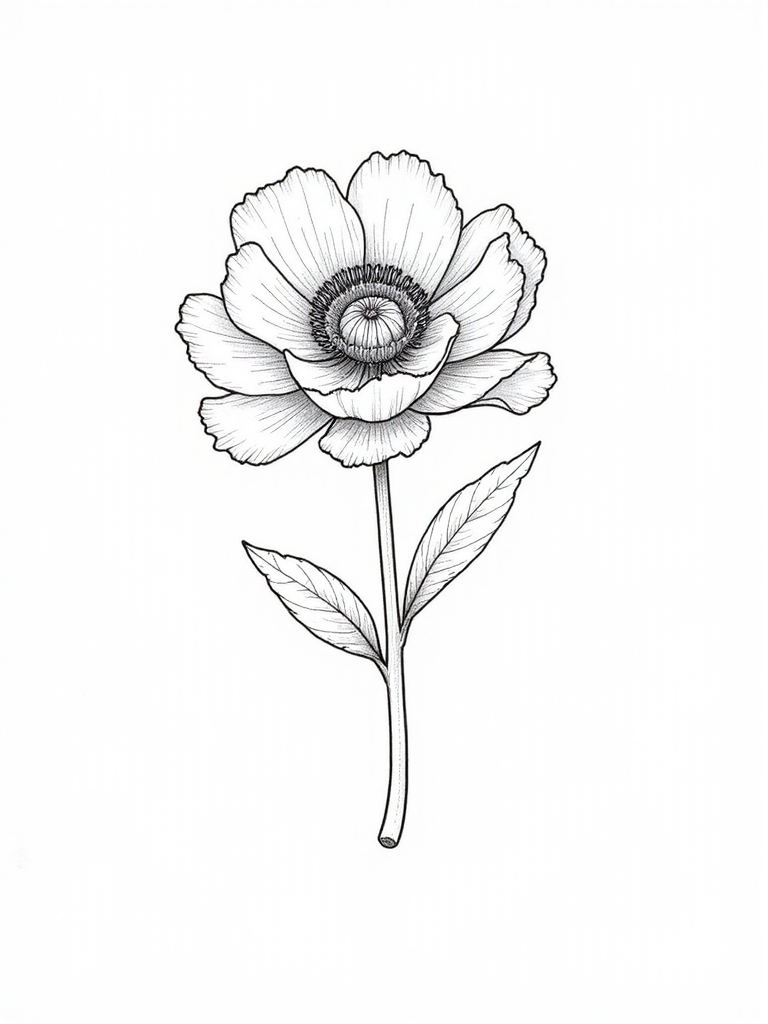
Single Peony With Detailed Center
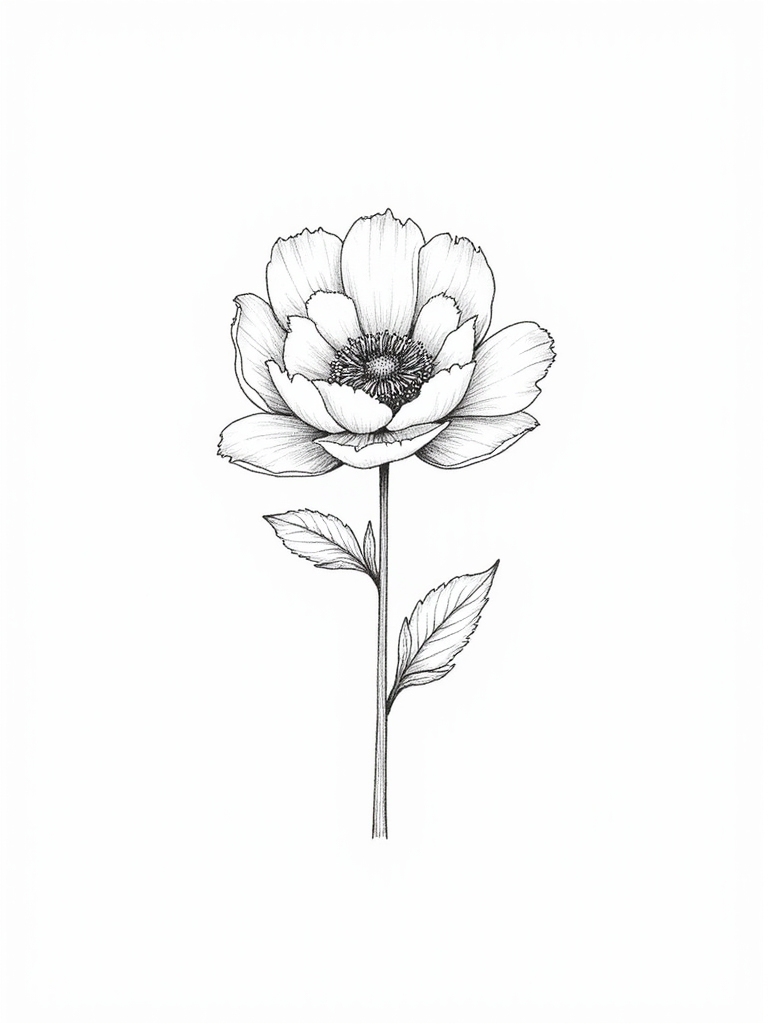
The detailed center of a single peony can convert your drawing from ordinary to remarkable! 🌺
Start with a small circle right in the middle of your paper – this becomes your peony’s beautiful core.
Now let’s connect curved petals around it! First draw small “C” shapes, then go back and add larger ones outside.
We’ll see remarkable depth when you shade the center darker! ✏️
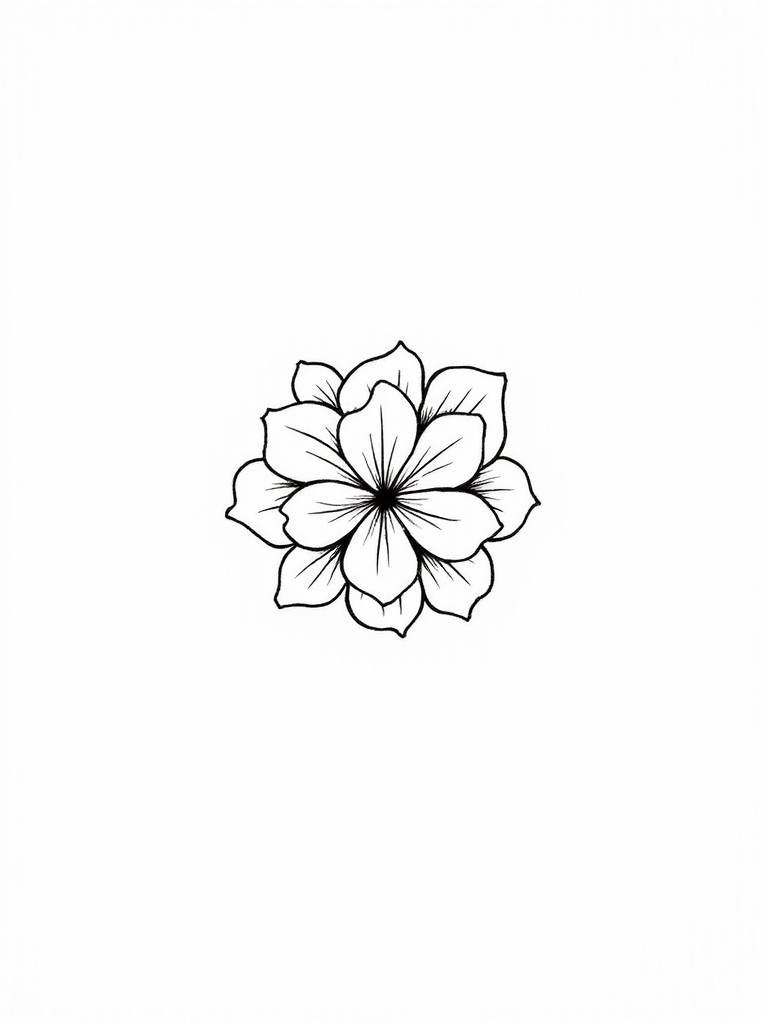
Minimalist Peony Outline Drawing

Creating a minimalist peony drawing starts with a simple heart shape in the center! ❤️
This heart becomes your foundation petal, giving your flower the perfect starting point.
Now you’re gonna add curved lines like backward ‘C’ shapes for more petals! Keep them evenly spaced around the center.
Right let’s finish with wavy leaf shapes! Your clean, light outline is ready for coloring! 🌸
C-Shaped Petal Formation Guide
Let’s reveal the magic of C-shaped petals for your peony drawings! 🌸
Those minimalist outlines you’ve practiced will now blossom into fuller, more realistic flowers through this simple technique.
Start with a heart-shaped “C” petal in the center. Add backward “C” shapes beside it for perfect petal symmetry!
Make outer petals bigger with beautiful color blending. Overlap them naturally—each peony carries charming floral symbolism through its unique shape! ✨
Peony Bouquet Arrangement Basics
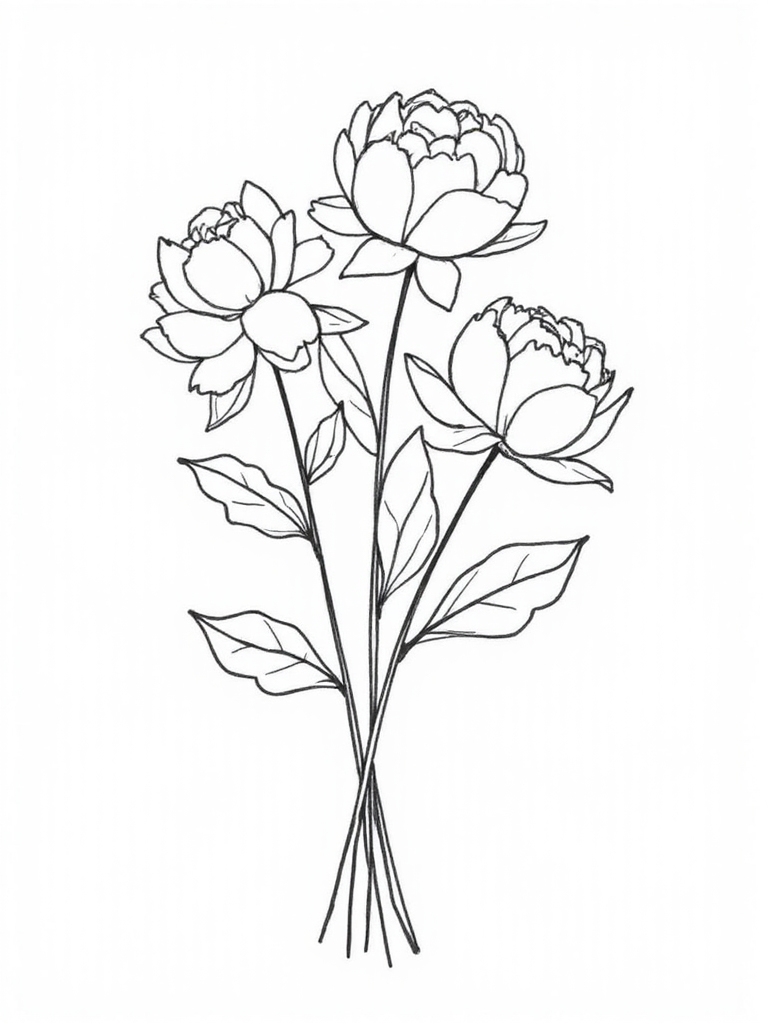
While you’ve perfected those beautiful C-shaped petals, designing a stunning peony bouquet brings your drawing skills to life! 🌸
You’ll want to start with various peony sizes and colors to create depth in your arrangement.
Draw your largest peonies in the center! Add smaller blooms around them for balance.
Try bouquet size variations to make your artwork lively! Include complementary flower choices like roses, and use greenery integration techniques for texture.
It’s magical! ✨
Peony Bud Development Stages

Now that you’ve perfected bouquet designs, understanding how peony buds grow will take your drawings to a whole new level! 🌸
The path of a peony bud tells a beautiful story on paper.
Capture peony growth in four magical stages:
- tight buds protected by leafy sepals,
- partially open buds showing floral anatomy,
- full blooms with lush petals,
- and charming fading blooms that show seasonal changes! 🌿
Two-Tone Shading for Realistic Petals

The magic of realistic peony petals comes alive through two-tone shading techniques that anyone can excel at! 🎨 Your petals will instantly change from flat shapes to dimensional beauties when you apply this simple method.
Start with a light pink base, then add darker red at the petal bottoms! 🌸 These color blending techniques create depth while petal layering strategies add charm.
Try different shading intensity variations by changing your pencil pressure! ✏️
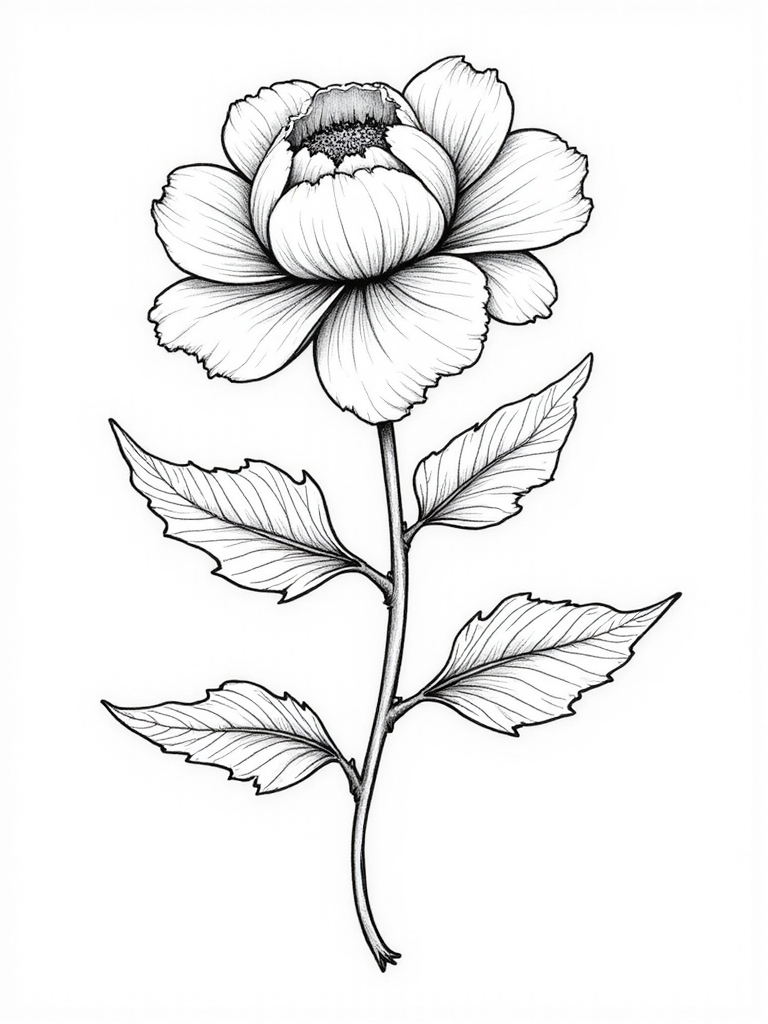
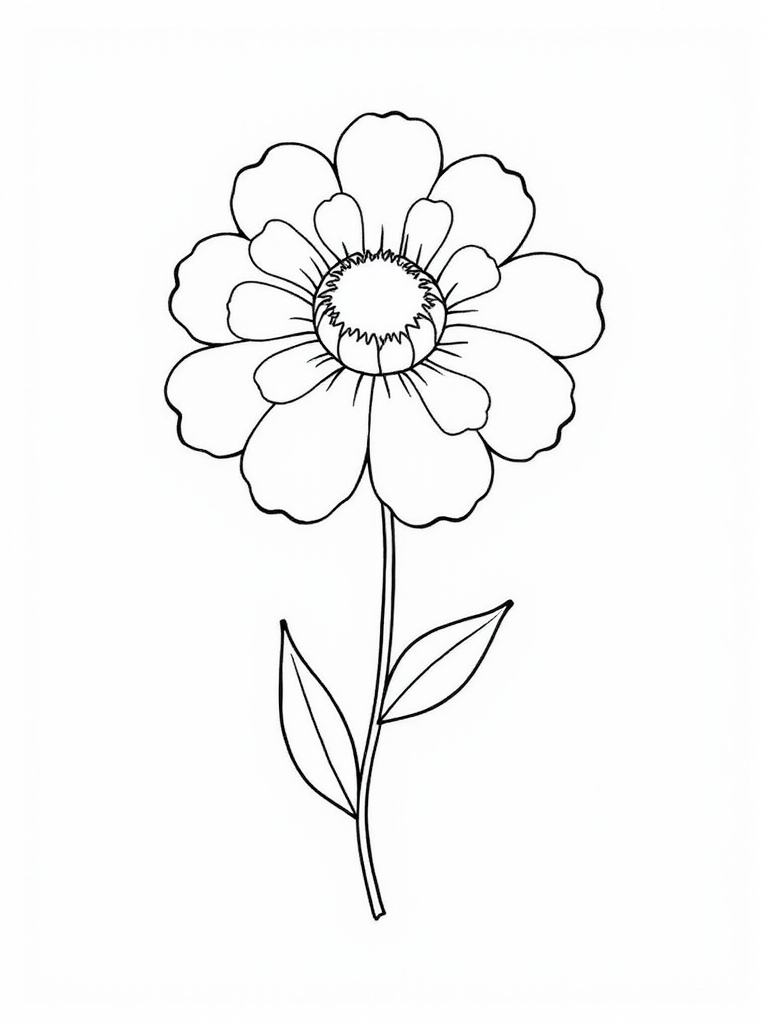
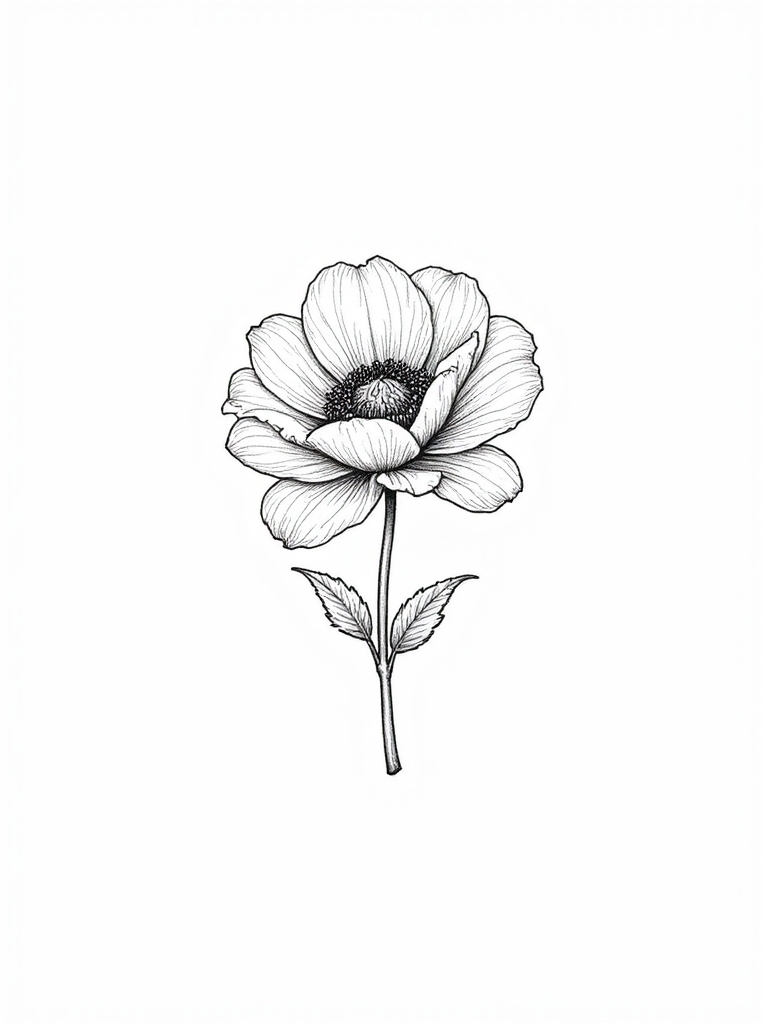
Peony and Leaves Composition
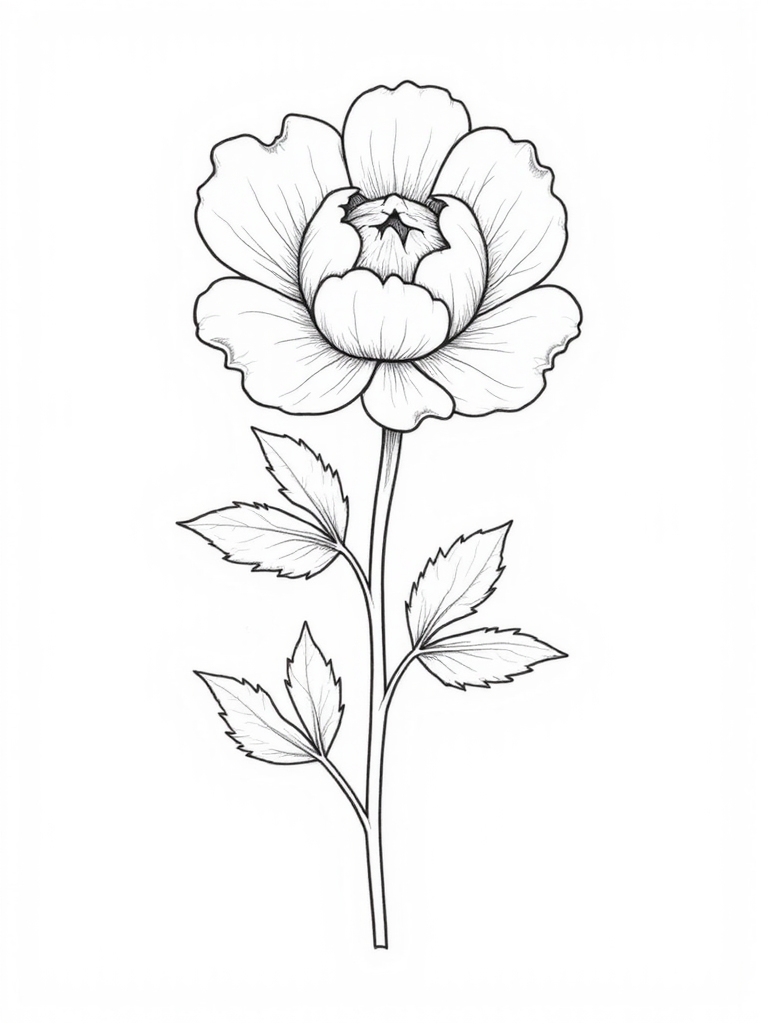
Moving from perfect petal shades to a full flower image, let’s bring your peony to life with its leafy friends! 🌿
Creating a beautiful peony composition starts at the center of your flower, where all the magic begins!
Add those heart-shaped petals around your center, then draw wavy stems with football-shaped leaves.
Throughout history, peonies symbolized prosperity and good fortune!
Different peony colors have special meanings too! 🌸
Overlapping Petal Method for Fullness
Creating beautiful peonies with impressive fullness requires perfecting the overlapping petal technique! 🌸
Start with the flower’s center, then add heart or ‘C’ shaped petals that overlap each other. Try backward ‘C’ shapes too for peony drawing variations!
Make your next row bigger and facing forward. Petal shape diversity creates depth – use different sizes for a natural look!
Add wavy, football-shaped leaves to complete your charming flower! ✏️
Wavy Leaf Texture Techniques
Five simple techniques will change your peony leaves from flat to incredible! 🌿
Start with flowing, football-shaped outlines that curve naturally at the edges.
Add gentle curves to create organic shapes that look real!
Draw short, curvy lines for veins. 🌿
Vary your pencil pressure for fantastic texture!
Finish with light green highlights over your dark base – your wavy leaf texture will pop! ✨
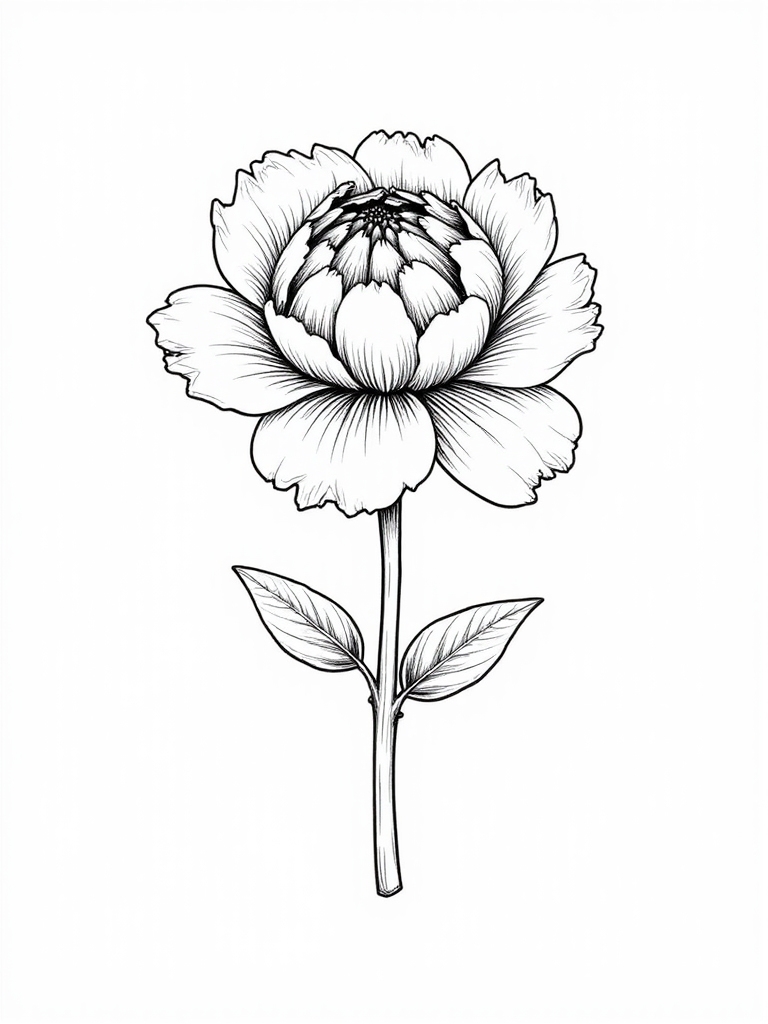
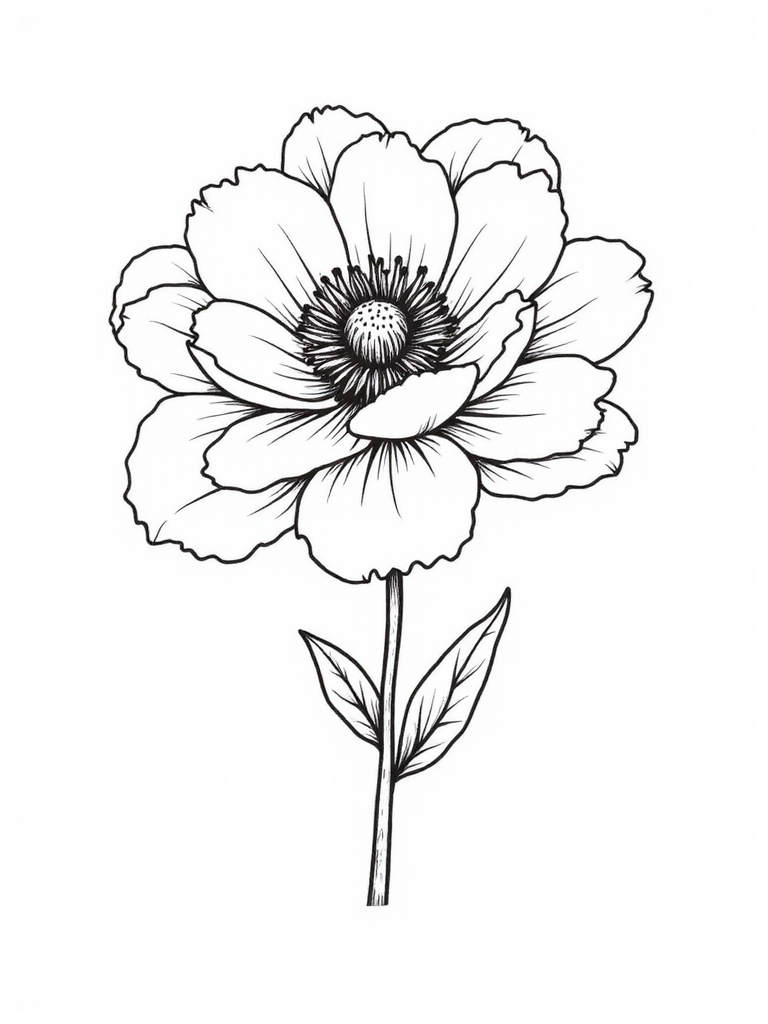
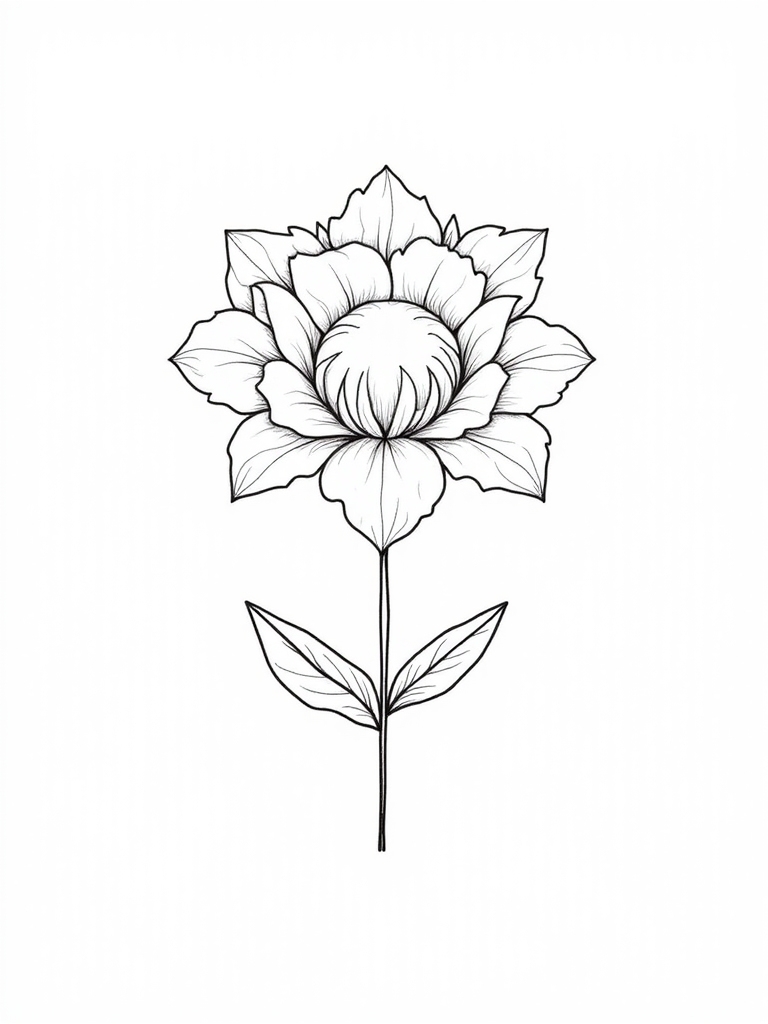
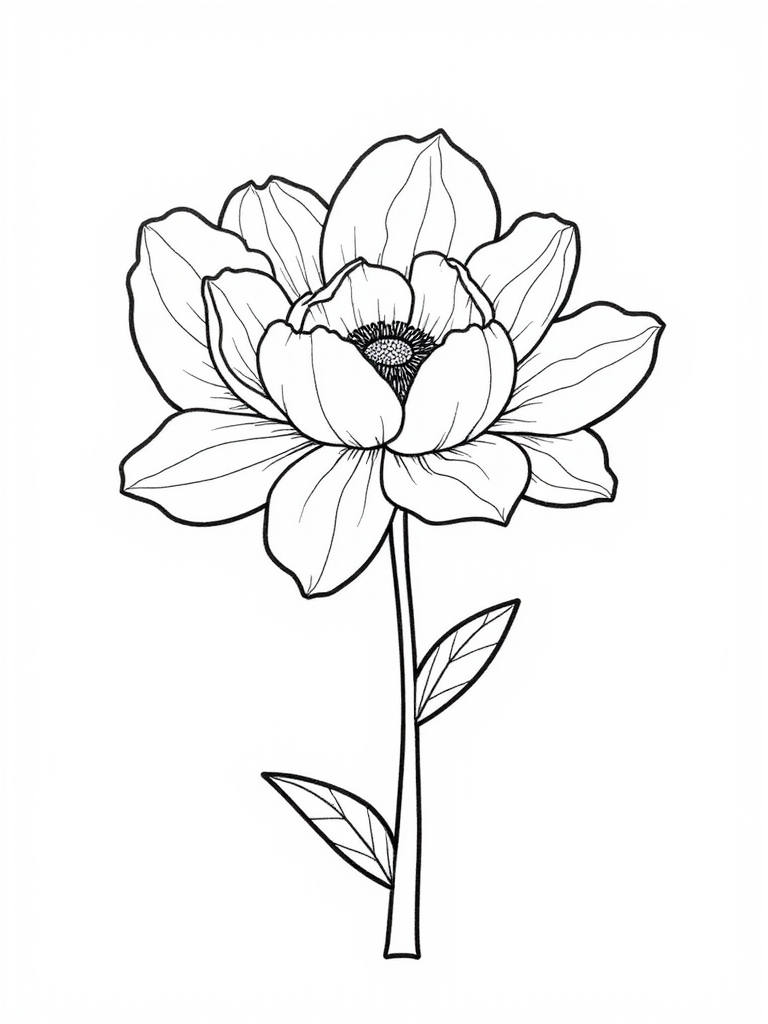
Peony in Full Bloom Drawing Guide
Now that you’ve become proficient with those incredible leaf textures, let’s grow the star of the show – a gorgeous peony in full bloom! 🌸 Your journey begins at the heart of the flower.
Sketch heart-shaped petals in layers, just like peony varieties showcase! Add bigger petals angling outward for depth.
Many peony symbolism meanings reflect this fullness. Don’t forget peony care tips – use pink coloring with red shading at the base for that magical 3D look! 😊
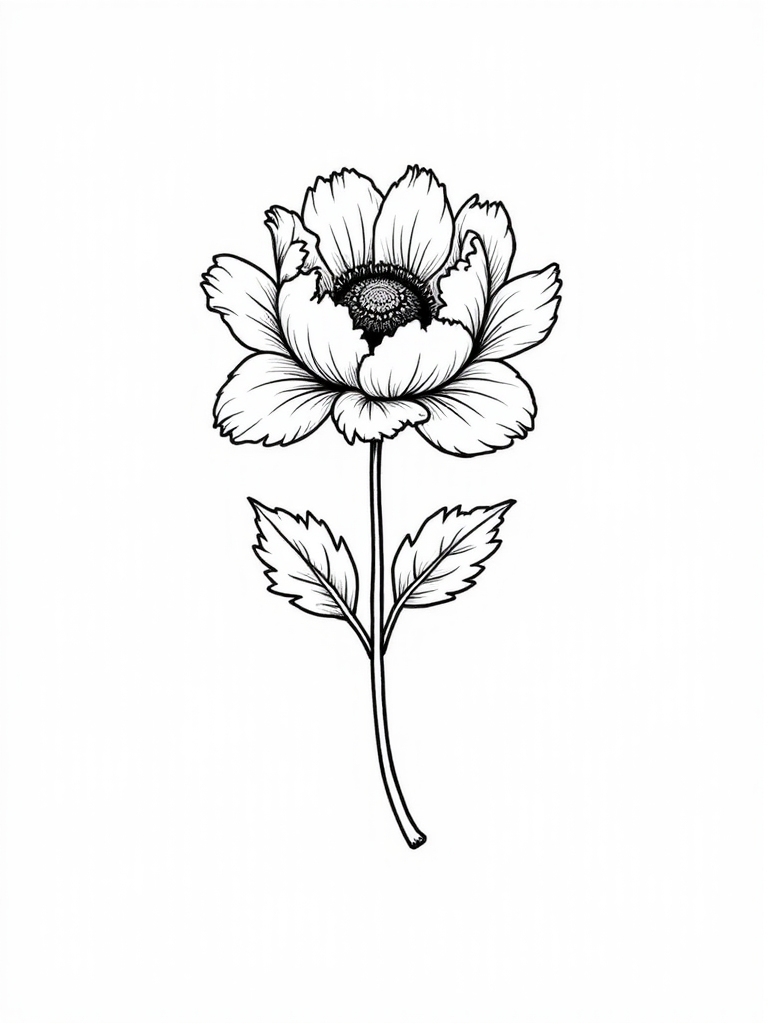
Side-View Peony Perspective
The side angle of a peony reveals its stunning profile, just like a beautiful face turning to show its best features! 🌸
Start with the flower’s center, then draw petals that curve and open outward like waves.
Create heart and ‘C’ shapes for overlapping petals!
Try different peony color variations from pink to crimson.
Use shading gradient methods with darker bases and lighter tips for magical depth! 😊
Peony Flower Crown Design
Creating a peony flower crown begins with sketching multiple blossoms in different sizes across your page! 🌸
You’ll want to include both fully bloomed and partially opened flowers to make your crown look natural and flowing.
Add wavy green leaves between your peonies!
Throughout history, flower crowns have symbolized joy and celebration! 😊
Today’s floral design trends love peony symbolism meanings of prosperity and beauty!
Pink to Red Gradient Coloring
When you’re ready to make your peony drawing truly enchanting, pink to red gradient coloring will bring it to life! 🌸 Start by pressing firmly with your red pencil at the base of each petal, then gradually lighten your touch as you move outward!
For perfect gradient blending techniques, add dark browns where petals overlap!
Color saturation tips: pencil pressure effects create remarkable depth! 😊
Botanical Peony Study With Labels

If you’ve perfected coloring techniques, botanical peony studies with proper labels will take your artwork to the next level! 🌺 Your drawings become both beautiful and educational when you carefully label each part of the flower!
Show peony growth by labeling leaves, stems, and roots! Include peony colors from soft pinks to deep reds.
Don’t forget to note peony symbolism – they represent prosperity and good fortune! ✨
Single-Line Peony Art Technique
One continuous line is all you need to create a stunning peony drawing! 🌸 The single-line technique brings incredible fluidity to your artwork while keeping your pencil on the paper from start to finish.
Begin at the center and flow outward, creating heart shapes for petals.
Play with line thickness variations for depth! The continuous line flow encourages artistic spontaneity and makes each peony uniquely yours! ✏️
Peony Field Landscape Drawing
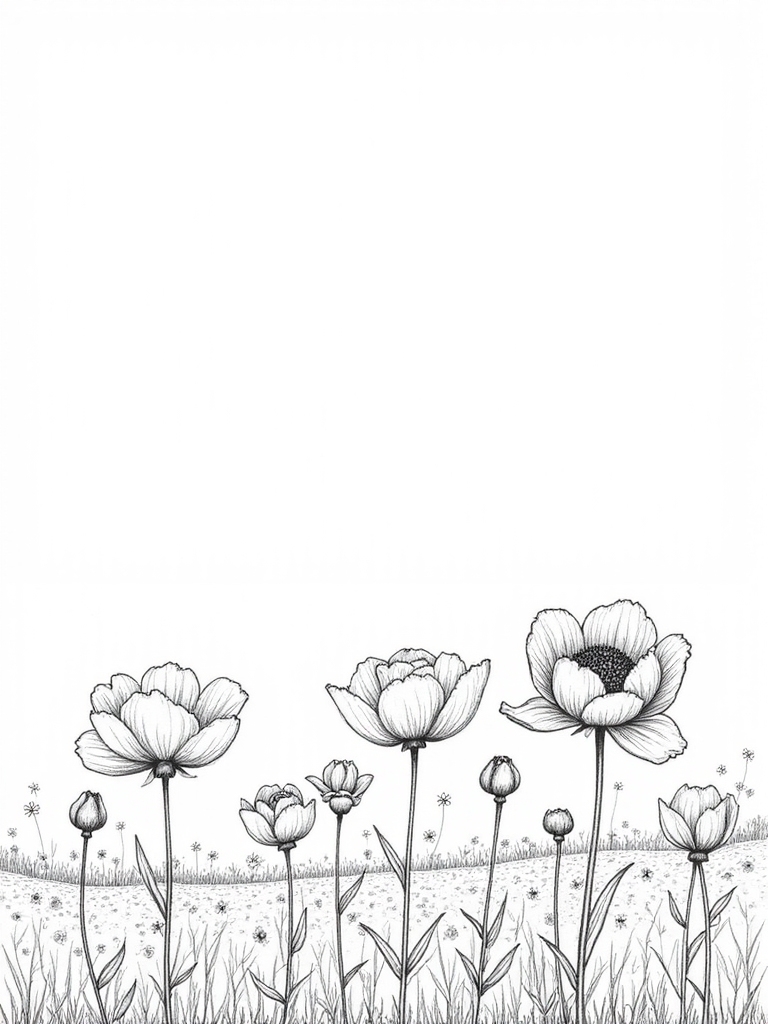
Let’s expand our peony artwork from a single flower to a breathtaking scenery! 🌸 Creating a peony field drawing brings your floral art to life with depth and beauty.
Start with your horizon line, then add peonies in different sizes! The pink varieties symbolize romance and prosperity. 🌿
Remember proper peony flower care includes sunshine, which you can show in your cheerful sky background!
Seasonal Peony Growth Illustration
Capturing the magical life cycle of peonies through art tells a beautiful story of nature’s rhythm! 🌱
Your seasonal peony growth illustration can showcase these gorgeous flowers from their first spring shoots to full summer blooms to fall dormancy.
Draw the tender shoots in April, charming buds in May, and stunning flowers in June! 🌸
Don’t forget seasonal peony care tips and peony growth timeline markers in your artwork!
Peony and Butterfly Companion Drawing
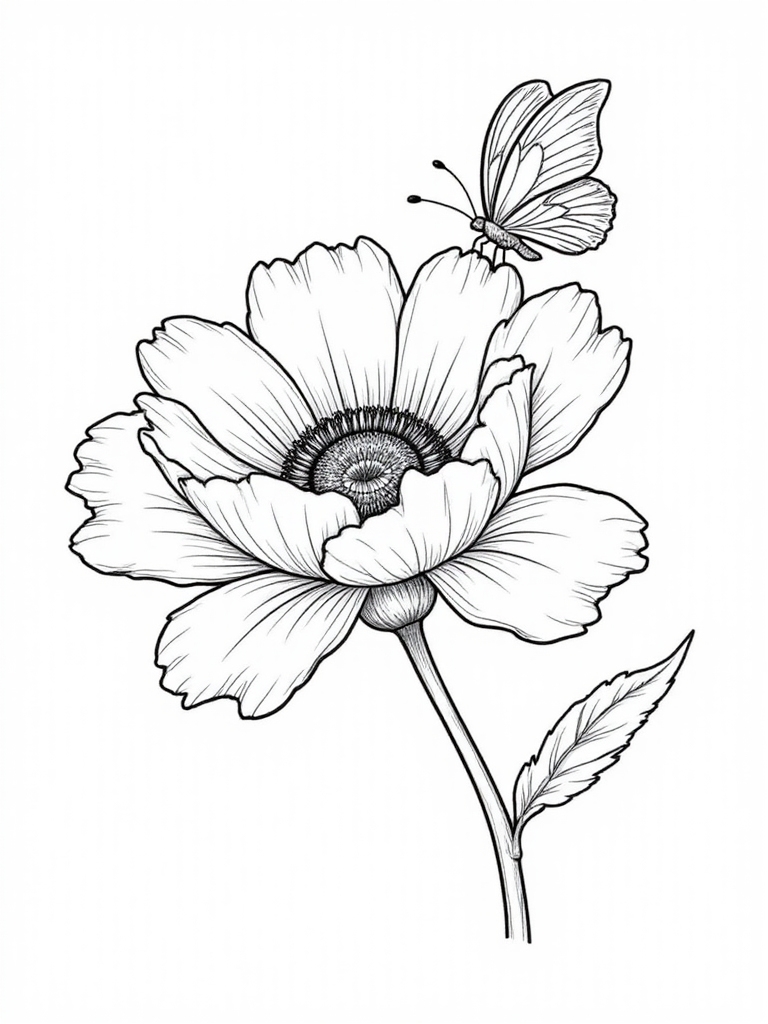
When peonies bloom in your garden, they attract beautiful butterflies that dance around their petals! 🦋 Your peony and butterfly drawing can capture this magical partnership that happens in nature.
Start with the peony’s center, then add varied petals.
Draw butterfly anatomy using simple shapes! Apply color theory by using pink for flowers and bright blues for butterflies.
Use composition techniques like overlapping leaves for depth! Shade gently for a charming 3D effect! ✨
Peony in Watercolor Pencil Style
Watercolor pencils create a magical effect for your peony drawings that’s simply breathtaking! 🌸
You’ll love how these special pencils blend colors together just like real paint, but with more control over your flower details.
Start with a light pencil outline of your peony’s heart-shaped petals.
Apply pink colors first, then add darker reds using watercolor blending techniques! 💦
Wet your brush and watch the petal color theory come alive!
Vintage Botanical Peony Illustration

Looking back in time brings us to another beautiful way to capture peonies – the vintage botanical illustration style! 🌺
Unlike watercolor pencils, these classical drawings showcase your peony with scientific precision and old-world charm.
Try using vintage illustration techniques like stippling and cross-hatching to create depth!
Botanical art history teaches us to use soft pinks and greens.
Don’t forget to add peony symbolism meanings for extra charm! ✨
Peony Corner Border Design
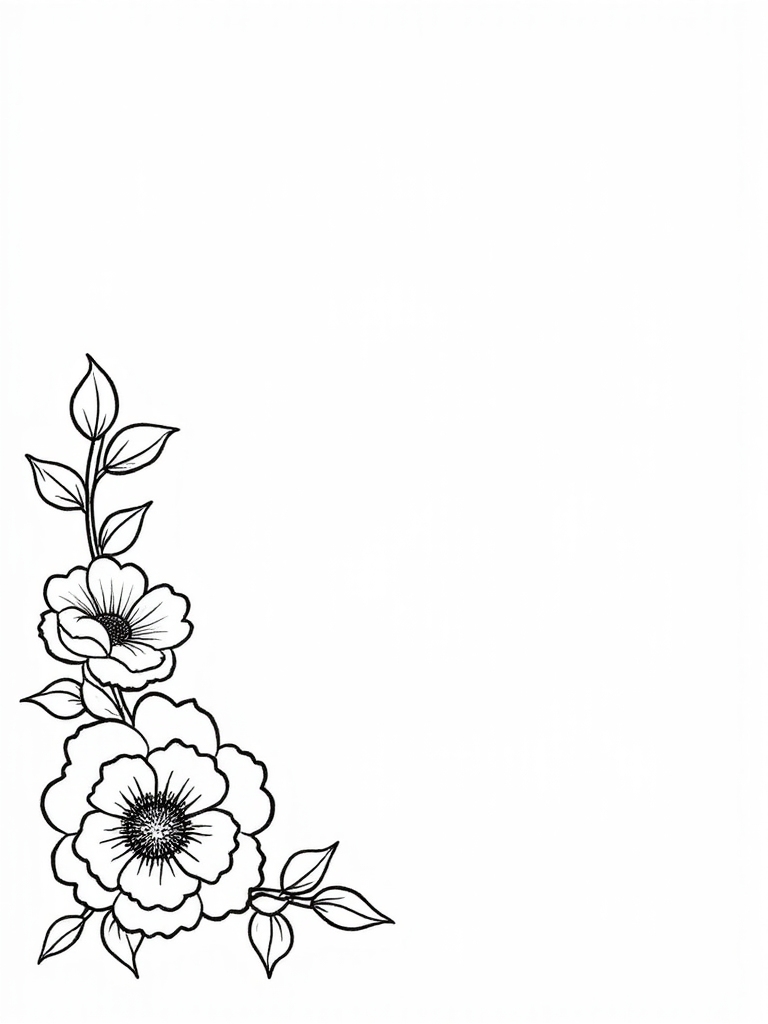
Creating a corner border with peonies changes any plain page into a magical garden frame! 🌸
Start by sketching a cluster of overlapping peony flowers in one corner of your paper.
Add wavy leaves for movement, and try different petal shapes like hearts or “C” forms!
Use pink and red peony color combinations that symbolize romance and good fortune! 💕
Lively greens make your charming design pop!
Textured Petal Surface Techniques
Now that you’ve framed your page with beautiful corner designs, let’s bring your peony petals to life with incredible textures! 🌸
The magic of peonies happens when your petals look real enough to touch!
Start with petal layering methods using light pink, then add darker shades.
Try color blending techniques with your fingers for smooth shifts!
Use small circles and shading variations exploration to create magical, realistic petals! 🖌️✨
Stylized Geometric Peony Shapes
While traditional peonies showcase flowing curves, geometric peonies convert this delicate flower into bold, structured designs anyone can draw! 🌸
Let’s break down these beautiful blooms into simple shapes that pop off the page!
Start with a center circle, then add triangle-like petals around it. Your geometric petal arrangement will look fantastic with negative space incorporation between shapes!
Try color contrast techniques for extra pop! ✨
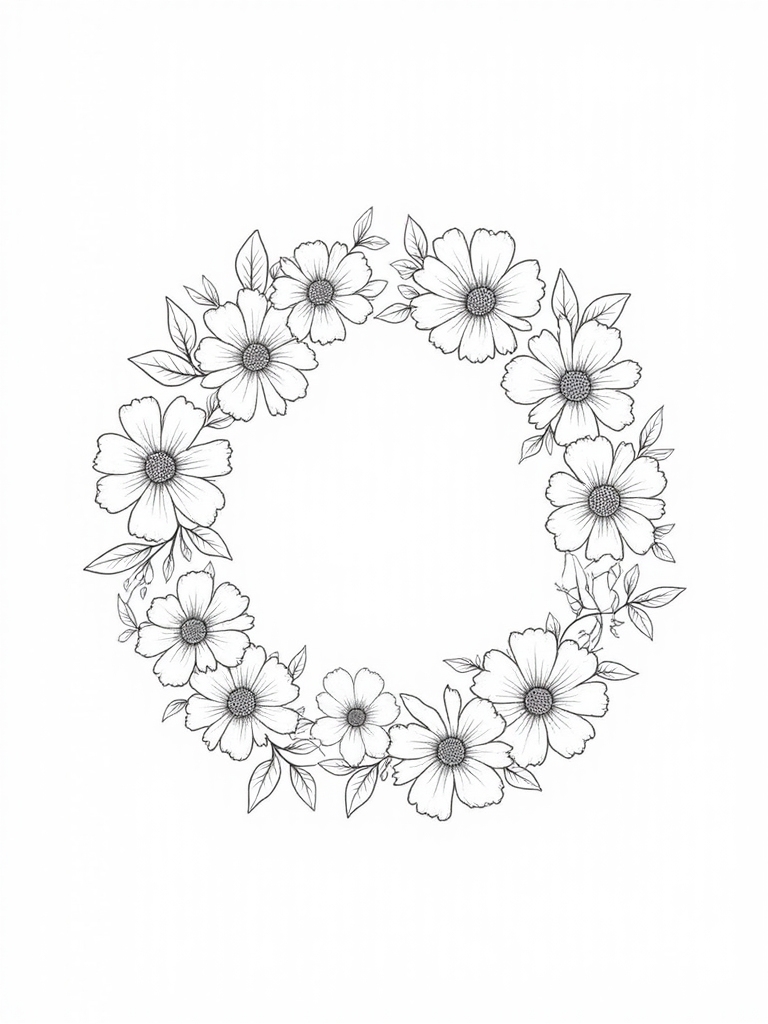
Peony Wreath Pattern Creation
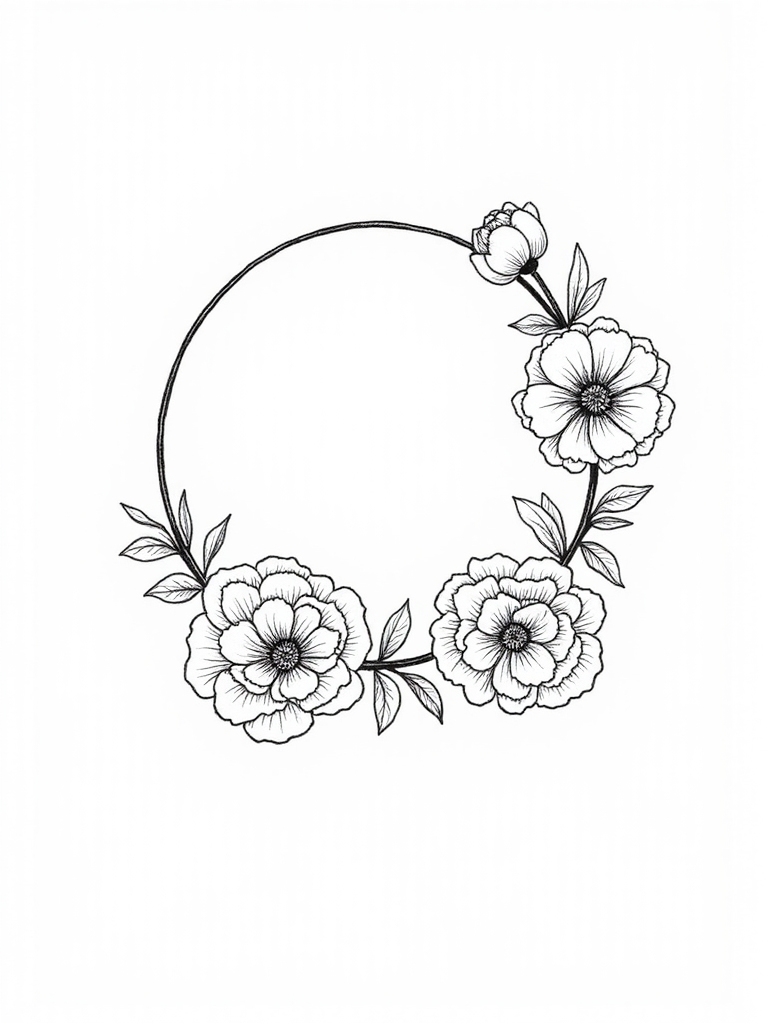
When you’re ready to create something truly spectacular, a peony wreath pattern brings garden beauty to your artwork! 🌸 The magic starts with a simple circle that will change into a gorgeous floral display!
Use basic sketching basics to add heart-shaped petals around your wreath. Mix different-sized flowers and wavy leaves for charming floral composition tips!
Light and Shadow Play on Petals
The magic of peony drawing truly comes alive as you uncover how light and shadow dance across delicate petals! 🌸
Creating depth isn’t hard at all – just start with darker shades at the bottom where petals overlap, then blend into lighter colors toward the tips!
For perfect petal texture, try small circular strokes!
Proper shadow placement creates that wow factor, while varying light intensity makes your flowers pop! ✨
Decorative Peony Pattern Development
Creating gorgeous peony patterns starts with sketching flowers in different sizes! 🌸
You’ll love how your page changes as you arrange peonies facing various directions – some big, some small, some opening, others in full bloom!
Try different petal texture variations using heart and ‘C’ shapes.
Experiment with leaf arrangement techniques that flow beautifully!
Mix charming peony color combinations like pinks with green leaves for magical results! ✨
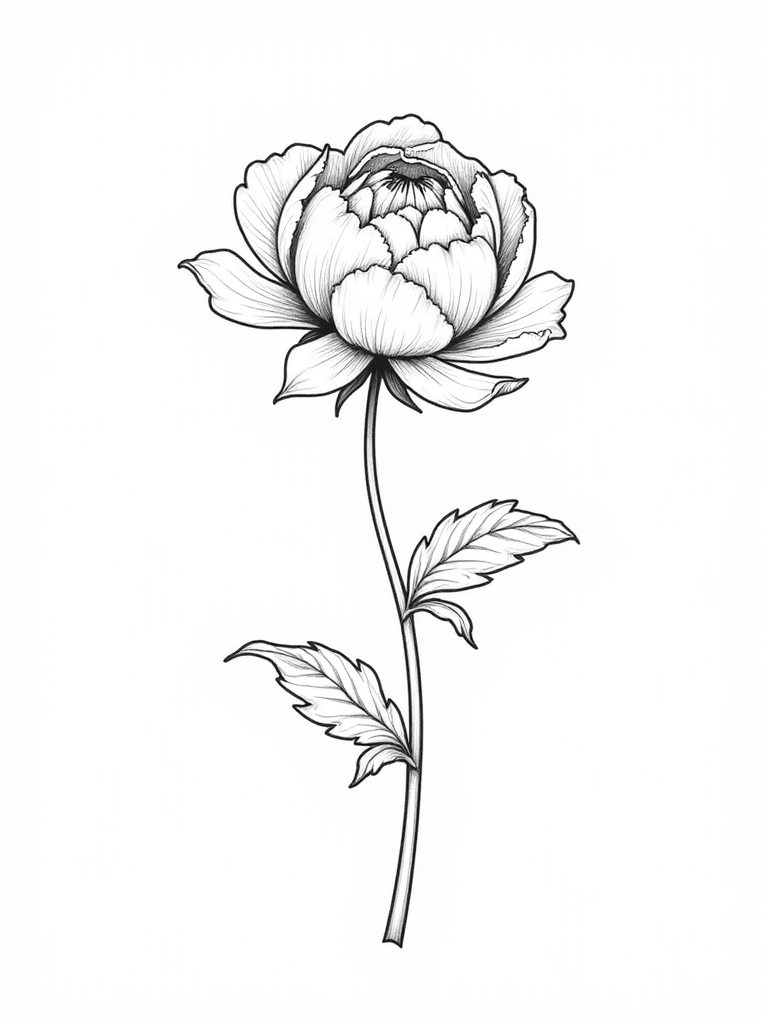
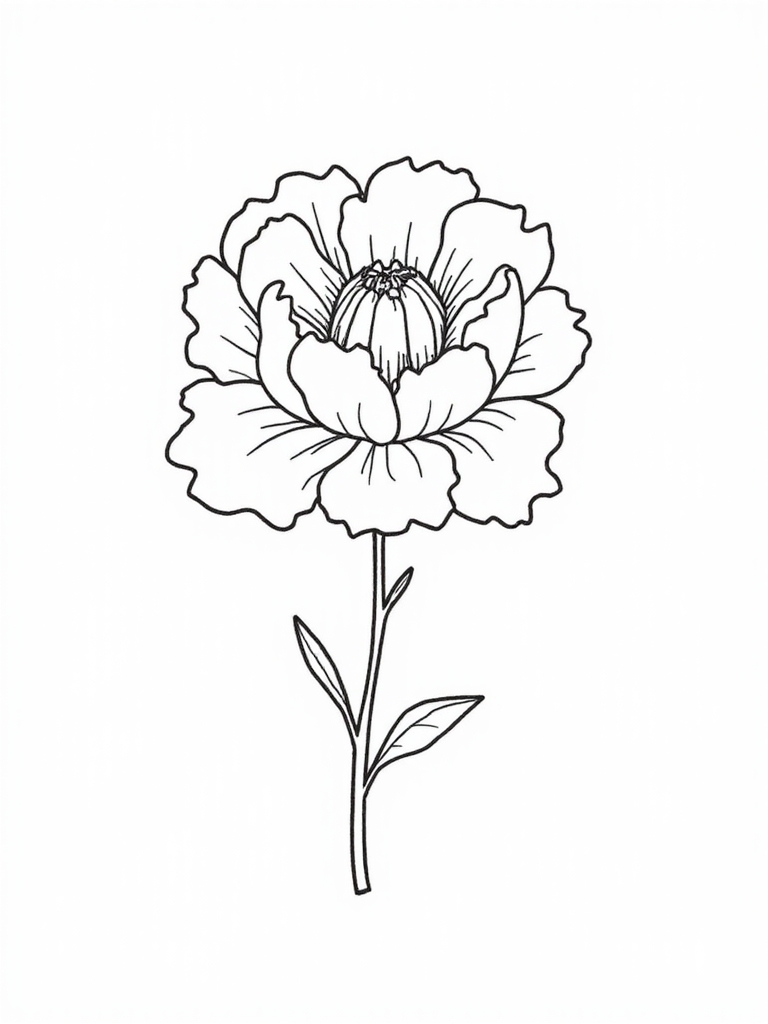
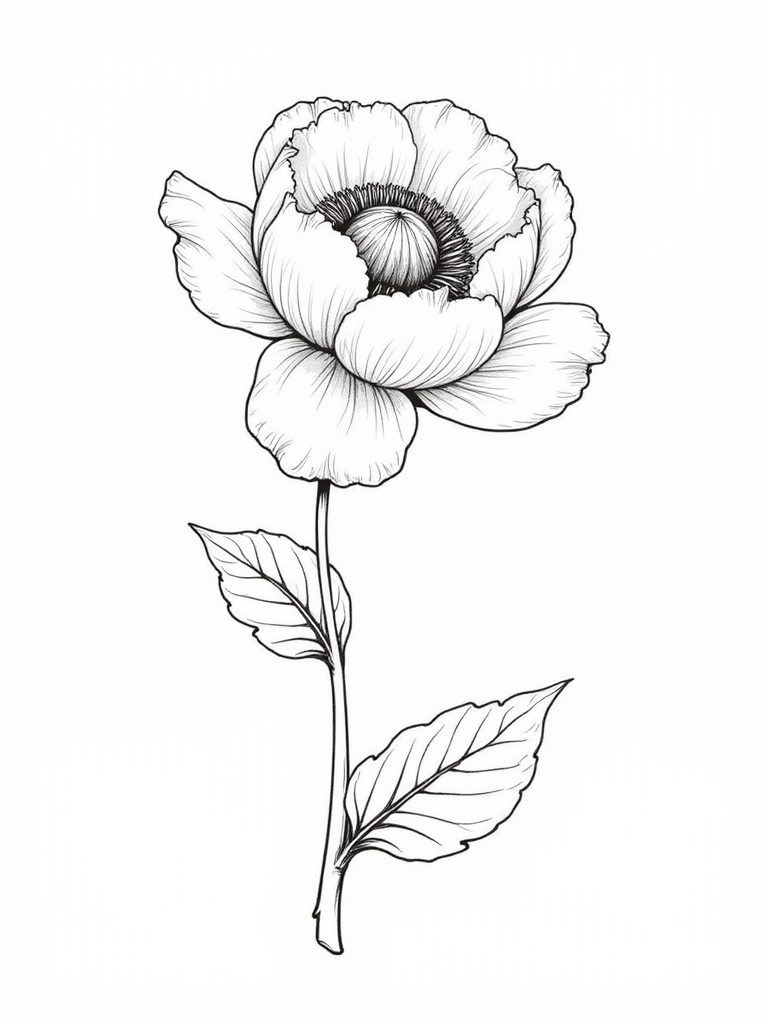
Half-Bloomed Peony Capturing Technique
Capturing a half-bloomed peony‘s special beauty starts with a simple circle in the middle! 🌺
You’ll begin by drawing this central bud, then add heart-shaped petals that curl outward like little ‘C’ shapes.
Layer larger petals around your bud to create that magical half bloomed elegance! 🖌️
Don’t forget petal layering with slight overlaps, and careful bud detailing shows the charming shift between closed and open parts!
Peony Stem and Thorns Detail Work
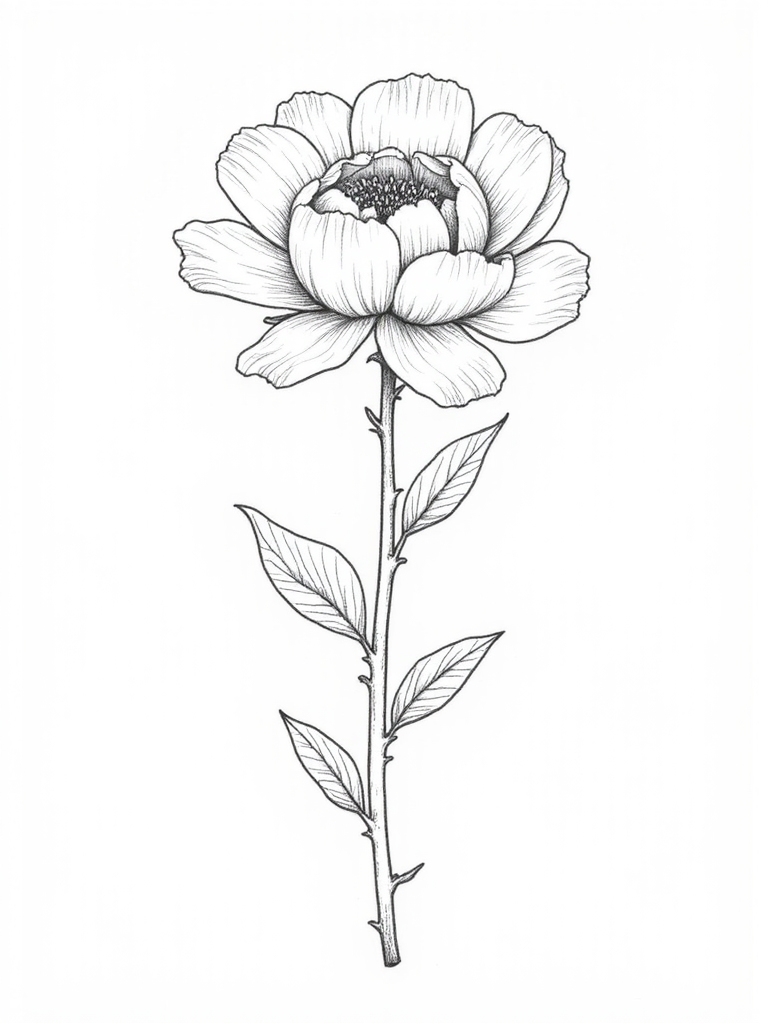
Perfect peony stems bring your flower drawing to life with strong, graceful support! 🌿
Draw a single straight line from the flower base, making it slightly thicker at the bottom for that natural look.
Add gentle stem curves for a more realistic feel! 🌸
Scatter tiny thorns along the sides with irregular thorn placement. Don’t forget to shade them darker and add texture lines for a charming peony leaf connection!
Monochromatic Peony Shading Exercise

Now that your beautiful stem is complete, let’s investigate the magical world of monochromatic peony shading! 🎨
A monochromatic drawing uses just one color to create an extraordinary flower. Choose one lovely color like pink!
Apply light pressure first, then press harder for darker areas. This pencil pressure variation creates depth!
Try color blending methods by smoothing shifts with a white pencil. Monochromatic shading techniques make your peony look real and dimensional! ✨
Peony Flower Cross-Section View
Three fascinating layers make up a peony’s cross-section view!
Start with a circle in the middle where the peony anatomy exploration begins. Add heart-shaped petals in layers around it! 🌸
You can show petal color variations from light pink to deep red.
Did you know historical peony symbolism connects to good fortune?
Drawing cross-sections helps you see the magical inside of this charming flower!
Eastern-Inspired Peony Art Style
Graceful brush strokes bring Eastern-inspired peony drawings to life with magical charm!
You’ll love exploring peony symbolism through simple, flowing lines. 🌸
Try brush stroke techniques with just a few colors for sophisticated results!
Create harmonious composition observations by balancing your peony with bamboo or calligraphy.
Eastern art celebrates the flower’s beauty and good fortune meaning! ✨
Conclusion
You’ve done it! 🎨 With these peony drawing ideas, you’re now ready to create beautiful flower art all on your own. Don’t worry about making mistakes – they’re part of learning! Keep practicing your petals, shading, and details to watch your skills bloom. Remember, every artist starts somewhere, and your peony drawings will get better each time you try. Happy drawing! 🌸