Are you ready to start your rose drawing expedition? 🌹 You don’t need fancy supplies or years of practice to create beautiful roses on paper! These 30+ easy rose drawing ideas will help you learn step by step. From simple outlines to pretty bouquets, you’ll find projects that match your skill level. Drawing roses isn’t just fun—it’s relaxing too! Grab your pencil and watch as your first rose takes shape. What kind of rose will you try first?
Try drawing roses from different angles to build your skills. Remember, every petal gets you closer to a beautiful drawing! 💐
The Symbolic Meaning Behind Rose Drawings
Every rose you draw tells a special story beyond just pretty petals! 🌹 Roses have deep meanings that go back thousands of years to ancient Greek and Roman times.
When you add different rose colors to your art, you’re using the magical language of flowers! Red means passionate love, while white shows purity. Your drawings carry these beautiful symbolic meanings that people have cherished for centuries! ✨
Essential Materials for Beginner Rose Artists
Now that you understand rose symbolism, let’s investigate what you’ll need to start drawing these beautiful flowers! 🎨 To create your own rose artworks, you’ll want to gather a few simple supplies.
You’ll need three basic drawing pencils (HB, 2B, and 4B), a nice sketchbook, and a kneaded eraser. Make sure your pencils are sharp! With these magic tools, you’ll capture every lovely rose detail. Practice makes perfect! ✏️
Setting Up Your Drawing Space for Success
Find a stable drawing surface like a desk or board for better control. Your pencil grip should be comfortable but not too tight!
Remember to sit up straight and relax your shoulders while creating your beautiful roses! ✏️
Basic Rose Anatomy Every Artist Should Know
Roses have five petal arrangements that spiral around the center! Drawing flowers starts with understanding these curvy lines of petals.
The center holds stamens and pistils – so important! Don’t forget the calyx with protective sepals at the bottom and those thorny stems to complete your charming rose! ✏️
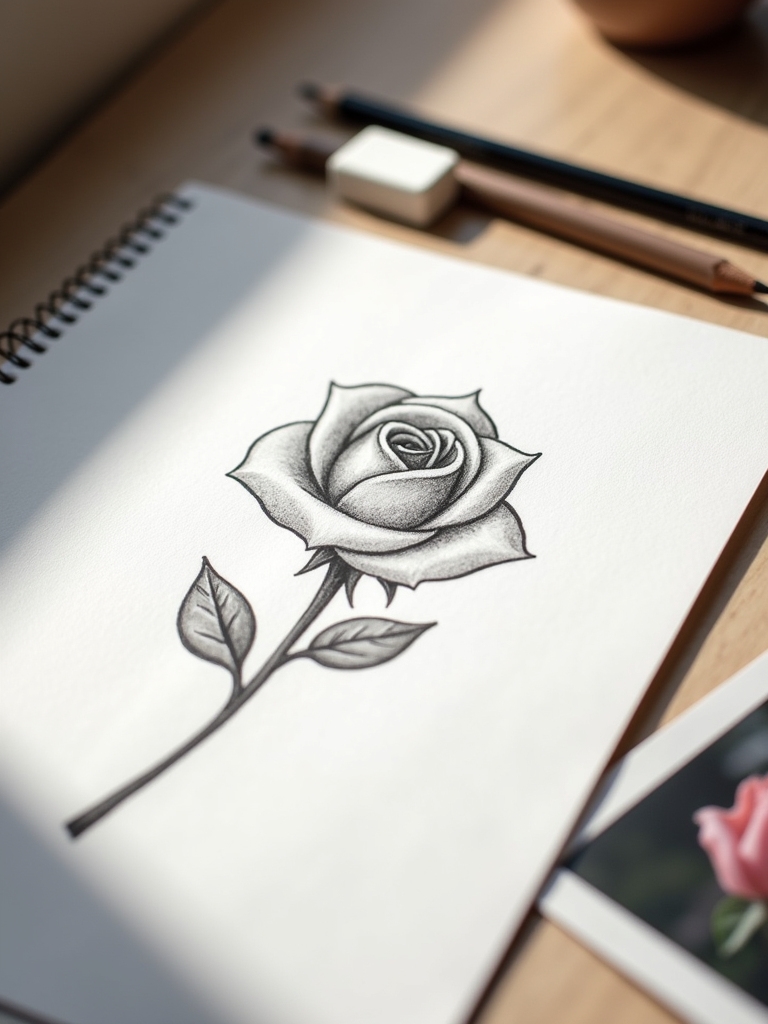
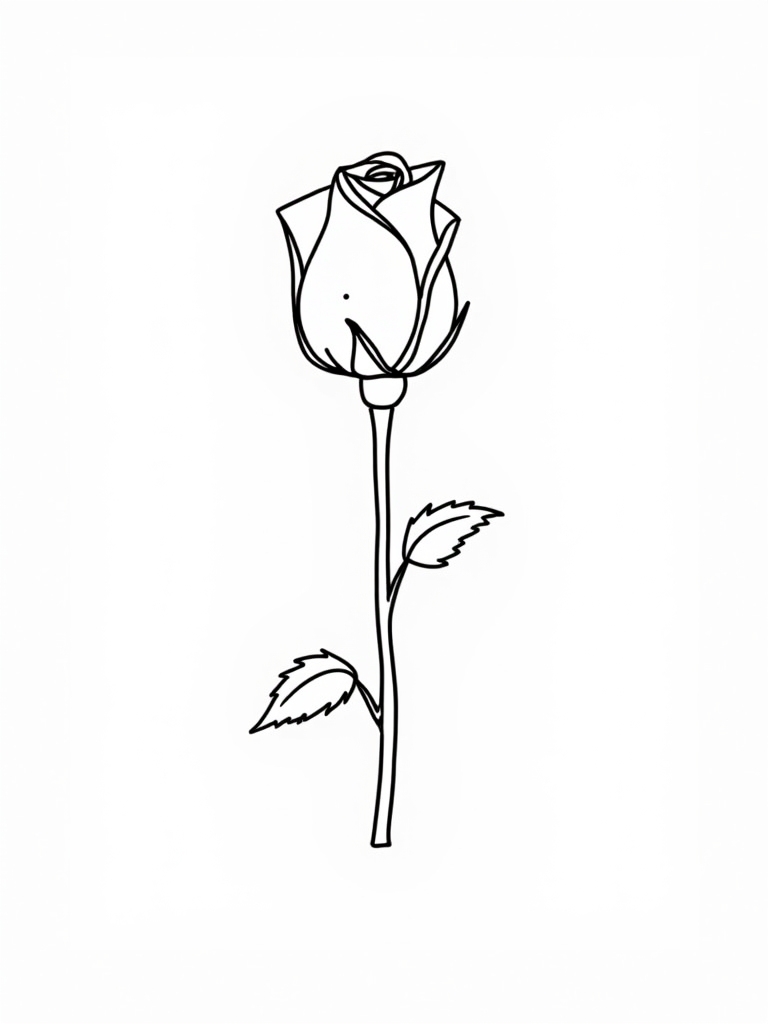
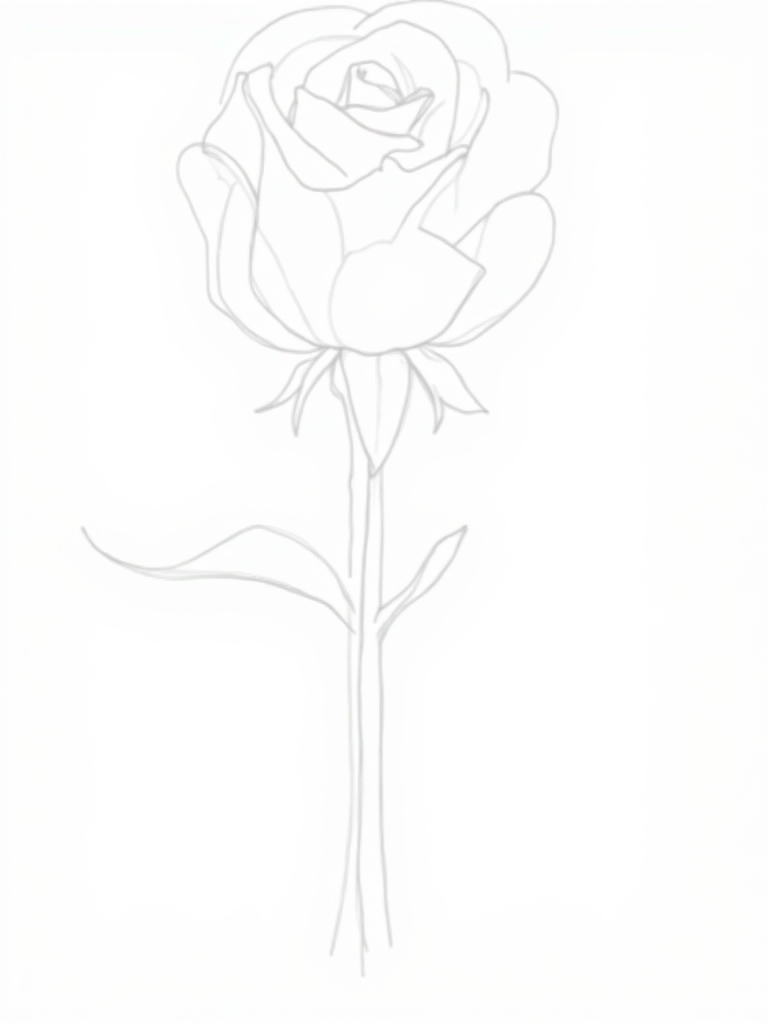
Simple Single Rose Bud Technique

Start by drawing a rose with an egg shape. Then add a wavy line from the top – that’s your first petal! Add two curving “wings” on both sides. Draw more curves from the middle of each wing for outer petals. Finish your rose drawing with sepals at the bottom. These step instructions are super easy! ✏️
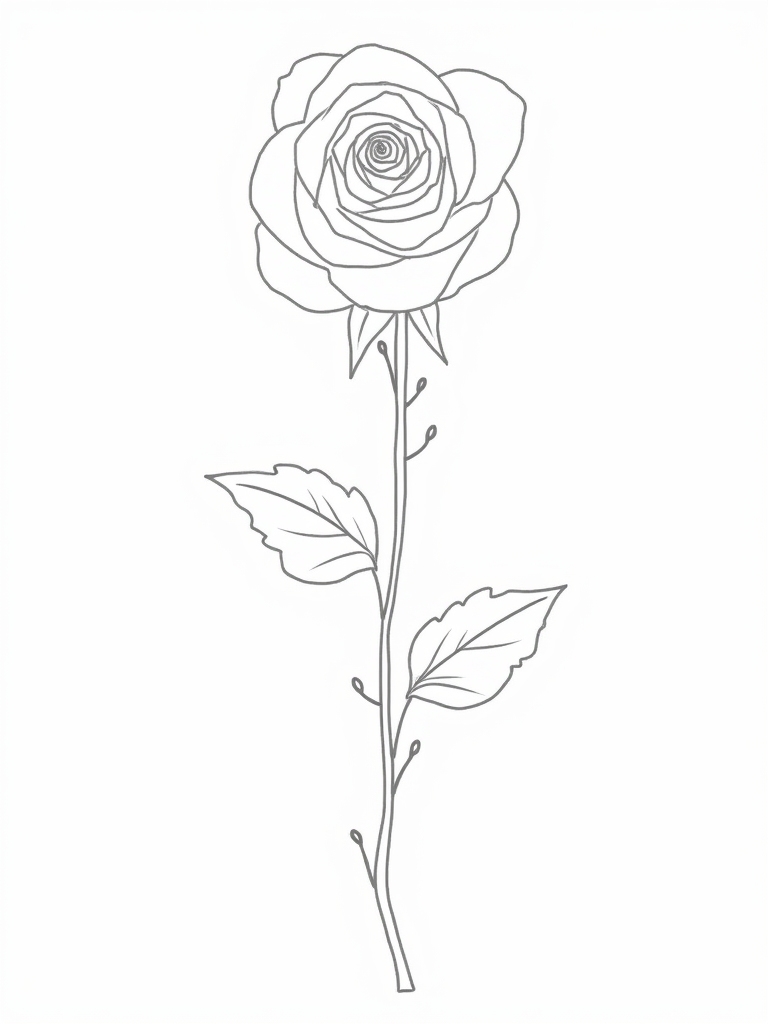
Step-by-Step Classic Open Rose Tutorial
Now that you’ve conquered the simple rose bud, let’s investigate a beautiful open rose! 🌹 The classic open rose displays all its lovely petals and looks so real on paper.
Start with a small circle in the middle. Add curved petals around it. Make bigger outer petals as you go out!
Red Rose drawings pop with colored pencils. Add shadows to petals for a 3D look. You’ll create a magical flower everyone will love! 😊
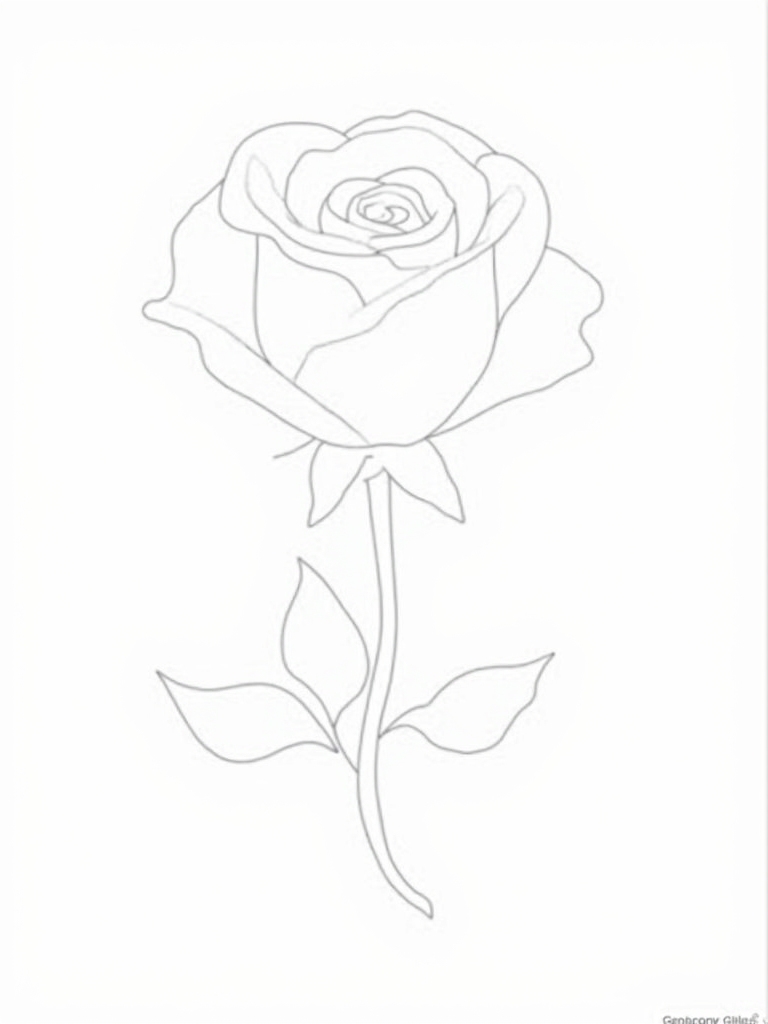
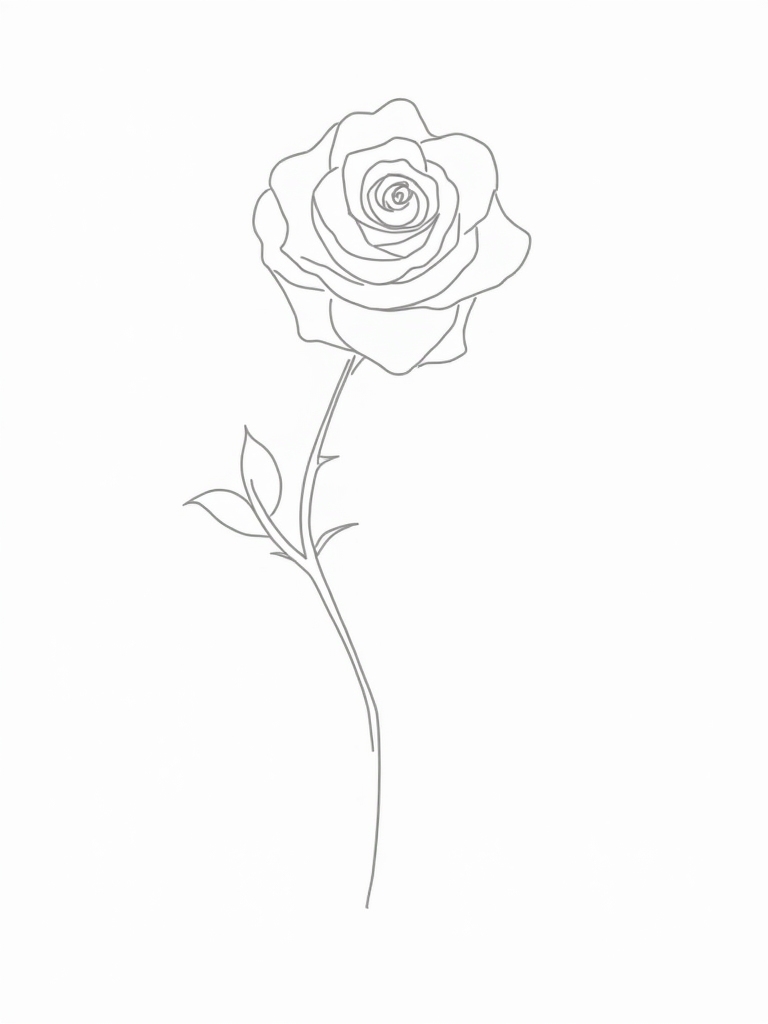
Drawing a Rose From the Side View
When you see roses in real life, they often show their beautiful side profiles! 🌹 The side view of a rose gives your drawing a charming, realistic look that’s perfect for beginners.
Start with an egg shape for your bud. Add curved petals on both sides! The petal layering creates depth while stem positioning anchors your flower. Don’t forget those little sepals at the bottom! 😊
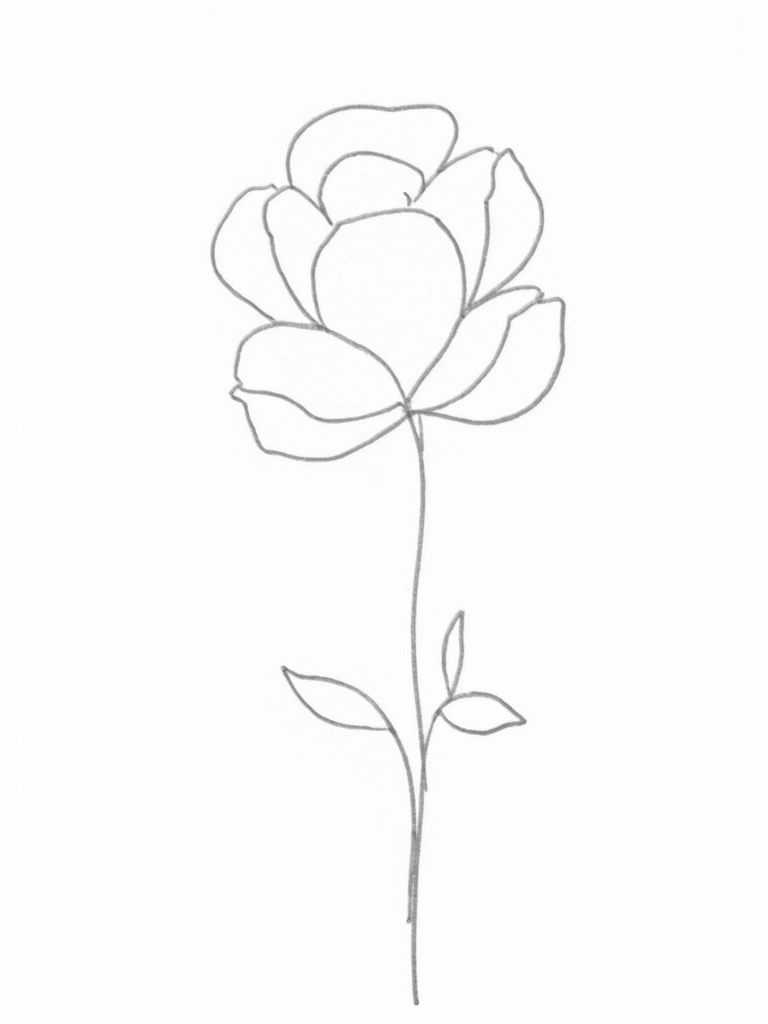
Creating a Miniature Rose Sketch

Even though roses seem complicated, creating tiny rose sketches can be super charming and fun! 🌹 Start with a small circle in the middle of your paper for the rose’s center. Draw curved lines around it for petals. Your initial pencil sketch doesn’t need to be perfect!
Add a stem and leaves below. Try different composition variations! Simple shading techniques will make your miniature rose look spectacular! ✨
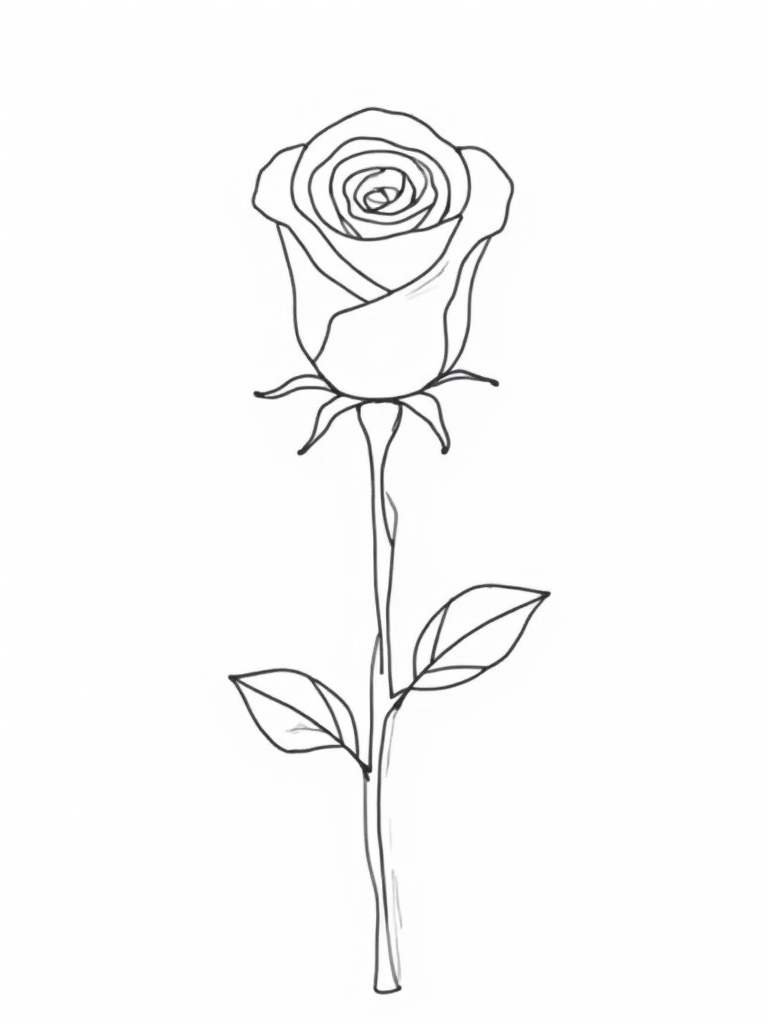
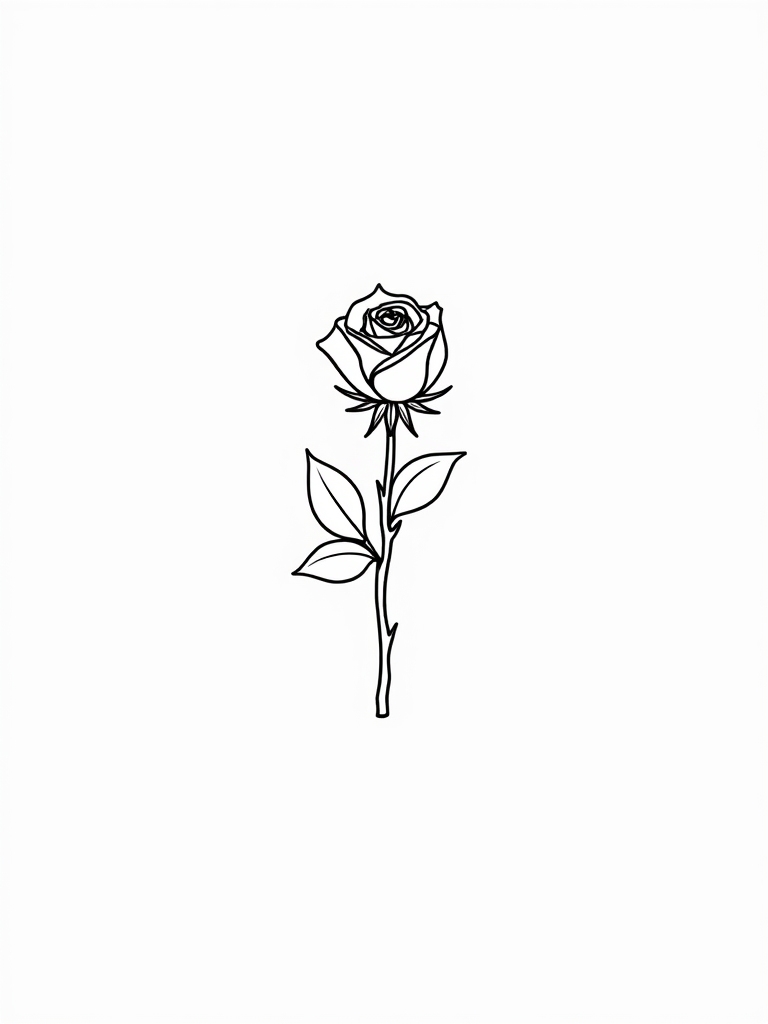
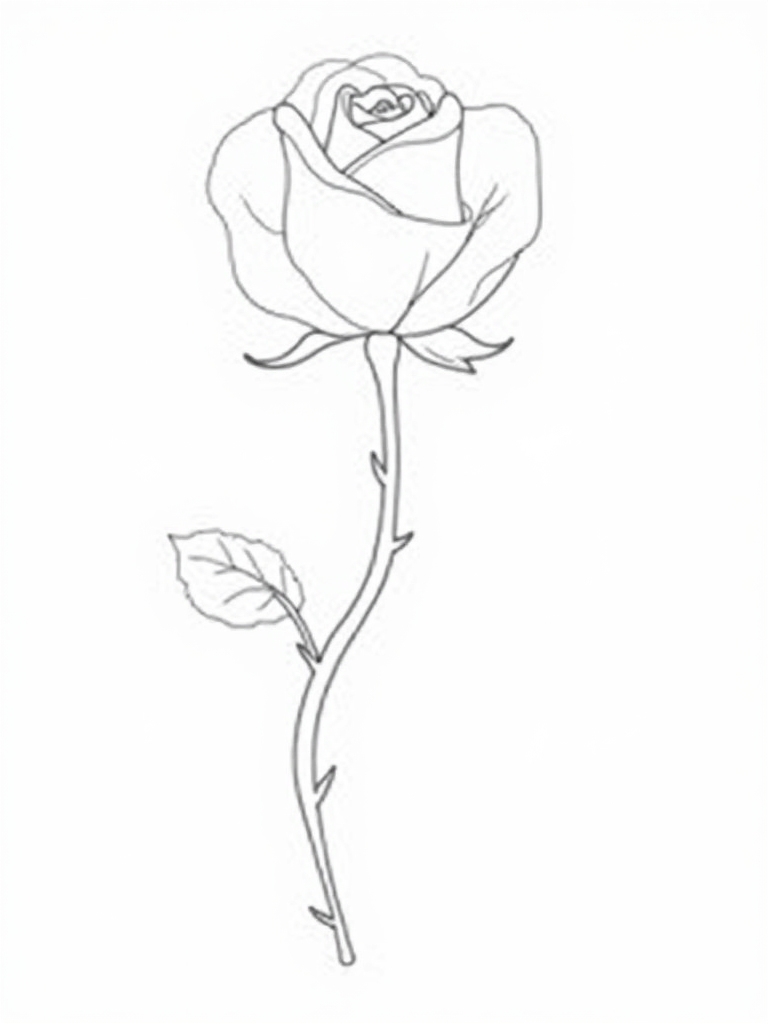
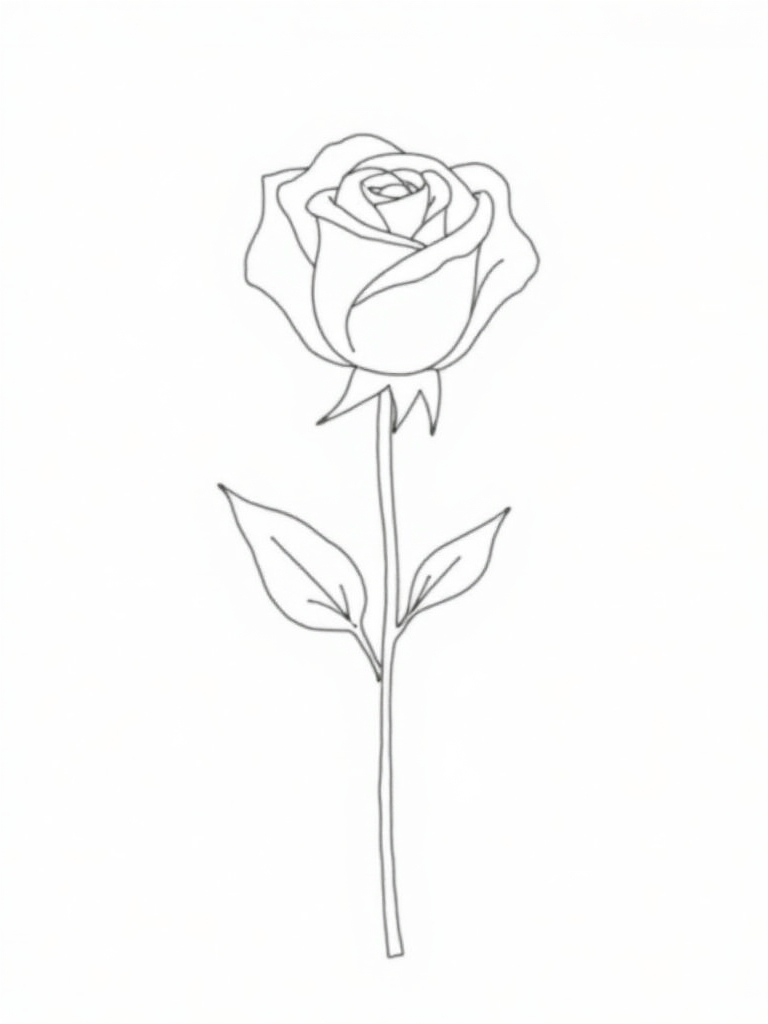
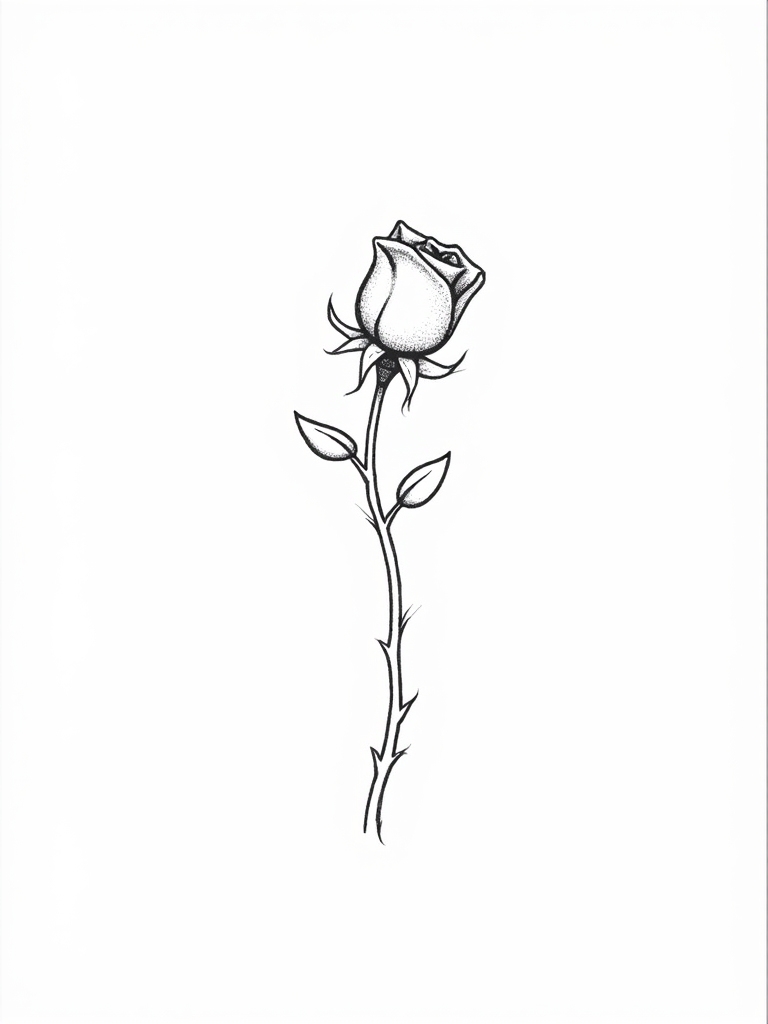
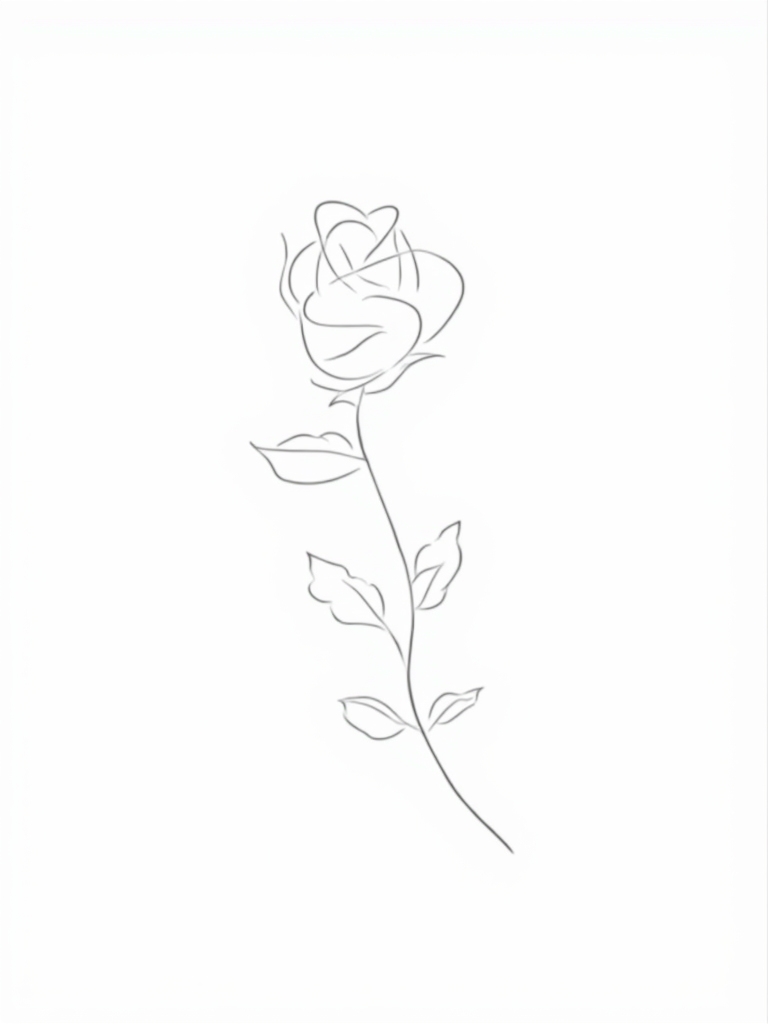
Long-Stem Rose Drawing Guide

Drawing a long-stem rose can be truly magical for beginners! ✨ A beautiful rose with a graceful stem creates a classic look that you’ll love to display.
Start with simple petal shape variations – round, pointed, or heart-shaped! 🌹 Next, focus on the rose bud structure, keeping it tight and spiral. For rose stem detailing, add small thorns and leaves. You’ll create something remarkable in no time!
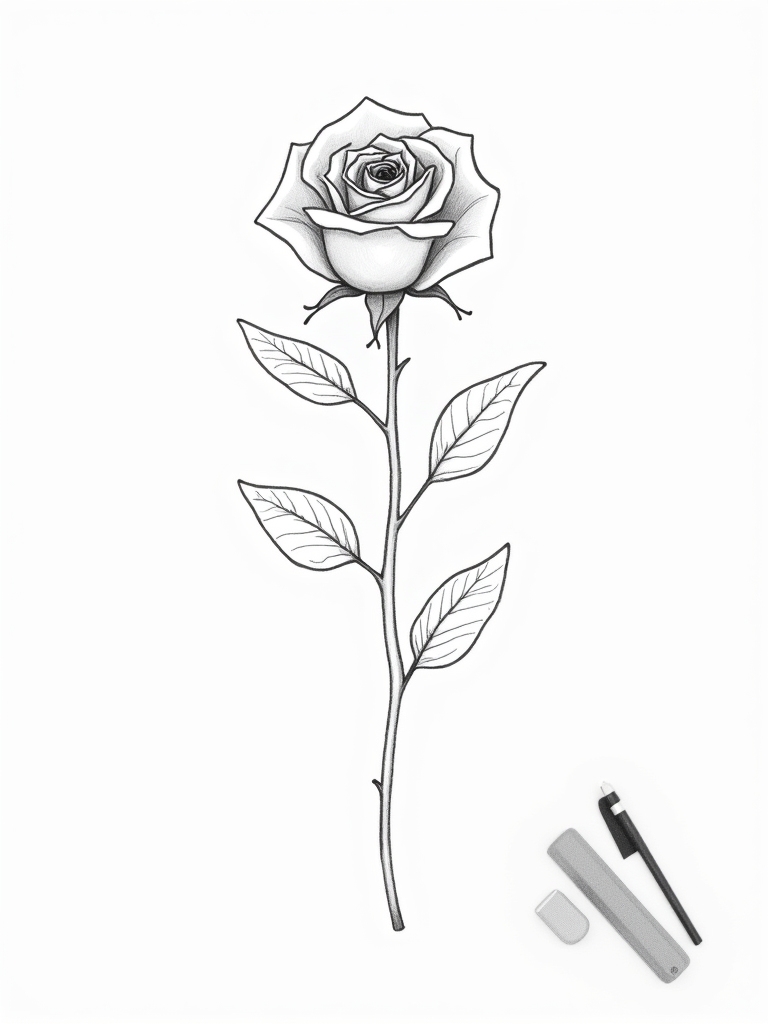
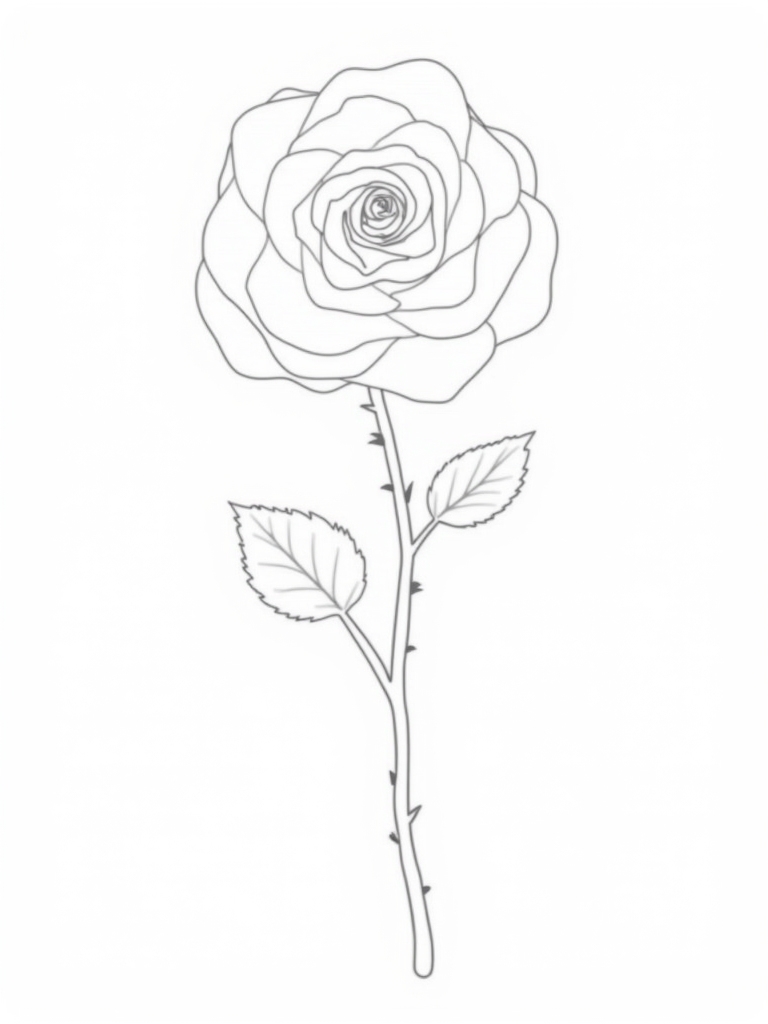
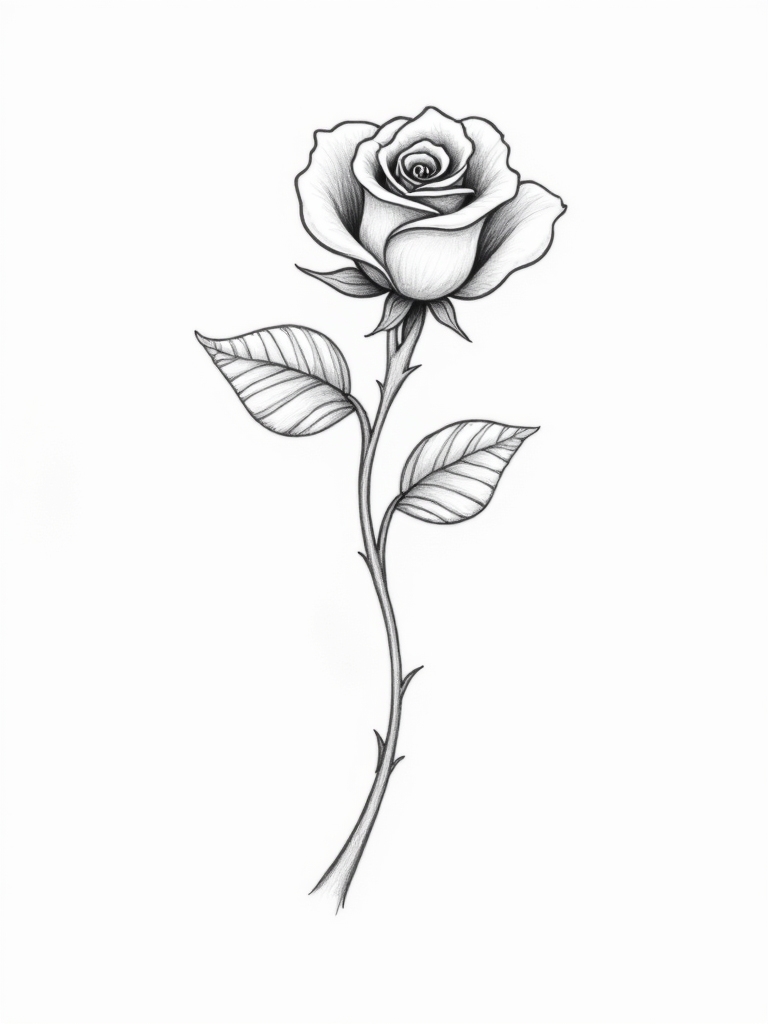
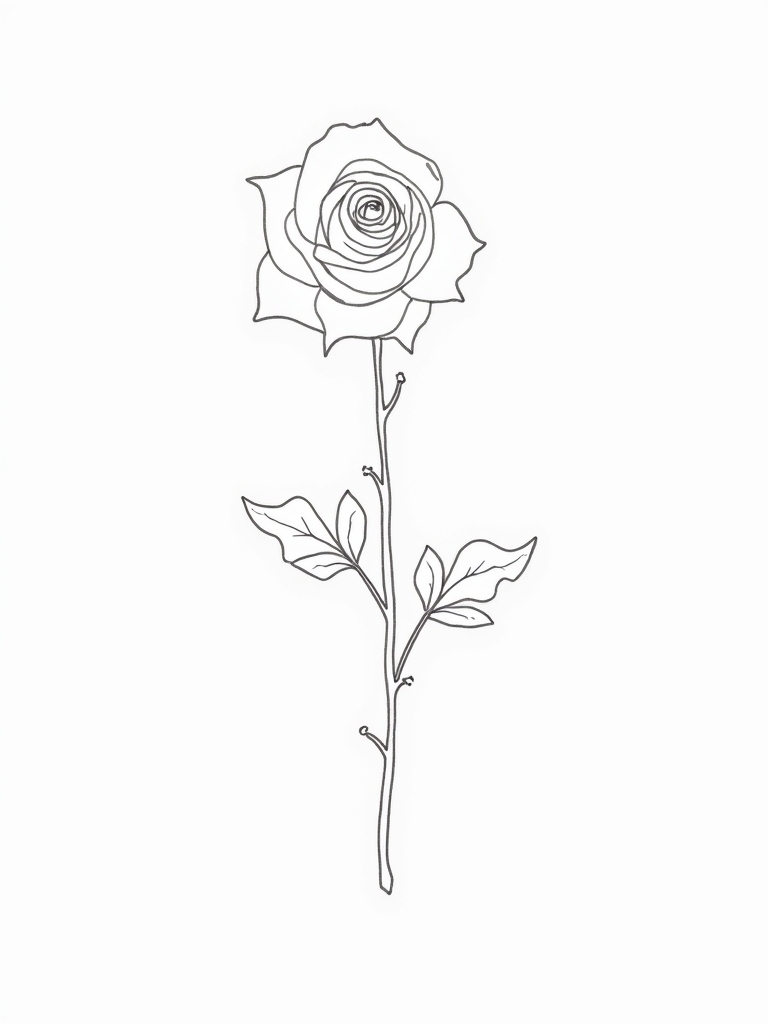
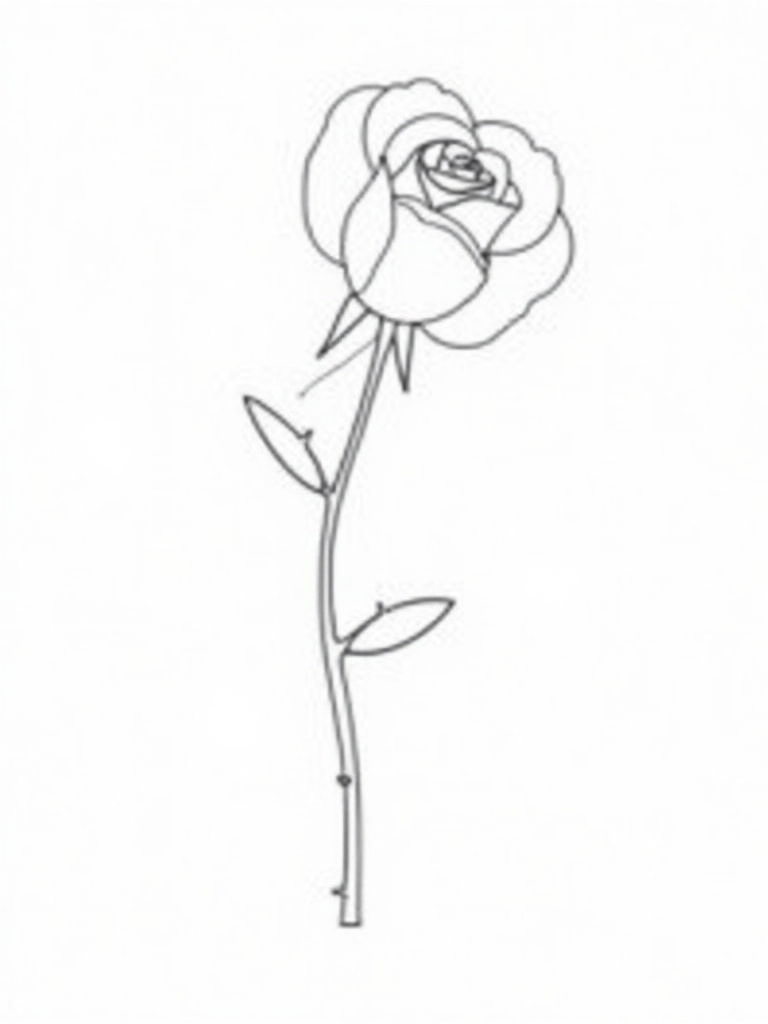
Sketching a Rose With Leaves and Thorns
When you conquer the art of sketching roses with leaves and thorns, your drawings will truly come alive! 🌹 To begin your beautiful rose, start with a simple egg-shaped outline that forms your bud.
Draw curvy “wing” lines on both sides, then add more petals! Don’t forget the serrated leaves and sharp thorns along the stem proportions. The symbolism meanings behind rose petal textures make your drawing extra special! ✏️
Multiple Roses in a Simple Bouquet
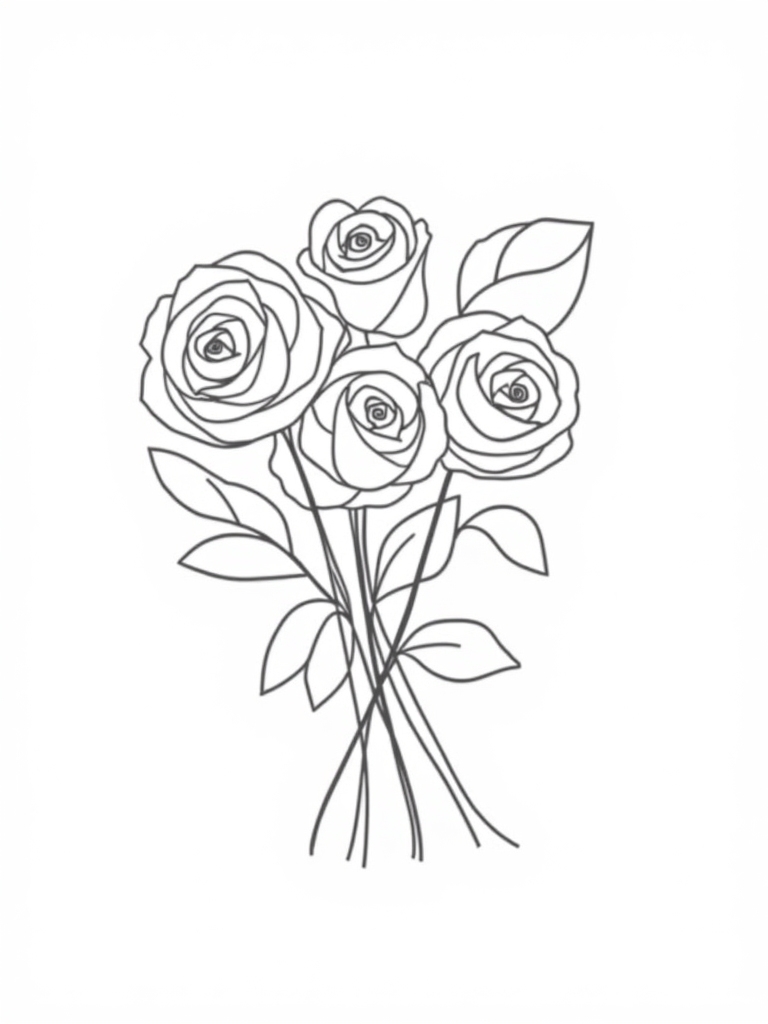
Creating a simple bouquet of roses takes your drawing skills to the next level! 🌹 You’ll love how several roses grouped together creates a stunning visual that catches everyone’s eye.
Start with a charming composition arrangement by drawing roses of different sizes. Add delicate shading to each petal for depth. Try varying outlook with some blooms facing different directions! Your magical bouquet will look so realistic! ✨
Easy Rose Pencil Shading Techniques

The beauty of rose drawings truly comes alive through proper shading techniques! 🌹 Your pencil strokes can alter a simple outline into a realistic, three-dimensional flower that seems to pop off the page.
Start with a light base layer, then add feathery strokes for shadows. Try hatching techniques for magical rose texture studies! Remember, light and shadow create charming depth. Darken the center to make those lovely stamens stand out! ✏️
Adding Texture to Your Rose Petals

Beautiful rose petals come alive with texture that makes your drawing truly special! 🌹 You’ll love watching your flat shapes morph into soft, velvety petals that look real enough to touch.
Try adding contours with light, feathery strokes! Blending seamless shades creates that silky-smooth look. 😊 Emphasizing petal forms by changing your pencil pressure makes roses pop off the page! Magical textures await your creative touch!
Creating Depth With Highlights and Shadows
When you uncover the magic of highlights and shadows, your rose drawings metamorphose from flat sketches to stunning 3D artwork! 🌹 You’ll see incredible depth emerge as light and dark areas work together on your page.
Pick a light source first! This creates illuminating dimension in your petals. Try seamless shading with smooth strokes, then add delicate vein details for that realistic touch! ✨
Realistic Rose Drawing Without Tracing
Now that you’ve conquered light and shadow, let’s reveal the secret to drawing roses without any tracing shortcuts! 🎨 Drawing freehand might seem frightening at first, but it’s actually super fun once you get started!
Start with a simple circle for your bud! The best rose drawing tips focus on building outward with natural, curved lines. Use gentle shading methods to create that magical, velvety texture everyone loves! 🌹
Stylized Cartoon-Style Roses for Beginners

Let’s plunge into the fun world of cartoon roses! 🎨 Stylized roses are perfect for beginners because they don’t require all those tricky details.
Try creating fanciful rose variations with just a few curved lines! Draw rounded petals that overlap, add a curly stem, and you’ve got charming romantic rose illustrations! Don’t worry about mistakes – they add character to your rose character designs! 🌹
Vintage Botanical Rose Illustration Approach

The vintage botanical approach brings scientific elegance to your rose drawings! 🌹 While these illustrations appear complex, you can break them down into simple steps that any beginner can follow. Try adding decorative patterning to create unique rose silhouettes!
Abstract rose sketches with delicate lines capture that charming old-world feel. You’ll love how these magical drawings transport you to a bygone era! ✏️
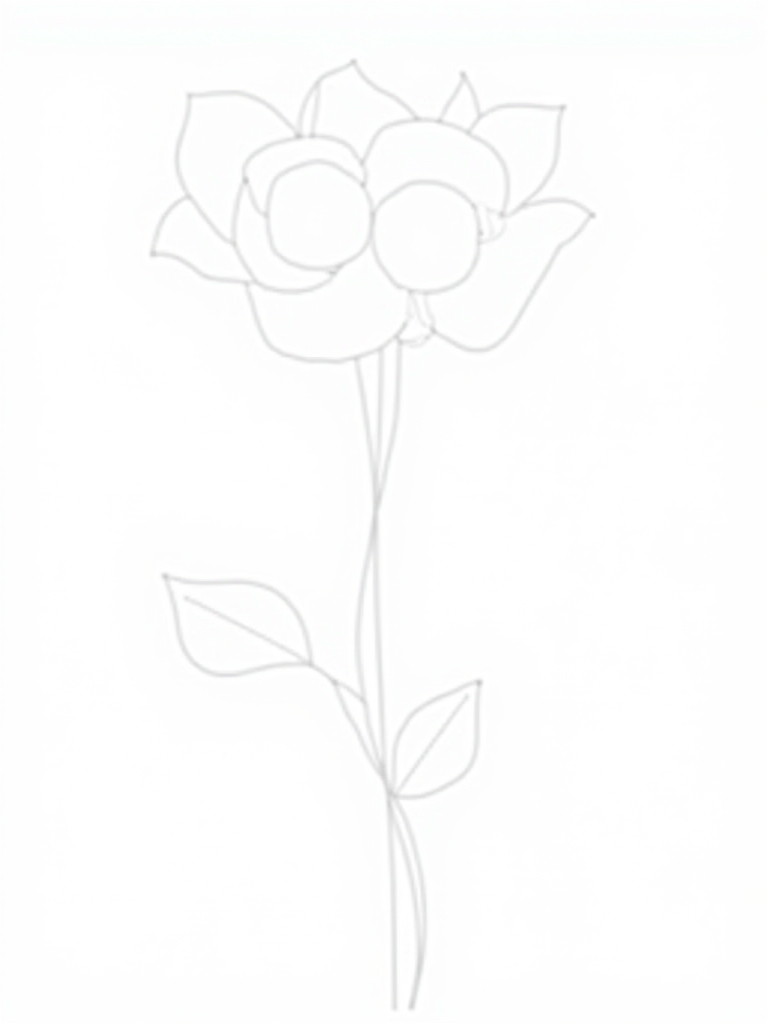
Drawing Roses Using Basic Geometric Shapes
When you break roses down into simple shapes, they become surprisingly easy to draw! 🌹 Start with three overlapping circles that form the foundation of your beautiful flower. Add curved lines around these circles for your petals. Most rose drawing tutorials use this method!
Create unique rose motifs by varying petal sizes. Your stylized rose studies will look charming and realistic with just a few simple shapes! ✏️
Five-Minute Rose Sketching Exercise
Practice makes perfect in your attempt to becoming adept at rose drawings! 🌹 You’ll love this quick five-minute exercise that builds your skills while having fun.
Start by drawing simple circles and ovals. Focus on the rose’s shape, not tiny details! Try experimenting with loose strokes to create flowing petals. Building sketching confidence comes from practicing quick rose studies daily. Vary your pencil pressure for magical textures! ✏️
Enhancing Your Rose Drawing With Simple Backgrounds
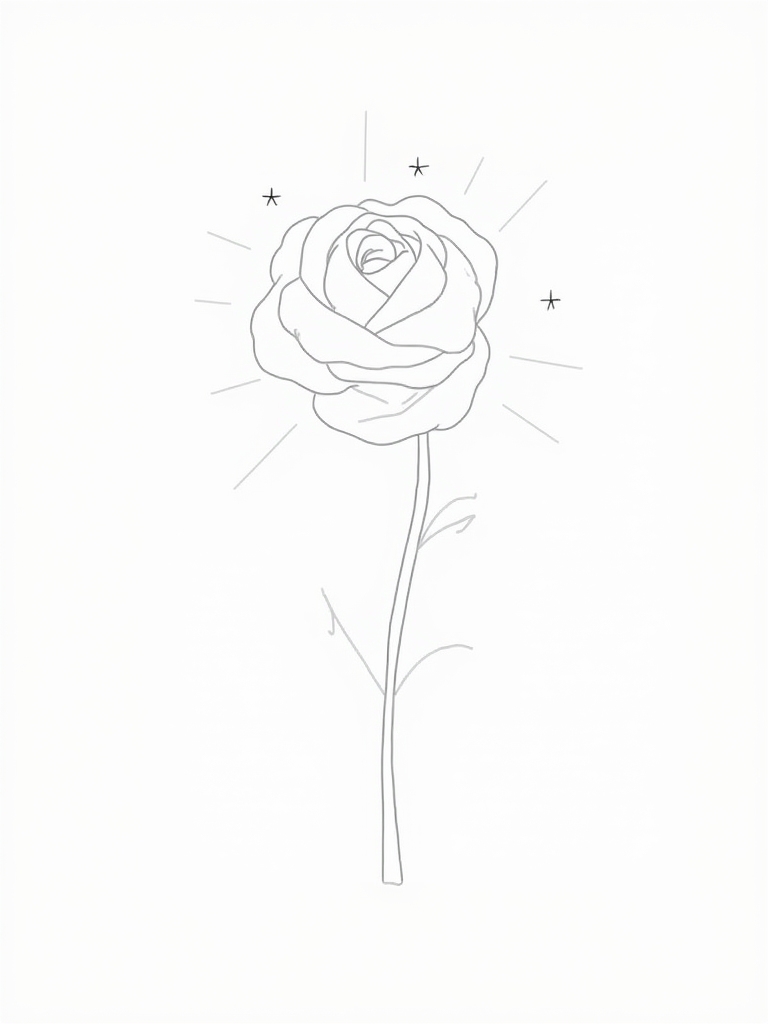
Even beautiful roses need a lovely setting to truly shine! 🌹 Your rose drawings will instantly look more professional when you add simple backgrounds behind them.
Try a starry night sky or meadow to make your rose pop! Establishing mood through backgrounds is easy with loose, sketchy strokes.
Incorporating natural elements like vines or leaves creates a charming frame. Exploring abstract compositions with geometric patterns adds a magical, modern touch! ✨
Roses in Various Stages of Blooming
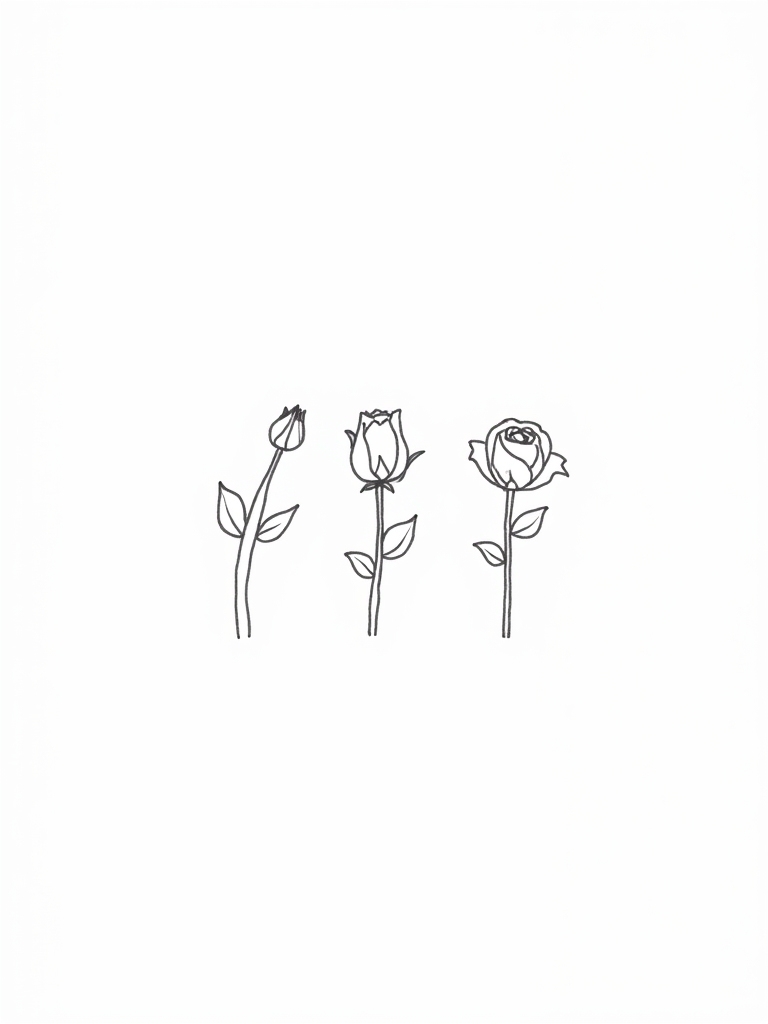
Plunge into the magical venture of a rose’s life cycle through your pencil! 🌹 Roses undergo a dramatic metamorphosis from tiny buds to full blooms, offering you endless drawing possibilities.
Try sketching different rose bloom stages – from cute egg-shaped buds to breathtaking open flowers! ✏️ Unique rose petal arrangements create minimalist rose designs that show each bloom’s special character. It’s remarkable how a few curved lines can bring roses to life!
Creating a Rose Wreath Pattern
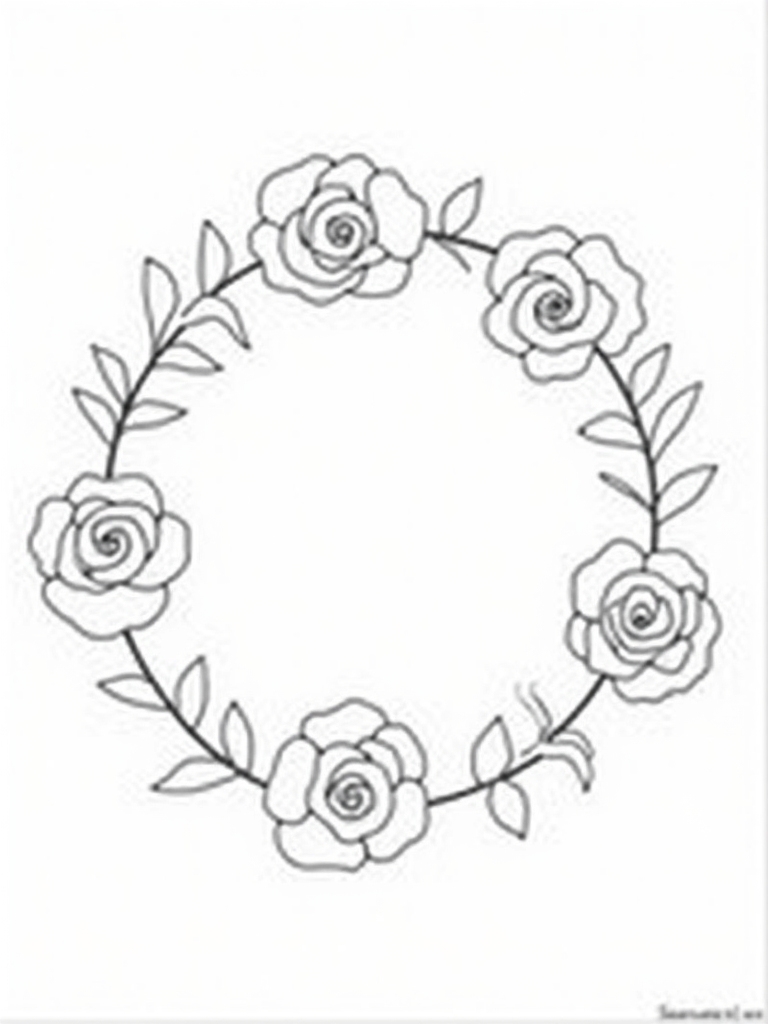
After exploring individual roses, it’s time to bring them together in a beautiful arrangement! 🌸 A rose wreath pattern lets you combine all your new skills into one stunning circular design.
Try arranging rose positions all around your circle! Varying rose sizes creates a natural look. Don’t forget incorporating bloom stages – mix buds with full flowers! Your wreath will look magical and show off everything you’ve learned! 🌹✨
Drawing Rose Buds With Dew Drops
Capturing the delicate beauty of rose buds with glistening dew drops is pure magic for beginner artists! 💦🌹 You’ll start by drawing a simple egg shape for your bud’s outline. Add curved lines from the center for those unfurling petals!
For petal texture suggestions, try soft blending to create a velvety feel. 🖌️ Don’t forget your dew drop placement—small teardrops along petal edges look so fresh and charming! ✨
Combining Roses With Other Flowers
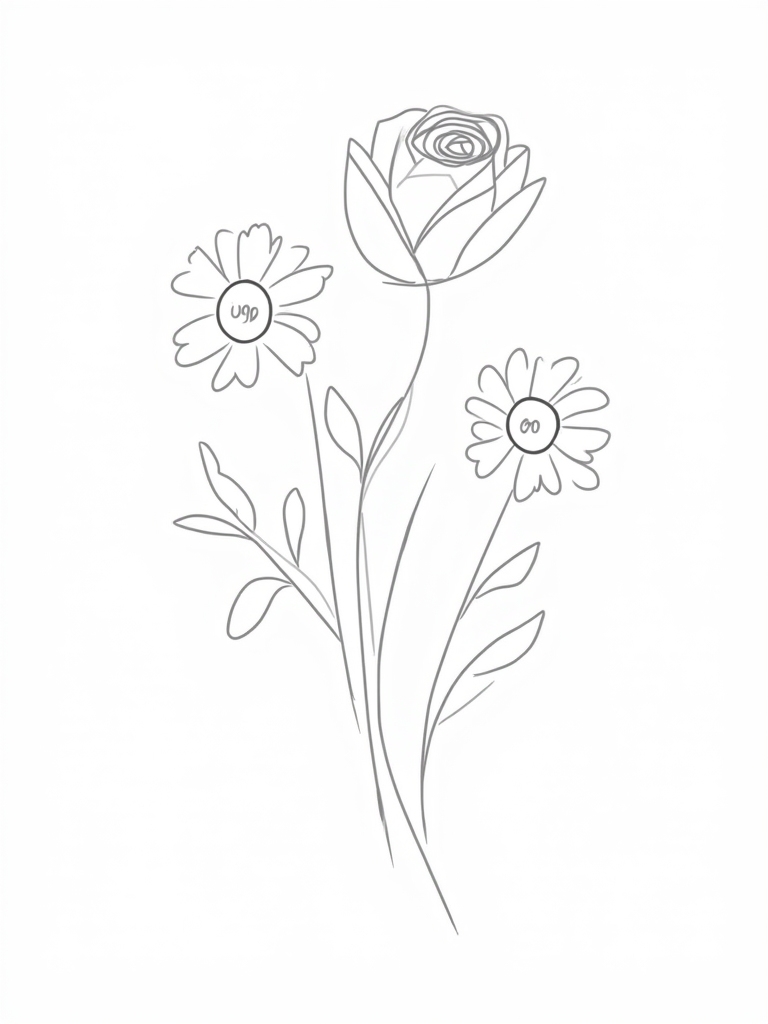
When you mix roses with different flower types, your artwork truly comes alive with fresh energy and beauty! 🌹🌸 Start by sketching your main rose in the center, then surround it with simpler flowers like daisies or tulips for a charming contrast.
Sketching mixed floral bouquets is so fun! Try layering rose petals between leafy greens. Combining roses with foliage creates a magical, natural look that makes your drawing pop! 🍃✨
Tattoo-Style Rose Design Basics
Creating tattoo-style roses is super exciting because you can break traditional rules and add bold, edgy elements! 🖤✨ Your rose drawings will look phenomenal with strong outlines and simplified shapes that really stand out on paper.
Try using tattoo inspired line quality with thick borders and clean edges! Investigate rose symbolism meanings by drawing them in different sizes. Minimalist rose compositions look breathtaking with just a few lines! 😍🌹
Capturing Wilting and Dried Roses
Beyond perfect blooms, wilting and dried roses offer beginners a fascinating drawing challenge that tells a beautiful story of time! 🌹✨ The curling petals and drooping stems create captivating shapes you’ll love to sketch.
Try drawing the natural rose life cycle! The dried rose texture creates striking patterns that show nature’s beauty. Wilting rose realism teaches you to see beauty in all stages! 🎨
Roses in Motion: Creating Movement in Still Drawings
When you draw roses, you can make them look like they’re dancing on your paper! 🌹✨ Even though your drawing stays still, the right pencil strokes can trick the eye into seeing beautiful movement.
Try these rose sketch exercises: draw curving lines from the center! 🖌️ Your rose anatomy study gets exciting when you overlap petals at different angles. Use light and heavy strokes for magical rose petal drawing techniques! ✏️
Rose Drawing Prompts and Daily Practice Ideas
Practice makes perfect when you’re learning to draw roses! 🌹 A daily rose drawing habit will help your fingers remember how to create those beautiful shapes without even thinking about it.
Try exploring rose symbolism in your sketches! Create a charming rose-themed journal for practicing mindful sketching each day. Draw roses from different angles and stages – from tiny buds to magical full blooms! 🖌️
Common Rose Drawing Mistakes and How to Avoid Them

Frustration can hit when your rose drawing doesn’t look quite right! 🌹 Even the simplest rose sketches need attention to certain details that beginners often miss.
Don’t forget to focus on achieving symmetry in your petals! Take time with the center too – it’s the heart of your rose. ✏️ Maintaining soft textures and accurately depicting rose anatomy will make your drawing bloom beautifully!
Developing Your Personal Rose Drawing Style
Five simple steps can alter your basic rose sketches into your very own artistic signature! 🌹 Finding your personal style doesn’t happen overnight, but it’s so rewarding when you see your unique touch bloom on paper.
Try expressing artistic intent by drawing roses from different angles! Achieving variable poses makes your flowers look alive! 💕 Incorporating floral elements like leaves creates a charming, magical garden scene that’s uniquely yours!
Creative Rose Compositions for Greeting Cards

When you’re ready to design greeting cards, rose drawings can convert ordinary paper into heartfelt messages! 🌹 Your simple pencil sketches become beautiful gifts that friends and family will treasure!
Try different composition techniques like framing your message with roses or drawing a single charming bud! Rose symbolism adds meaning – use blooming roses for love or buds for new beginnings! Basic pencil drawing tools are all you need! ✏️
Transforming Your Rose Sketches Into Digital Art
Taking your beautiful pencil roses to the digital world opens up magical new possibilities for your artwork! 🌹✨ You can easily scan your hand-drawn sketches and import them into programs like Photoshop or Procreate with just a few clicks!
Use digital art techniques to trace over your pencil lines with the brush tool! Traditional vs digital mediums combine in your rose sketching workflow to create stunning, colorful designs you’ll love! 🎨💻
Conclusion
You’ve got all the tools to start your rose drawing expedition now! 🌹 Don’t worry about mistakes – they help you learn and grow as an artist! Remember, practice makes perfect, so keep drawing roses whenever you can. Your simple sketches will soon bloom into beautiful artwork that you’ll be proud to share! Isn’t it remarkable how a pencil and paper can create such charming, magical roses? Happy drawing! ✏️