How to Decorate a Christmas Tree: 8 Easy Steps Like a Pro
How to decorate a Christmas tree in 8 easy steps: fluff, lights, ribbon, big and small ornaments, picks, topper and skirt, with real tree photos.
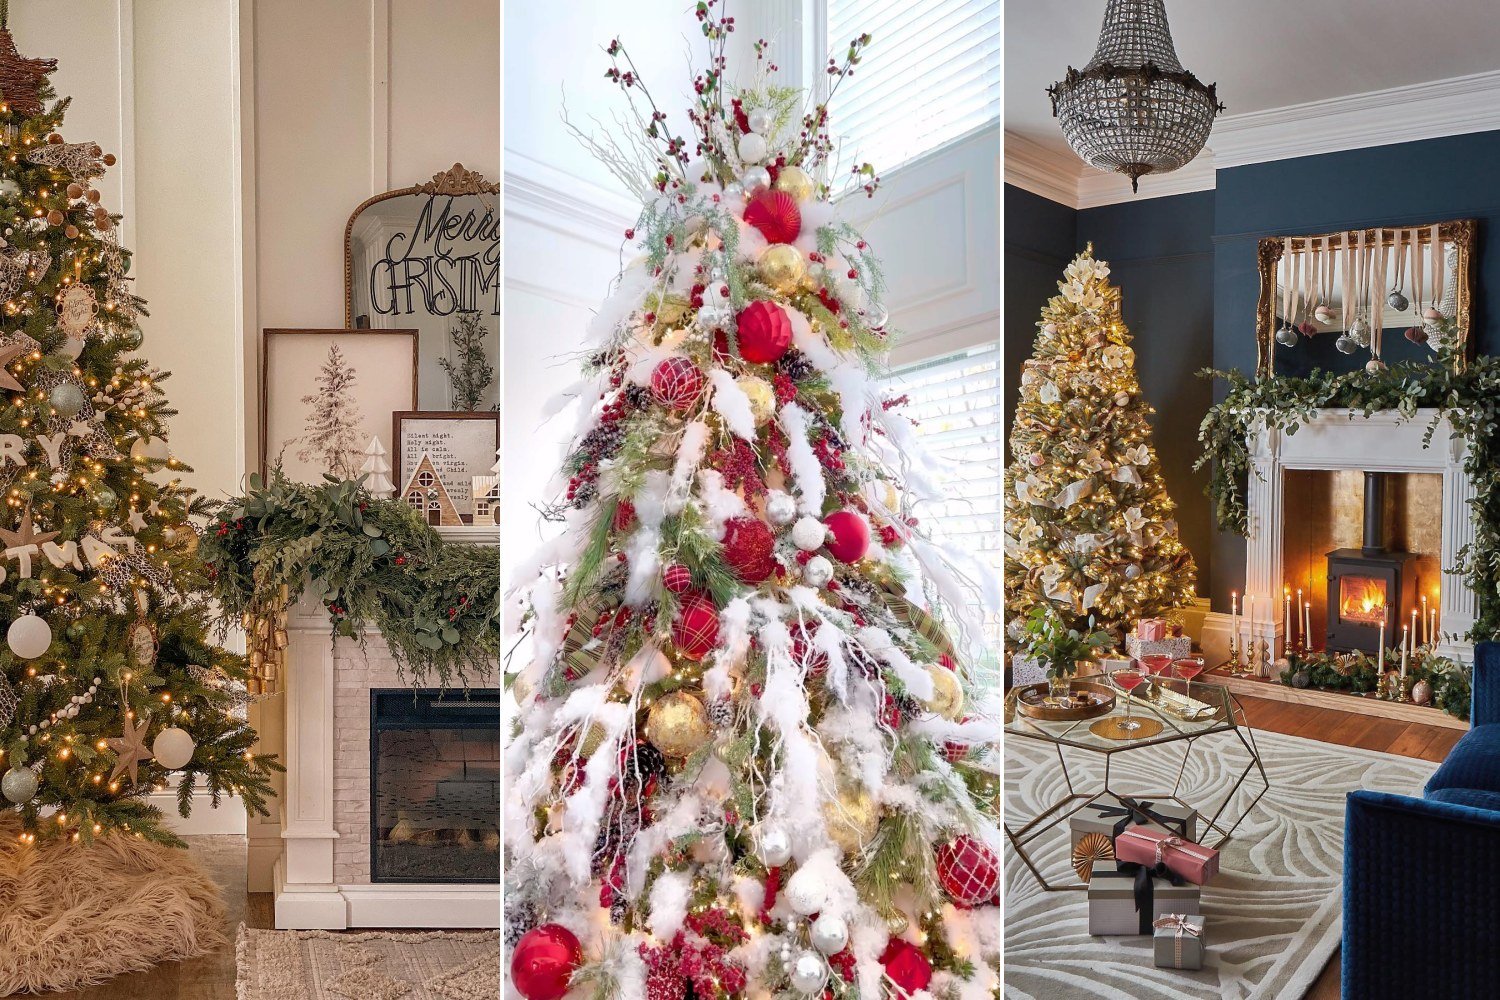
Decorating a Christmas tree is easy when you do it in the right order. Most people start with ornaments, but the secret to a full, pretty tree is lights and fillers first.
In this guide I walk you through 8 simple steps, with real trees from homes on Instagram, so your tree looks like it came out of a magazine.
What you need
- A real or artificial tree
- Warm white lights, about 100 per foot of tree
- Ribbon or garland
- Large and small ornaments
- Picks, sprays or greenery stems
- A tree topper
- A tree skirt, collar or basket
How to Decorate a Christmas Tree Step by Step
Step 1Fluff the Branches
View this post by inspiredbycharm on Instagram
Photo: inspiredbycharm on Instagram
If your tree is artificial, open every single branch and spread the tips out in different directions. This is the boring step, but it makes the biggest difference.
Work from the bottom up and from the inside out, so the tree looks full from every angle.
✅ Quick tips
- Wear gloves to protect your hands
- Bend tips up and out, not flat
- Give it 30 to 60 minutes for a big tree
Step 2Add the Lights First
View this post by nestingwithgrace on Instagram
Photo: nestingwithgrace on Instagram
Lights always go on before anything else. Start at the bottom near the trunk and weave the lights in and out along each branch as you go up.
Warm white lights look cozy and work with any color scheme.
✅ Quick tips
- Use about 100 lights per foot of tree
- Weave lights deep inside, not just on the tips
- Plug them in as you go to check the look
Step 3Add Ribbon or Garland
View this post by lovesarahschneider on Instagram
Photo: lovesarahschneider on Instagram
Ribbon and garland fill space and tie your colors together. Drape garland in loose swoops, or tuck ribbon in from the top and let it fall down.
Wired ribbon is easiest because it holds its shape.
✅ Quick tips
- Pick ribbon in one of your tree colors
- Swoops look softer than tight wraps
- Tuck ends deep into the branches
Step 4Hang the Big Ornaments
View this post by theangabode on Instagram
Photo: theangabode on Instagram
Start with your biggest ornaments and spread them evenly around the tree. Tuck some deep inside the branches to add depth.
Big ornaments make the tree look full fast.
✅ Quick tips
- Place big ones first, then fill around them
- Put some deep inside the tree
- Step back often to check spacing
Step 5Fill In With Small Ornaments
View this post by homebyheidi on Instagram
Photo: homebyheidi on Instagram
Now add medium and small ornaments in the gaps. Put smaller ones near the top and larger ones near the bottom for a balanced shape.
Use your special or sentimental ornaments at eye level where people will see them.
✅ Quick tips
- Small at the top, big at the bottom
- Favorite ornaments at eye level
- Fill empty spots, not crowded ones
Step 6Add Picks and Sprays
View this post by haverstrawhill on Instagram
Photo: haverstrawhill on Instagram
Picks are stems of berries, glitter or greenery that you tuck into the tree. They add texture and make the tree look professional.
Angle them out in different directions for a natural look.
✅ Quick tips
- Buy picks that match your colors
- Tuck them in at an angle
- Group them in small clusters
Step 7Top It Off
View this post by lucy.a.nash on Instagram
Photo: lucy.a.nash on Instagram
Add your star, angel or bow on top. A big topper should match the size of the tree, so do not go too small on a tall tree.
For an easy designer look, add a few ribbon tails coming down from the topper.
✅ Quick tips
- Match the topper size to the tree
- Secure it with floral wire
- Add ribbon tails for a finished look
Step 8Finish With a Skirt or Collar
View this post by saltgrassdecor on Instagram
Photo: saltgrassdecor on Instagram
The last step is covering the tree stand. A tree skirt, a metal collar or a woven basket all hide the stand and finish the look.
Add a few wrapped gifts underneath to make the tree feel complete.
✅ Quick tips
- Pick a skirt that matches your colors
- Collars and baskets look modern
- Add a few gifts around the base
Common Christmas Tree Mistakes
- Putting ornaments on before the lights
- Not using enough lights
- Hanging everything only on the branch tips
- Using too many colors at once
- Forgetting to cover the tree stand
How Long Does It Take to Decorate a Christmas Tree?
A 7 foot tree takes about 2 to 3 hours from start to finish. Fluffing and lights take the most time, so put on some music and enjoy it.
💡 Hana’s tip
Squint at your tree from across the room. Dark spots show you exactly where you need more lights or ornaments.
FAQs
What order do you decorate a Christmas tree?
Fluff the branches, add lights, then ribbon or garland, big ornaments, small ornaments, picks, the topper and finally the skirt.
How many lights do I need for my Christmas tree?
About 100 lights per foot of tree height, so a 7 foot tree needs around 700 lights.
Do you put ribbon on a tree before or after ornaments?
Put ribbon or garland on after the lights and before the ornaments, so ornaments can sit on top.
How do I make my Christmas tree look full?
Fluff every branch, use plenty of lights, tuck ornaments deep inside and fill gaps with picks and ribbon.
Enjoy Your Beautiful Tree
Follow the steps in order, take your time with lights and step back often. Your tree will look full, balanced and ready for Christmas.
Looking for style ideas? See our Christmas tree decorating ideas and Scandinavian Christmas decor.