How to Hang Garland on Stairs (Easy Step by Step Guide)
Learn how to hang garland on stairs in 7 easy steps, with no nails and no damage to your banister.
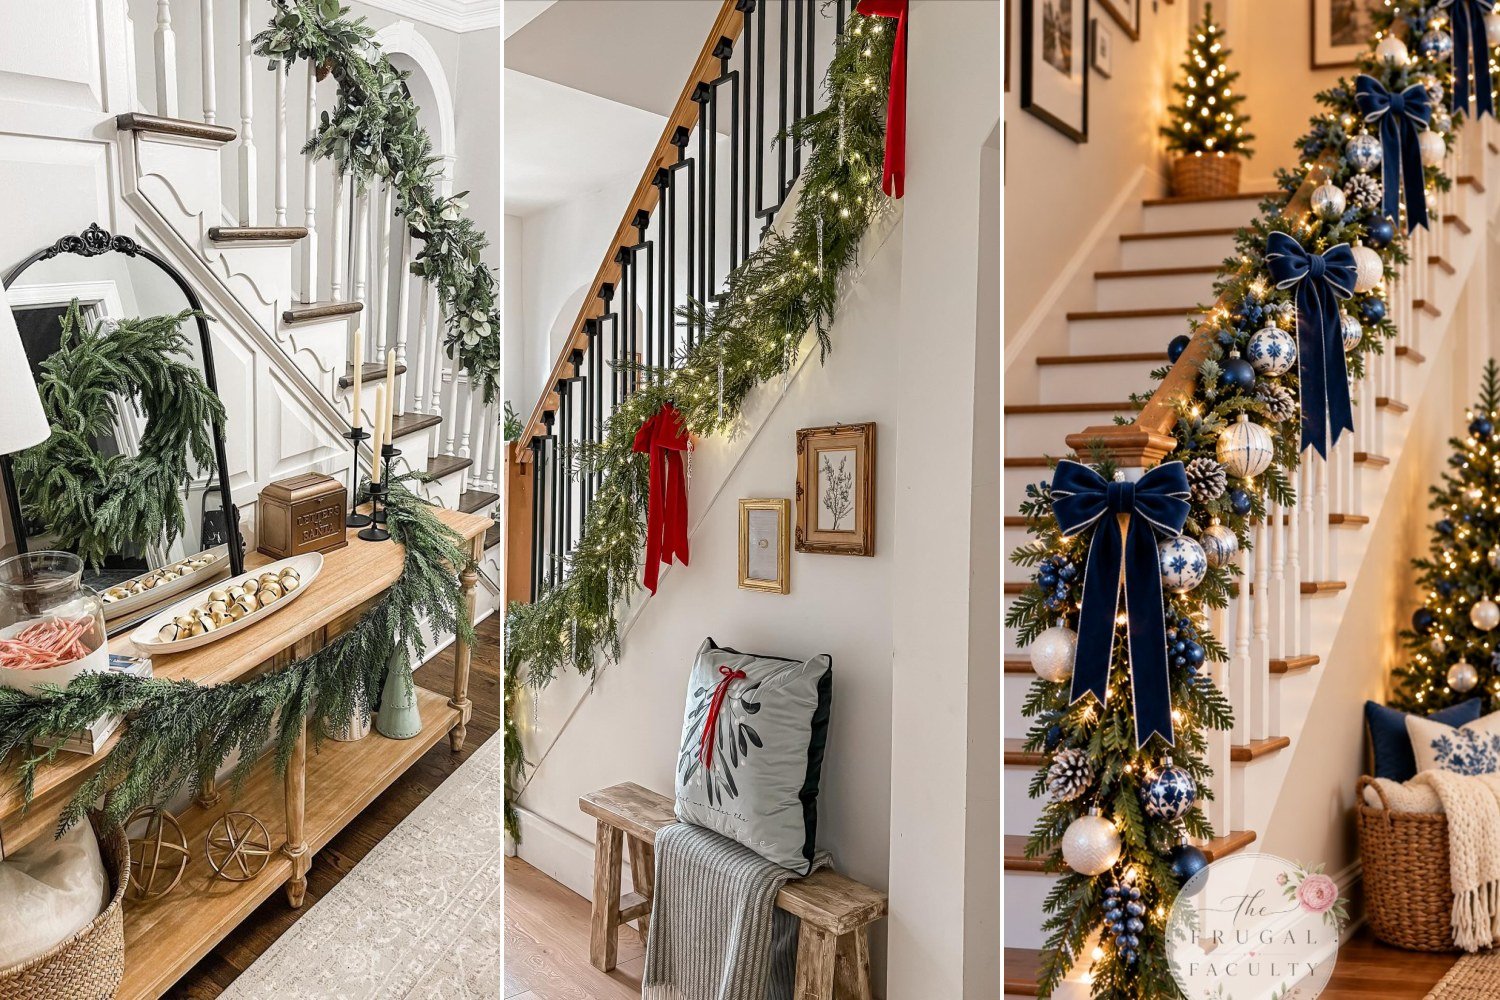
A garland on the stairs is one of the prettiest Christmas looks, but it can be tricky to get right. It slips, it sags in the wrong places, or it looks thin.
This guide shows you how to hang garland on stairs step by step, with no nails and no damage to your banister. Every step has a photo from a real home so you can see what the finished look should be.
What You Need
- Faux or fresh garland (measure your rail first)
- Zip ties, Velcro straps or garland clips
- Warm white fairy lights with a timer
- Wired ribbon, 2 to 3 inches wide
- Floral wire and wire cutters
- Optional: ornaments, bells or picks
How to Hang Garland on Stairs: 7 Steps
Step 1Measure Your Banister
View this post by soulandlane on Instagram
Photo: soulandlane on Instagram
Measure the handrail from the top post to the bottom post. If you want soft swags that hang below the rail, add about 2 feet.
For a really full look like this one, plan to use two garlands layered together.
✅ Quick tips
- Buy garland in 6 or 9 foot lengths so it is easy to handle.
- Fluff faux garland before you hang it.
Step 2Add Lights to the Garland First
View this post by nicolepotty on Instagram
Photo: nicolepotty on Instagram
Wrap the fairy lights around the garland while it is still on the floor. It is much easier than doing it on the stairs.
Start at the end that will sit near a plug or where you will hide the battery pack.
✅ Quick tips
- Use about 100 lights for every 3 feet.
- Pick warm white for a cozy glow.
Step 3Start at the Top of the Stairs
View this post by red_hill_thrifting_store on Instagram
Photo: red_hill_thrifting_store on Instagram
Begin at the top post and work down. Gravity will help you, and any extra length ends up at the bottom where you can hide it in a bow.
Tie the first end of the garland firmly to the top post.
✅ Quick tips
- Ask someone to hold the other end while you work.
Step 4Secure It With Zip Ties or Velcro
View this post by ohsokel on Instagram
Photo: ohsokel on Instagram
Attach the garland to the rail every 12 to 18 inches. Zip ties are strong and cheap. Velcro straps are reusable and gentle on wood.
Pull the ties tight, then snip the ends and turn them to the back so they do not show.
✅ Quick tips
- Never use nails or staples.
- Green zip ties blend into the garland.
Step 5Add Ribbon and Bows
View this post by decorating_onabudget on Instagram
Photo: decorating_onabudget on Instagram
Weave wired ribbon loosely through the garland, or add bows every few feet. This is where you decide on your color.
Navy, red, gold and plaid all look great. Pick one and stick with it.
✅ Quick tips
- Wired ribbon holds its shape.
- Space bows evenly for a tidy look.
Step 6Dress the Newel Post
View this post by irisandthistleuk_ on Instagram
Photo: irisandthistleuk_ on Instagram
The bottom post is the focal point. Finish it with a big bow, long ribbon tails or a string of bells.
This is also a good spot to hide the end of the light string.
✅ Quick tips
- Let ribbon tails hang almost to the floor.
Step 7Fluff, Fill and Light It Up
View this post by owenlavin on Instagram
Photo: owenlavin on Instagram
Step back and look at the whole staircase from the front door. Fill thin spots with extra picks or fresh stems.
Set your lights on a timer so they come on every evening. The glow at night is the best part.
✅ Quick tips
- Take a photo on your phone. Gaps are easier to see in a picture.
Common Mistakes to Avoid
- Using nails or tape that pulls off paint
- Buying too little garland so it looks stretched
- Adding lights after the garland is up
- Mixing too many ribbon colors
- Hanging heavy ornaments where hands go
Fresh or Faux Garland for Stairs?
Fresh garland smells lovely but dries out fast indoors, often in 2 weeks. Faux garland lasts for years and is safer with lights. Many people use faux garland and tuck in a few fresh stems for scent.
💡 Hana’s tip
If kids or pets use the stairs a lot, keep the garland on top of the rail and skip glass ornaments. Shatterproof baubles look the same.
FAQs
How do you attach garland to stairs without damage?
Use zip ties, Velcro straps, ribbon or garland clips. They hold the garland well and leave no marks.
How long should garland be for stairs?
Measure the rail and add about 2 feet for swags. Double it if you want a full layered look.
How do you keep garland from sagging?
Tie it to the rail every 12 to 18 inches. Use wired garland so you can shape it.
Can I hang garland on stairs with no posts?
Yes. Attach it straight to the handrail with Velcro straps and finish the end with a bow.
Final Thoughts
Hanging garland on stairs is easy once you know the order: measure, add lights, start at the top, tie it every foot or so, then add ribbon and finish the bottom post. Take your time and your staircase will glow all season.
Looking for inspiration first? See my Christmas staircase decor ideas and Christmas entryway decor.