12 Cheap Outdoor Kitchen Ideas That Look Amazing on a Budget
Get stunning outdoor kitchen designs for less with these 12 budget-friendly ideas that will transform your backyard into an amazing entertainment space.
You don’t need to spend thousands to create your dream outdoor cooking space. With smart repurposing and creative DIY solutions, you can build a functional outdoor kitchen that rivals expensive installations. From rolling cart islands made with salvaged materials to stunning concrete countertops embedded with colorful tiles, these budget-friendly projects prove that style doesn’t require breaking the bank. Ready to convert your backyard into an entertainment hub without the hefty price tag?
Build a Rolling Cart Kitchen Island Using Repurposed Materials
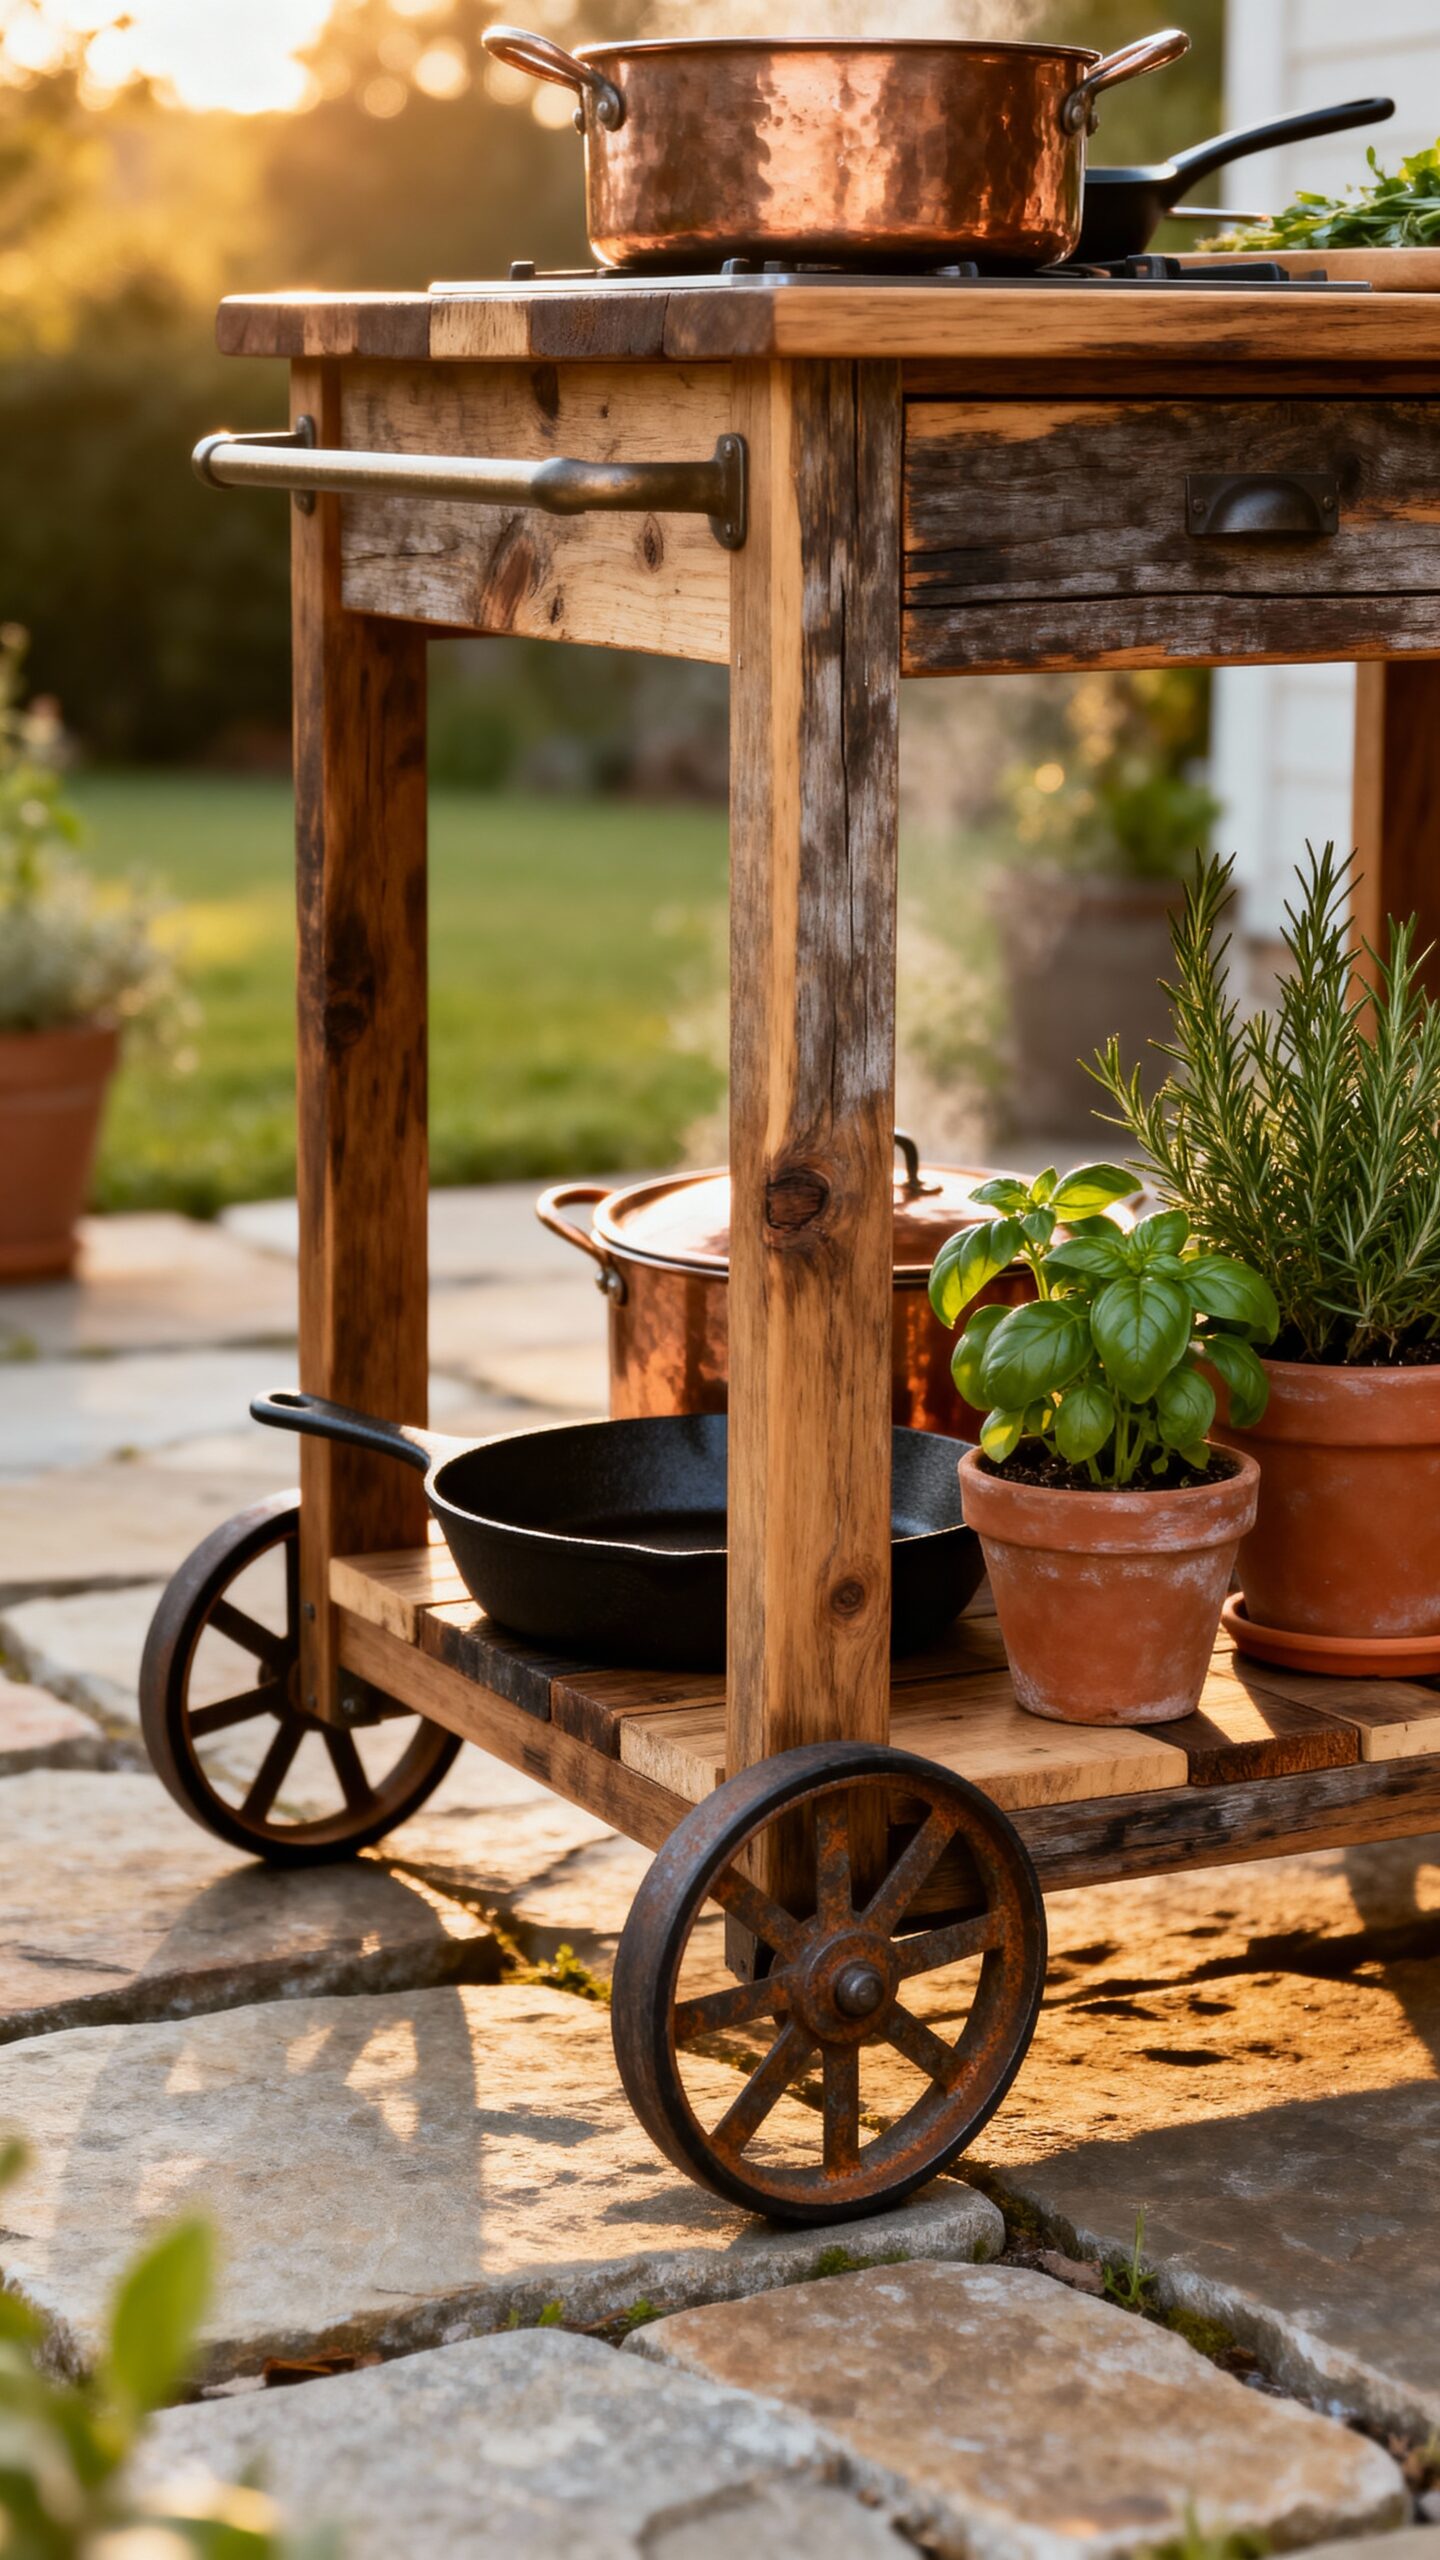
Often, creating a functional outdoor kitchen doesn’t require breaking the bank when you convert discarded materials into a versatile rolling cart island. You’ll upcycle materials like old furniture pieces, wooden pallets, or salvaged cabinets to build your mobile workspace. Start by reinforcing the frame and adding heavy-duty wheels for smooth movement across various surfaces.
Next, integrate storage solutions by installing hooks, shelves, and drawers to maximize organization. Consider adding a cutting board top, towel bars, and utensil holders. For optimal workflow efficiency, position your cart to create an L-shaped configuration with your existing outdoor cooking area. Paint with weather-resistant coating to protect your investment while achieving that custom look you desire.
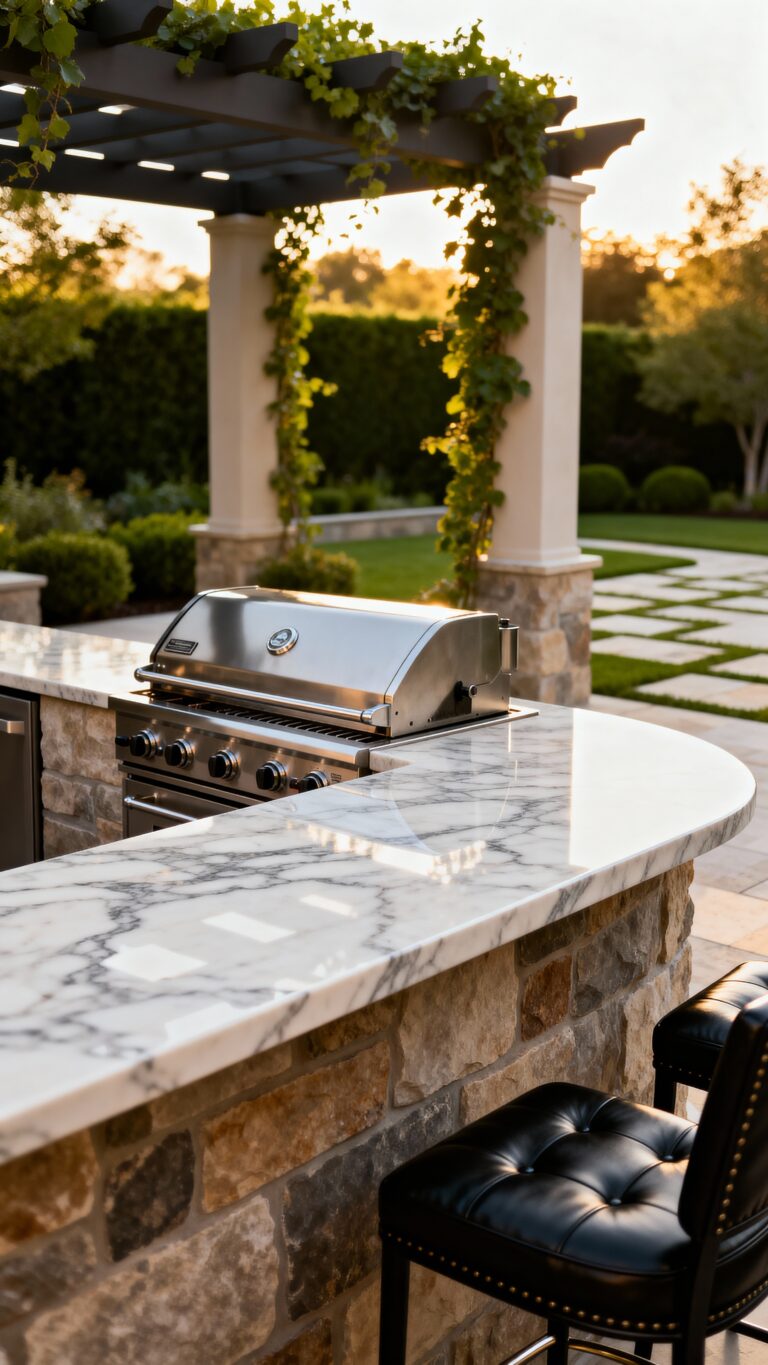
Create Countertops With Concrete and Mosaic Tiles
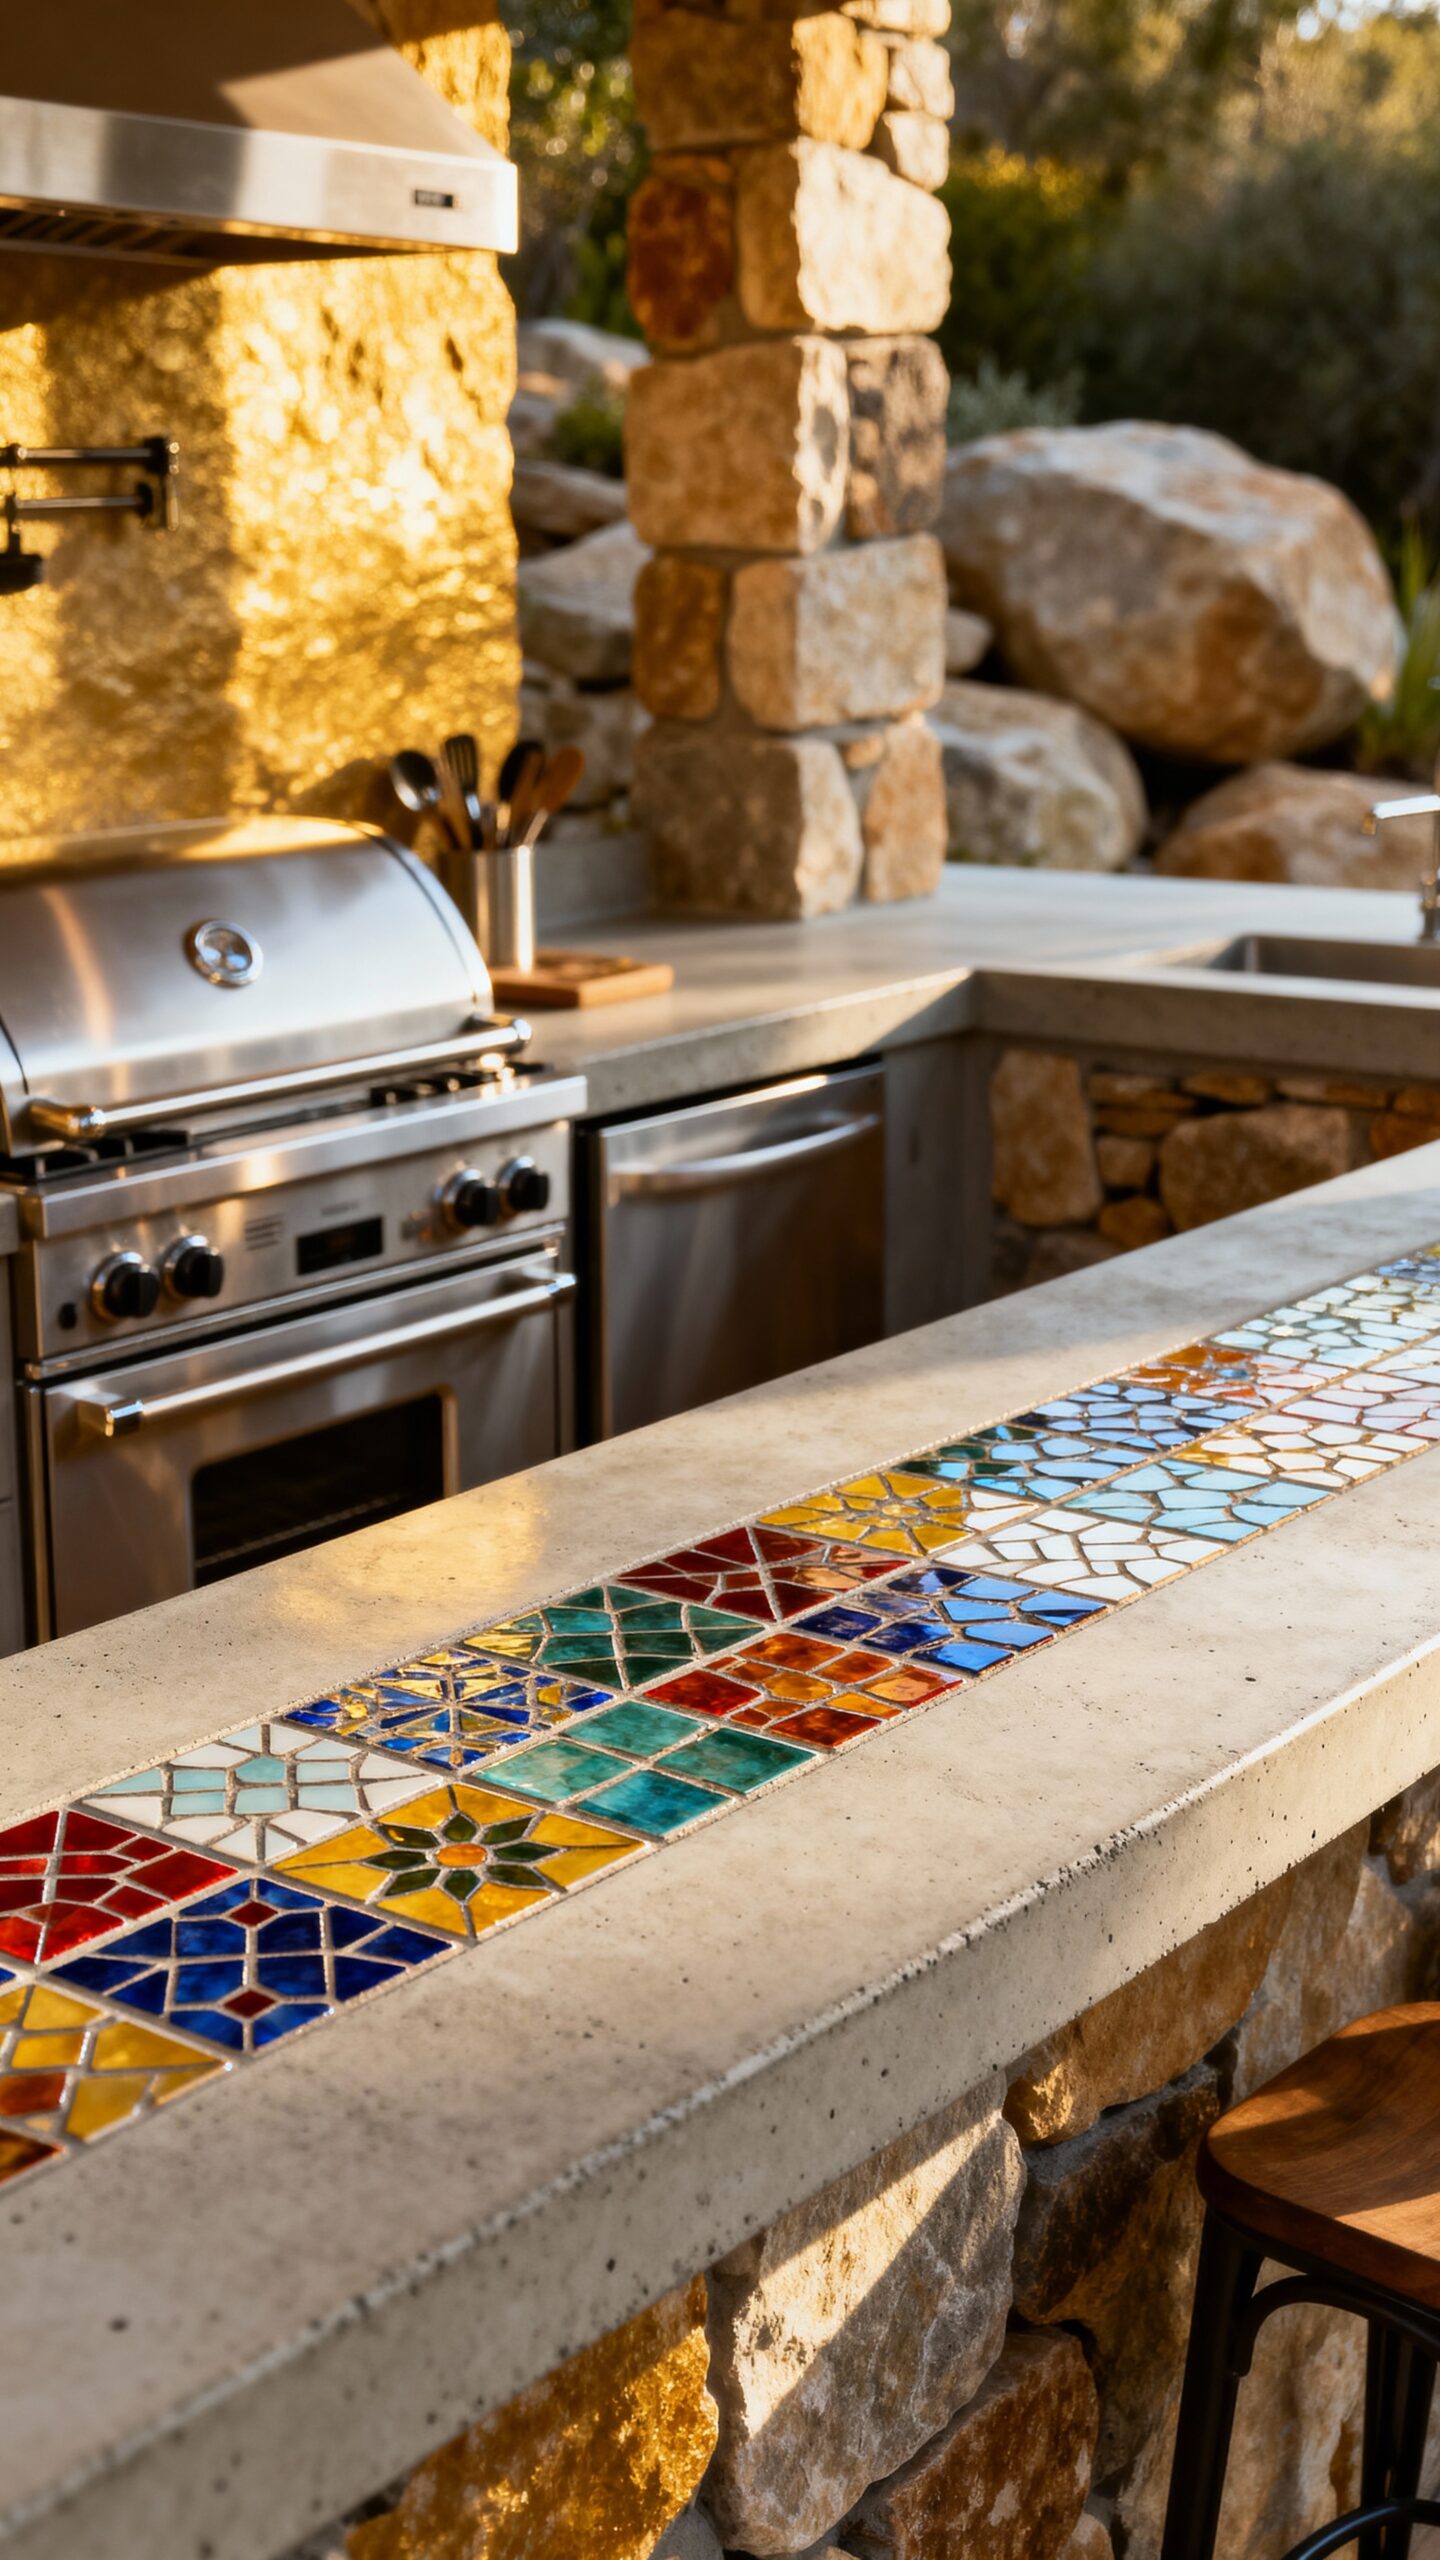
While your rolling cart provides excellent mobility, you’ll want a permanent workspace that combines durability with visual appeal through concrete and mosaic tile countertops.
You can create stunning surfaces by pouring concrete over plywood forms, then embedding colorful mosaic tile patterns while the material’s still workable. Stamped concrete finishes add texture and visual interest without breaking your budget. Choose broken ceramic pieces, glass tiles, or natural stones for your mosaic designs.
This DIY approach costs roughly 60% less than granite while giving you complete creative control over colors and patterns that reflect your personal outdoor living style. These outdoor kitchen countertops will withstand weather elements while maintaining their attractive appearance for years of entertaining.
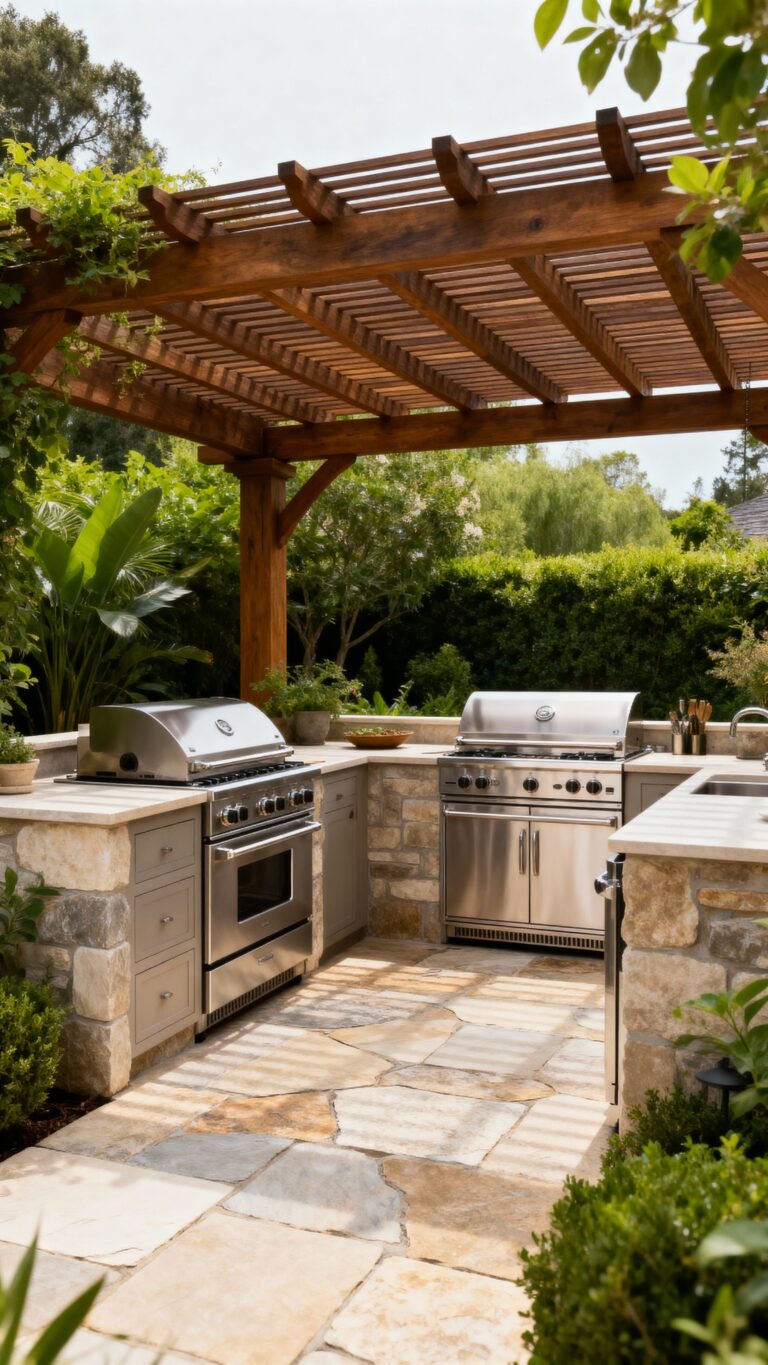
Transform a Weber Kettle Grill Into a Built-In Station

Since Weber kettle grills are built to last decades, you can easily convert yours into a professional-looking built-in station without sacrificing portability or functionality. Build a simple wooden frame around your grill using cedar or pressure-treated lumber, leaving the top open for ventilation.
Add side shelves for prep space and storage compartments underneath for tools and charcoal. This setup creates a dual purpose cooking surface that handles both grilling and serving. You’ll maintain quick grill setup while gaining countertop workspace. Consider incorporating this conversion into a well-planned outdoor kitchen layout that maximizes your available space and workflow efficiency. The conversion costs under $200 and alters your basic kettle into a custom outdoor cooking station.
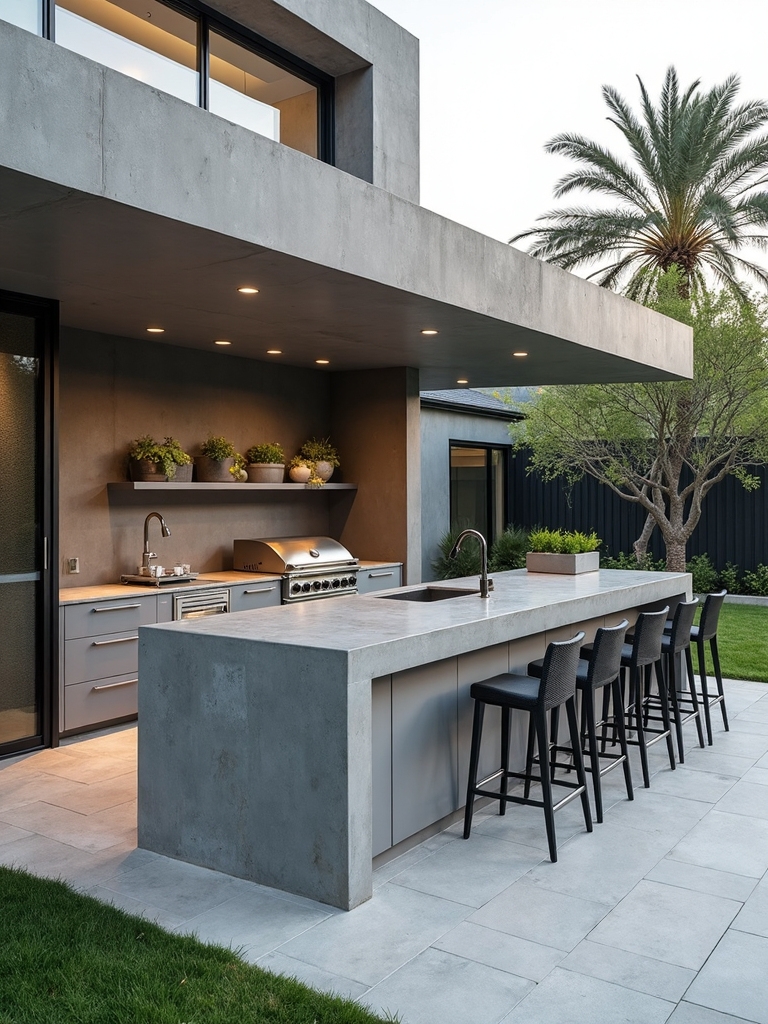
Use Cinder Blocks and Wood Planks for Modular Storage
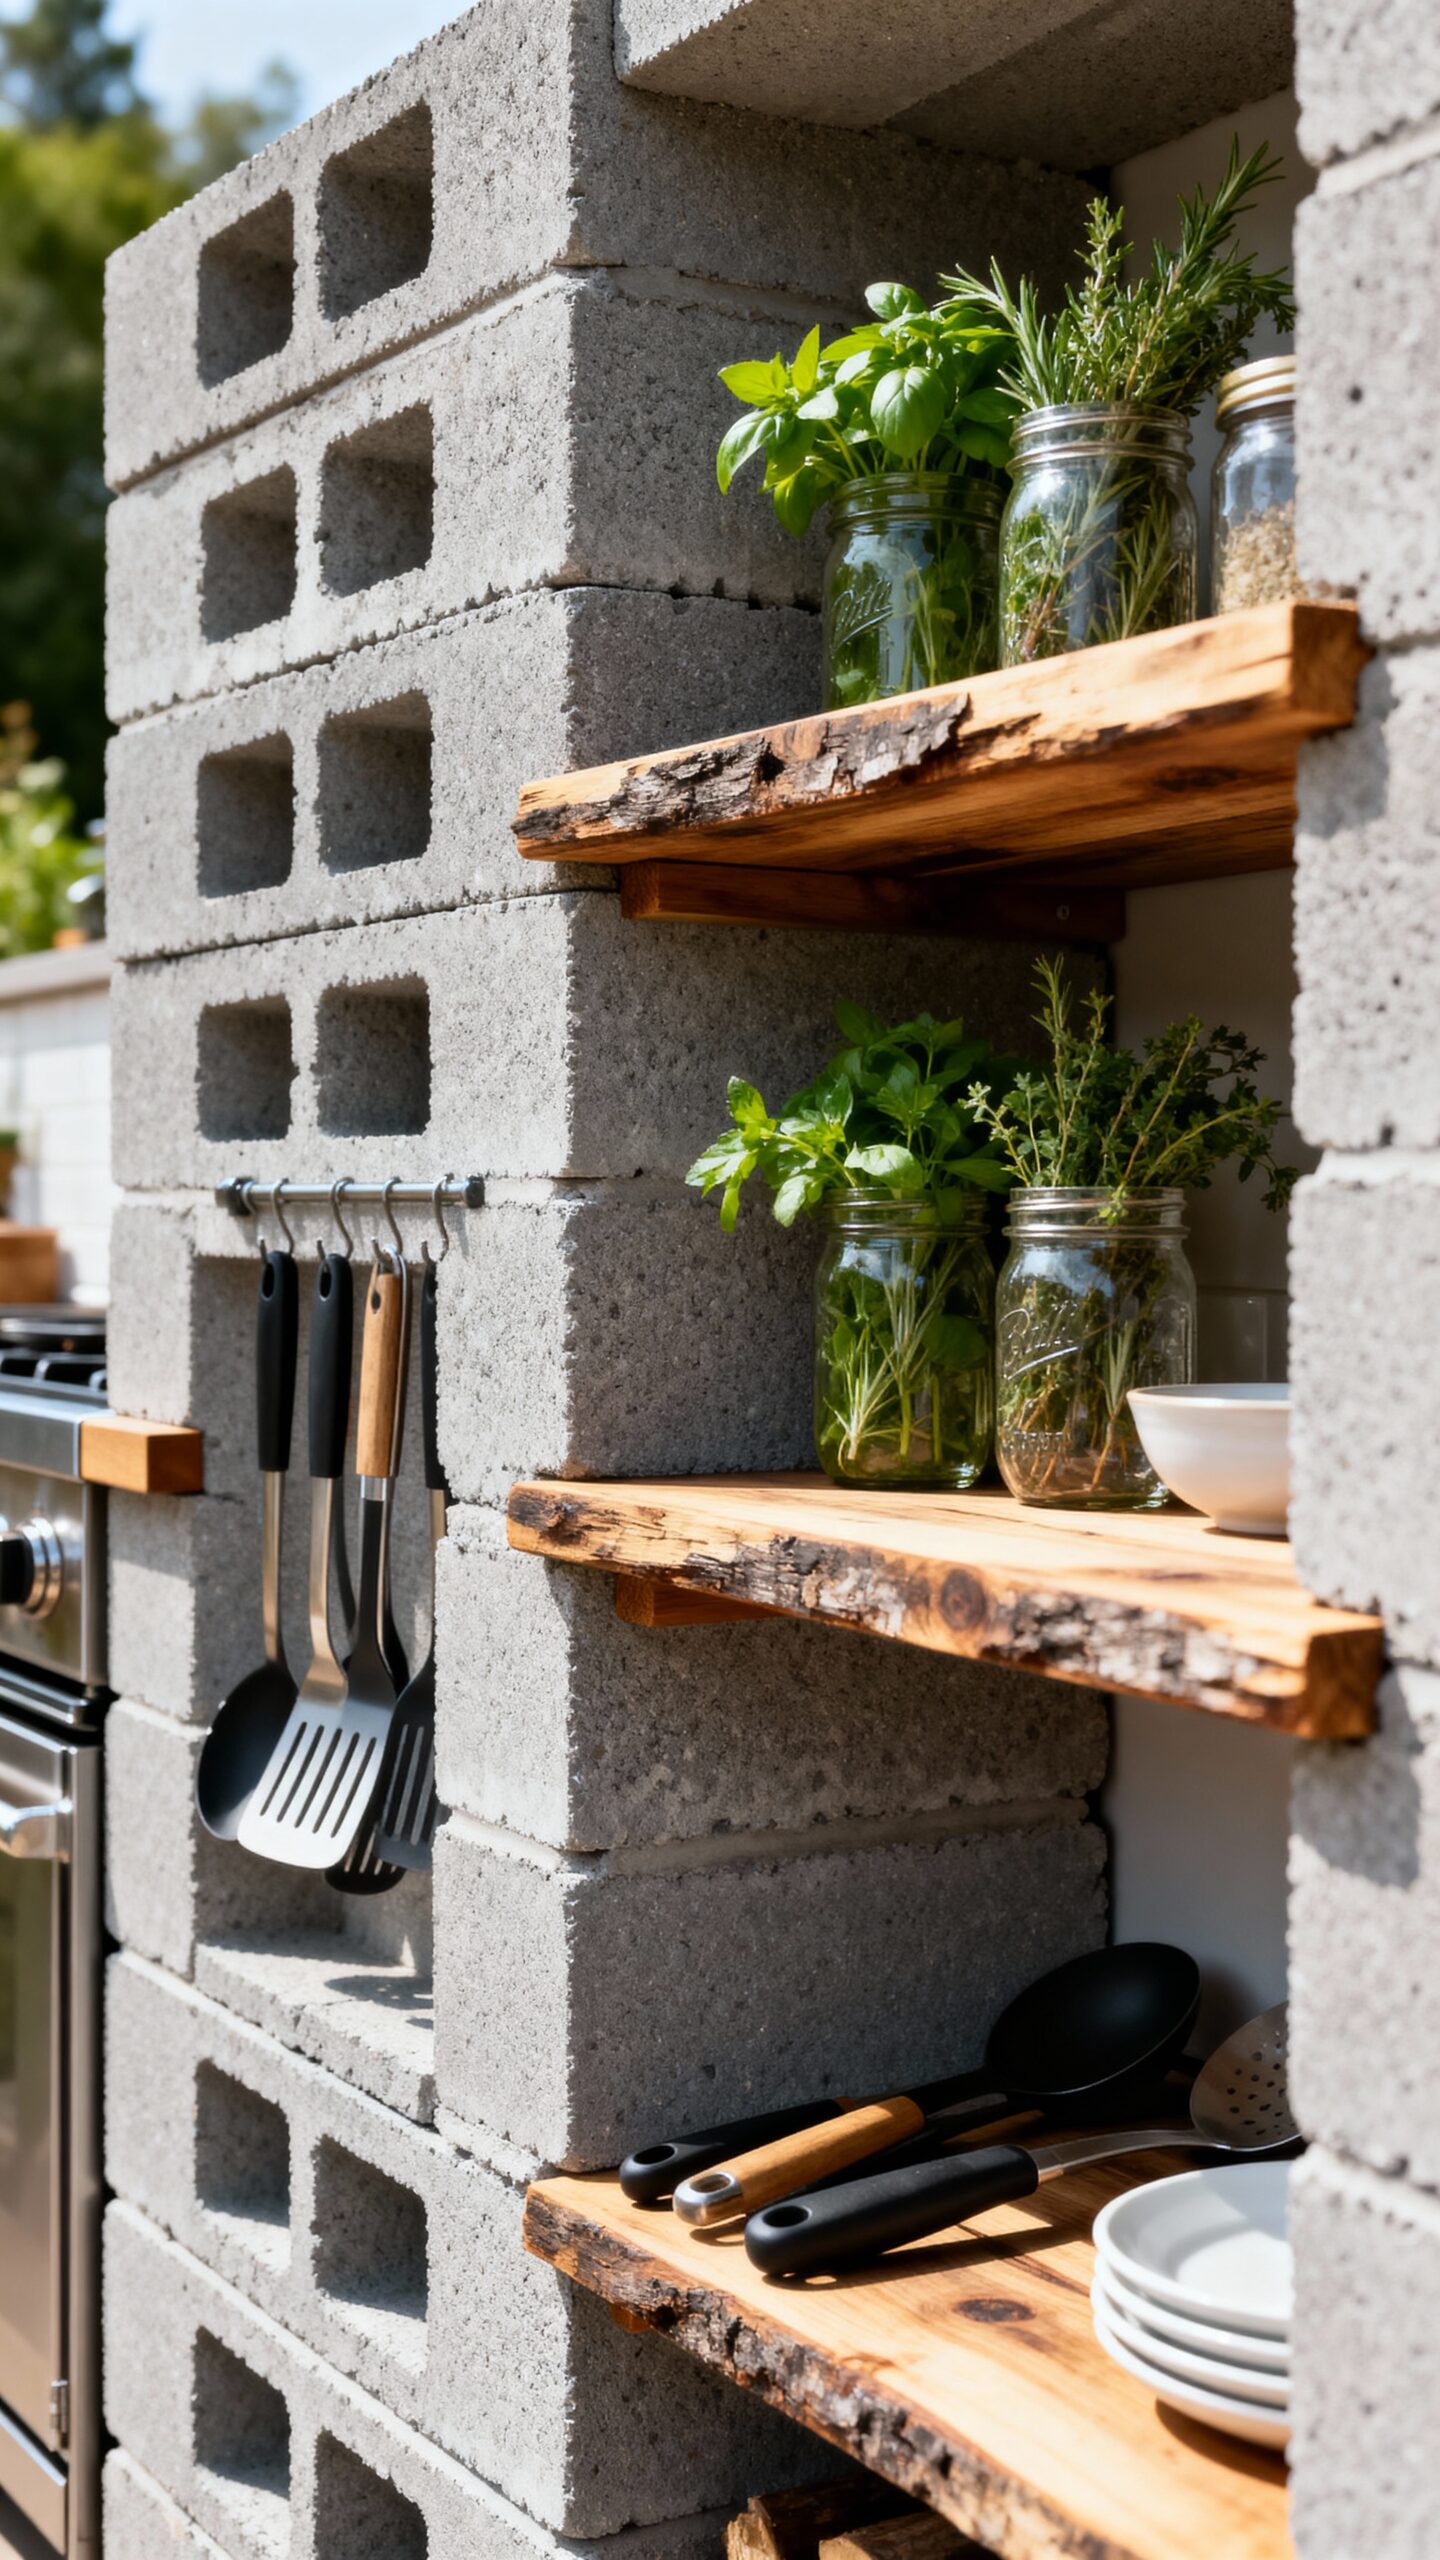
Concrete cinder blocks paired with sturdy wood planks create an incredibly versatile and budget-friendly storage system for your outdoor kitchen setup. You’ll stack blocks to your desired height, then slide wooden planks between them to form shelves and countertops. This approach gives you complete control over dimensions and layout without permanent installation commitments.
Using concrete pavers as a base provides extra stability for your structure. When designing modular storage units, you can easily reconfigure sections as your needs change. Add wheels to wooden planks for mobile prep stations, or create dedicated zones for grilling tools and outdoor dining essentials. This flexible setup can even serve as a central cooking hub where family and friends naturally gather around your outdoor culinary space.
Install Pegboard Walls for Vertical Tool Organization
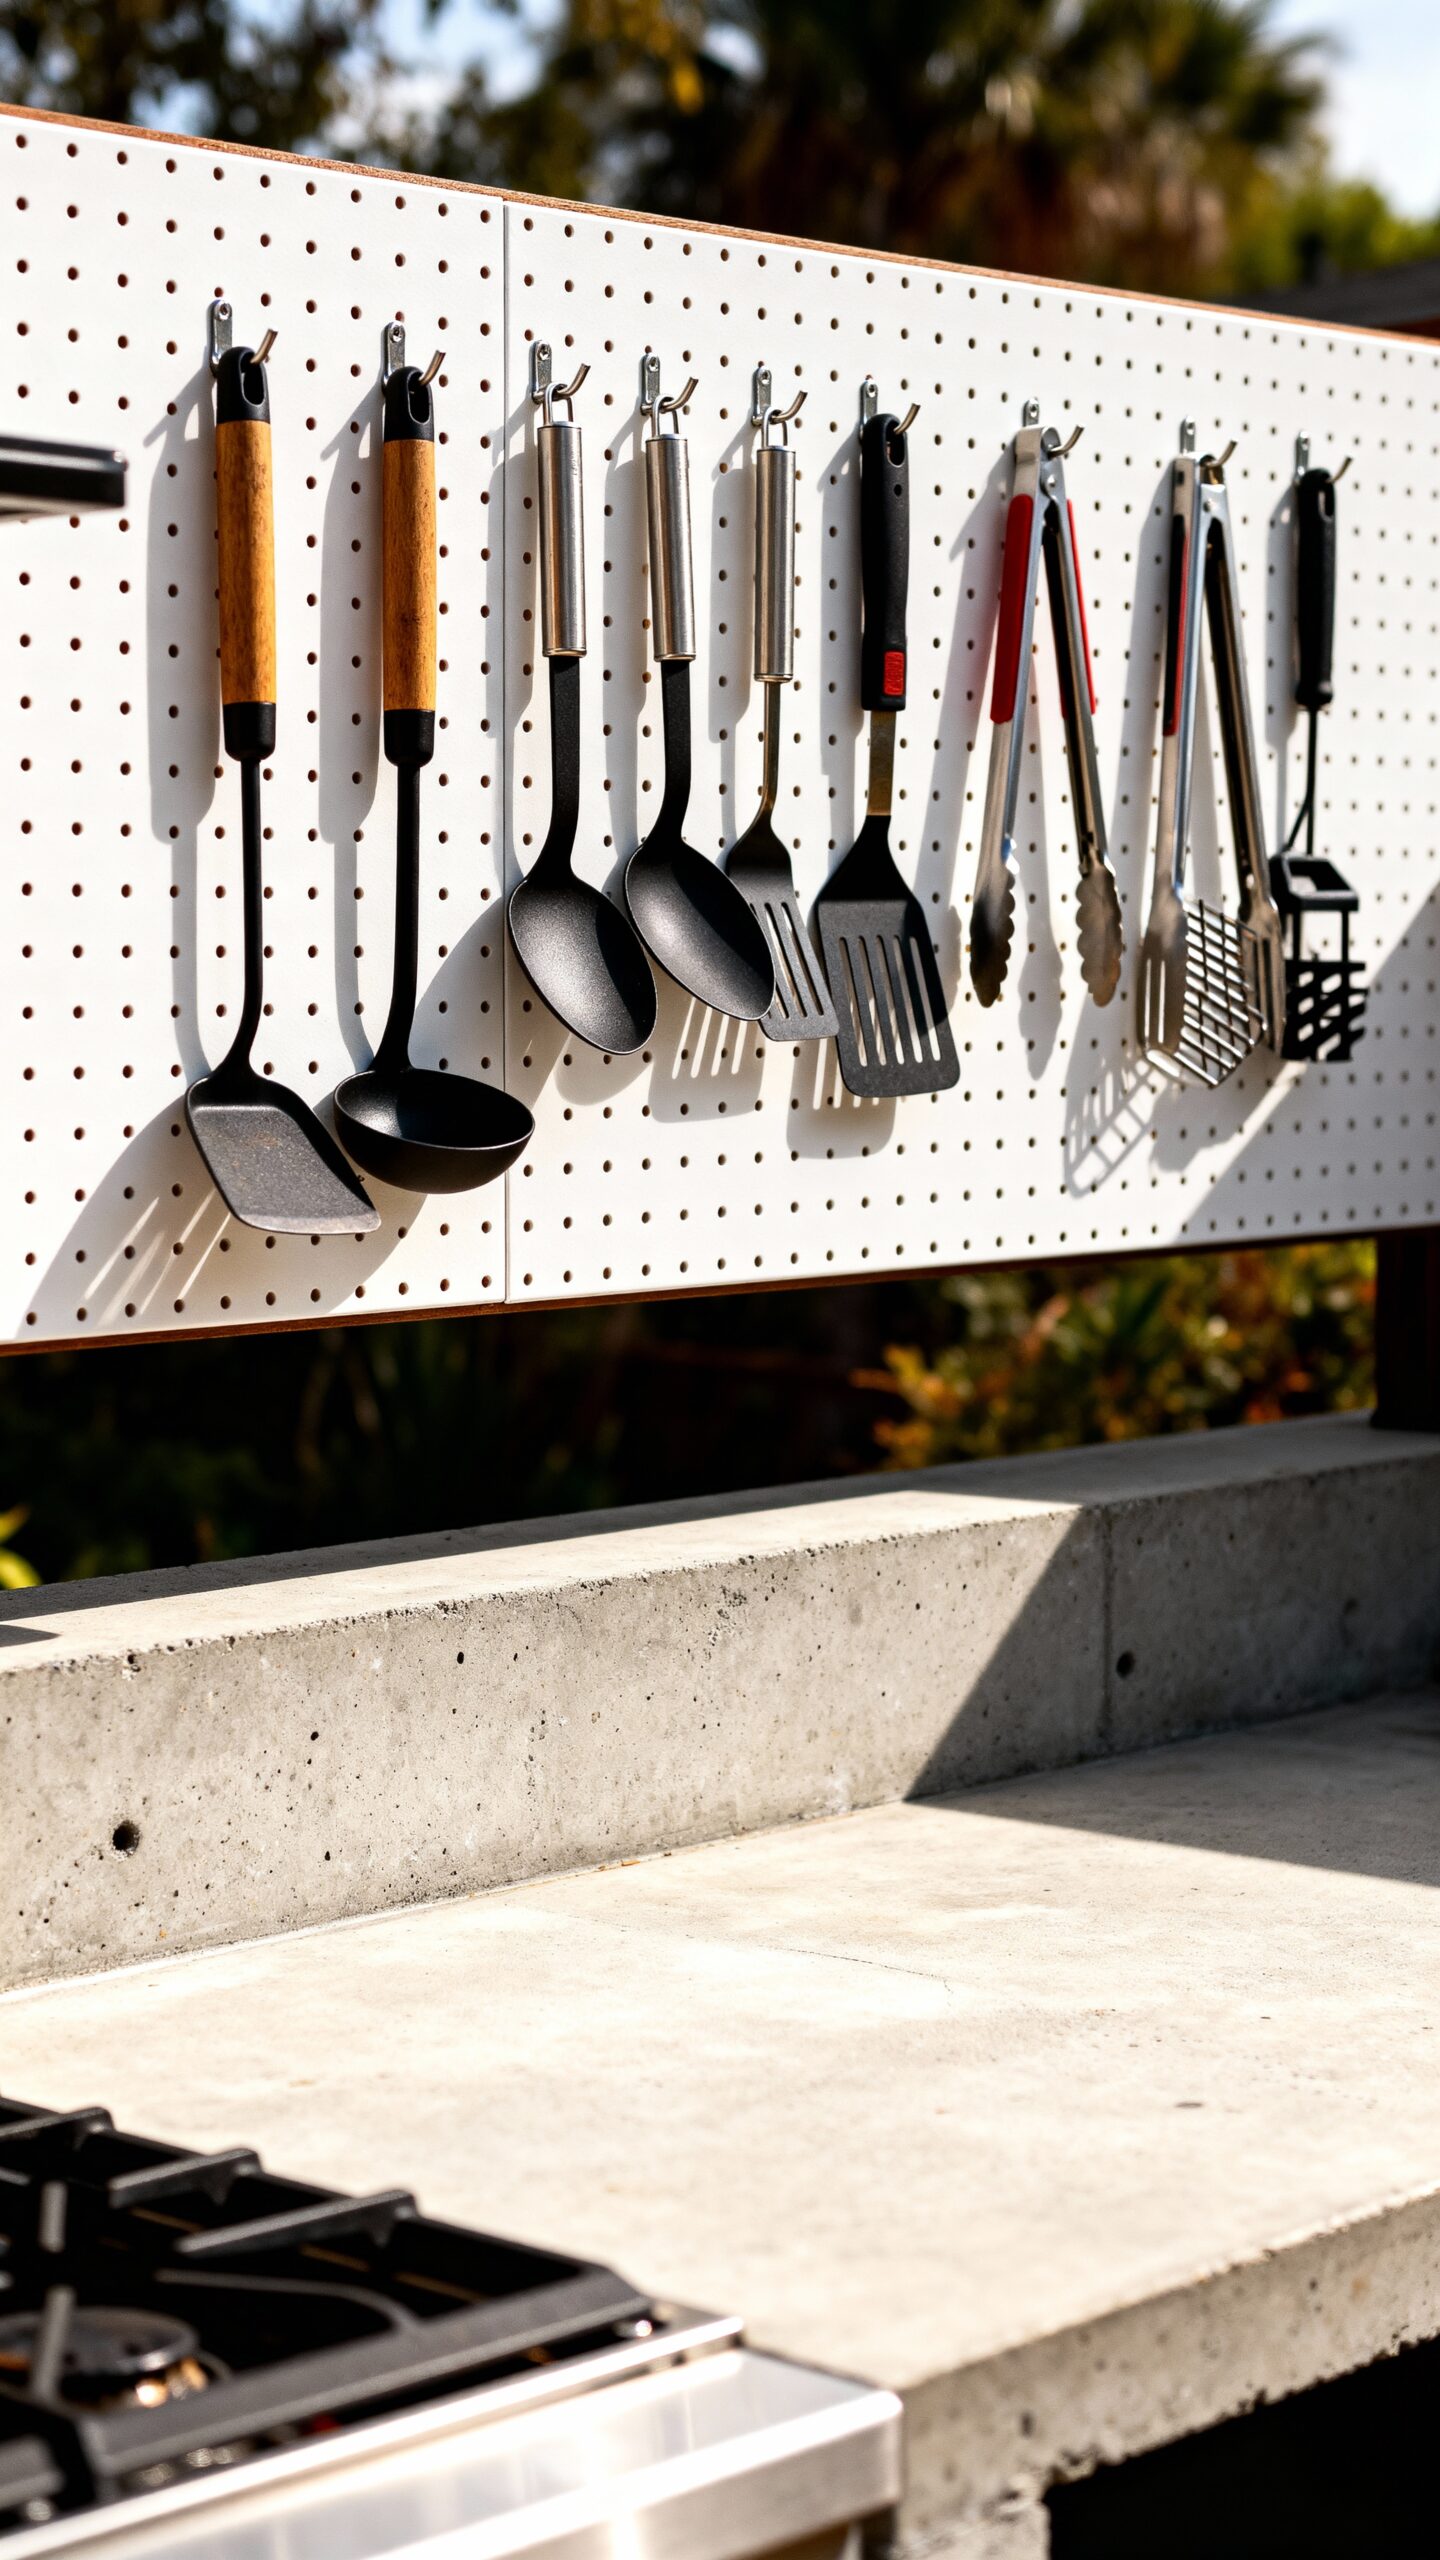
Pegboard walls change vertical surfaces into highly organized tool storage systems that’ll keep your outdoor kitchen equipment within easy reach. You can mount standard pegboard panels on existing walls or fences using simple brackets and screws.
This vertical tool arrangement maximizes your available space while keeping grilling tools, measuring cups, and cleaning supplies visible and accessible. Choose weather-resistant pegboard materials like metal or treated wood that’ll withstand outdoor conditions.
Pegboard space optimization works especially well in small outdoor kitchens where every square inch counts. Add hooks, baskets, and shelves to customize your storage based on your specific cooking needs. For items that need complete protection from the elements, consider pairing your pegboard system with weatherproof storage cabinets underneath for dishes and supplies that require enclosed storage.
Design a Rustic Bar Area With Reclaimed Pallets
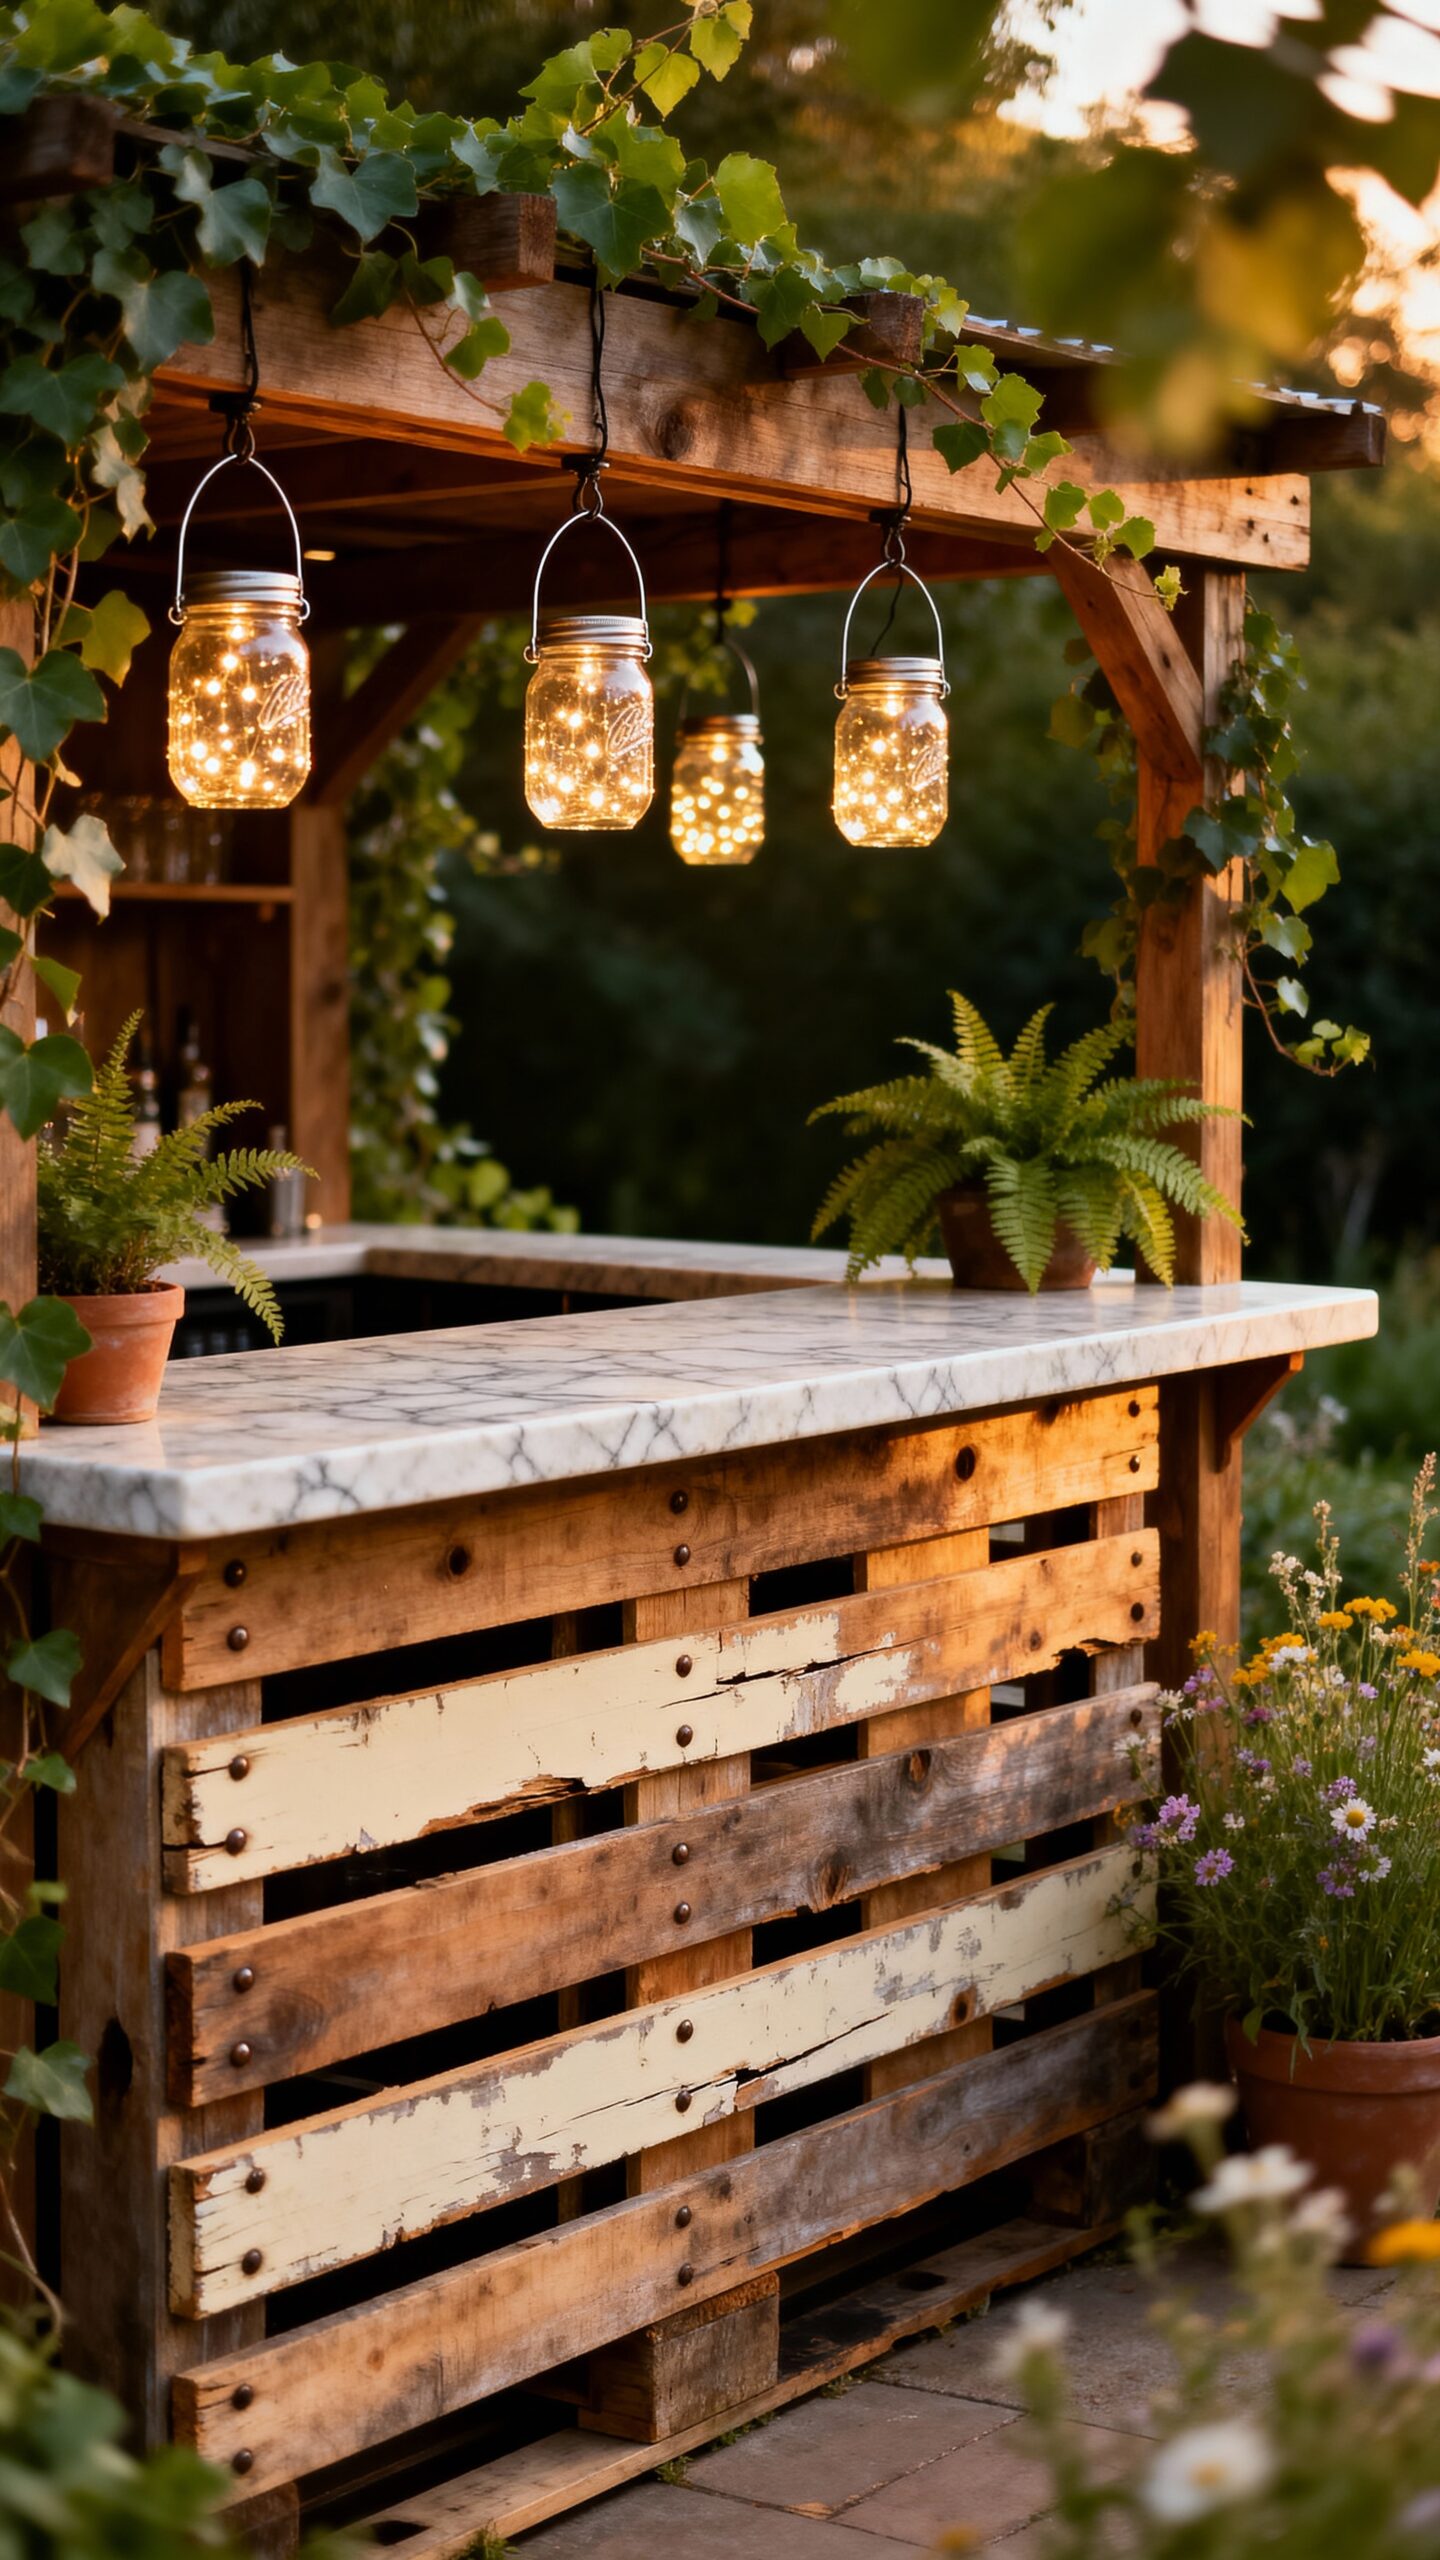
How can you create an inviting outdoor bar without spending hundreds of dollars on new materials? Reclaimed pallets offer the perfect solution for building a rustic bar area that screams personality and freedom. Sand down weathered wooden planks from free pallets, then stack and secure them to create your bar base.
Add an upcycled wine barrel as a side table or extra seating area. Install a simple plywood top, seal everything with outdoor stain, and you’ve got yourself a conversation-starter that cost less than fifty dollars to build. This setup creates an ideal space for entertaining guests while maintaining that coveted rustic aesthetic.
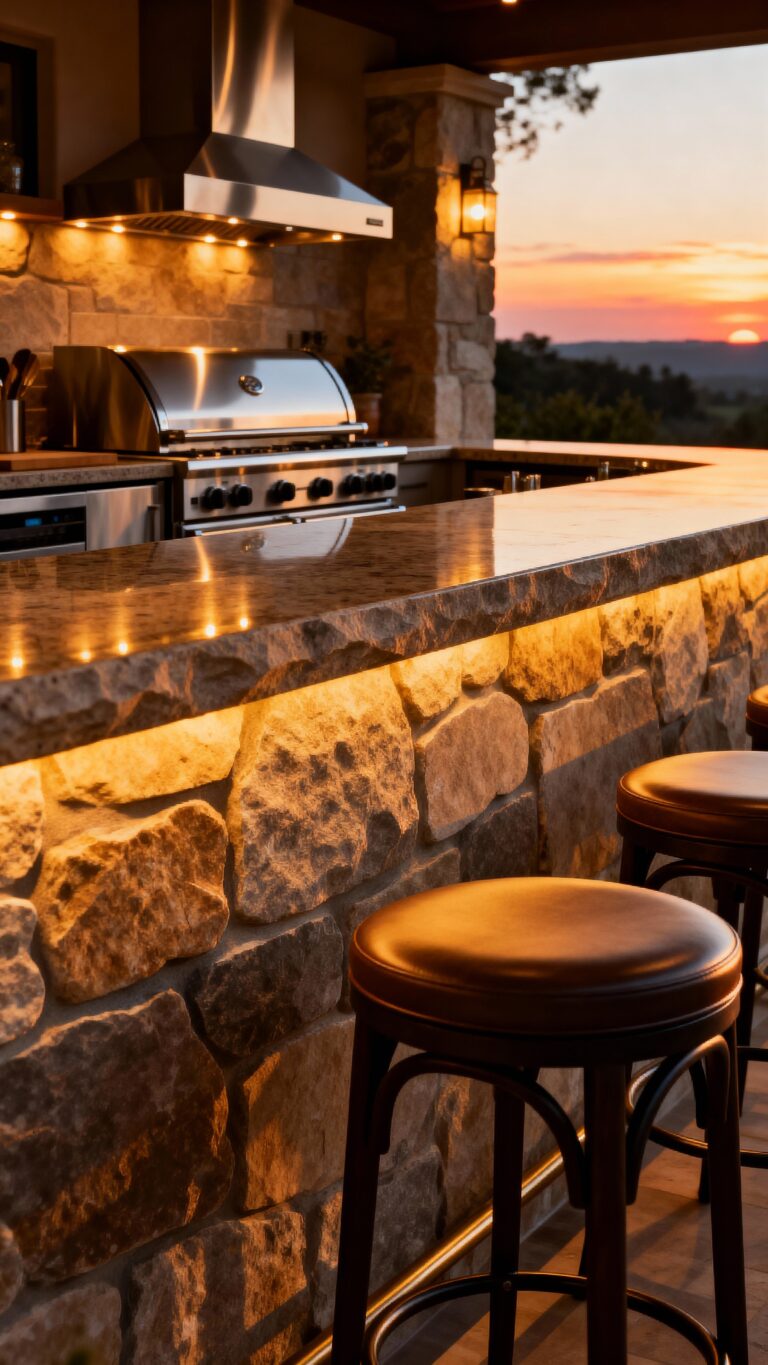
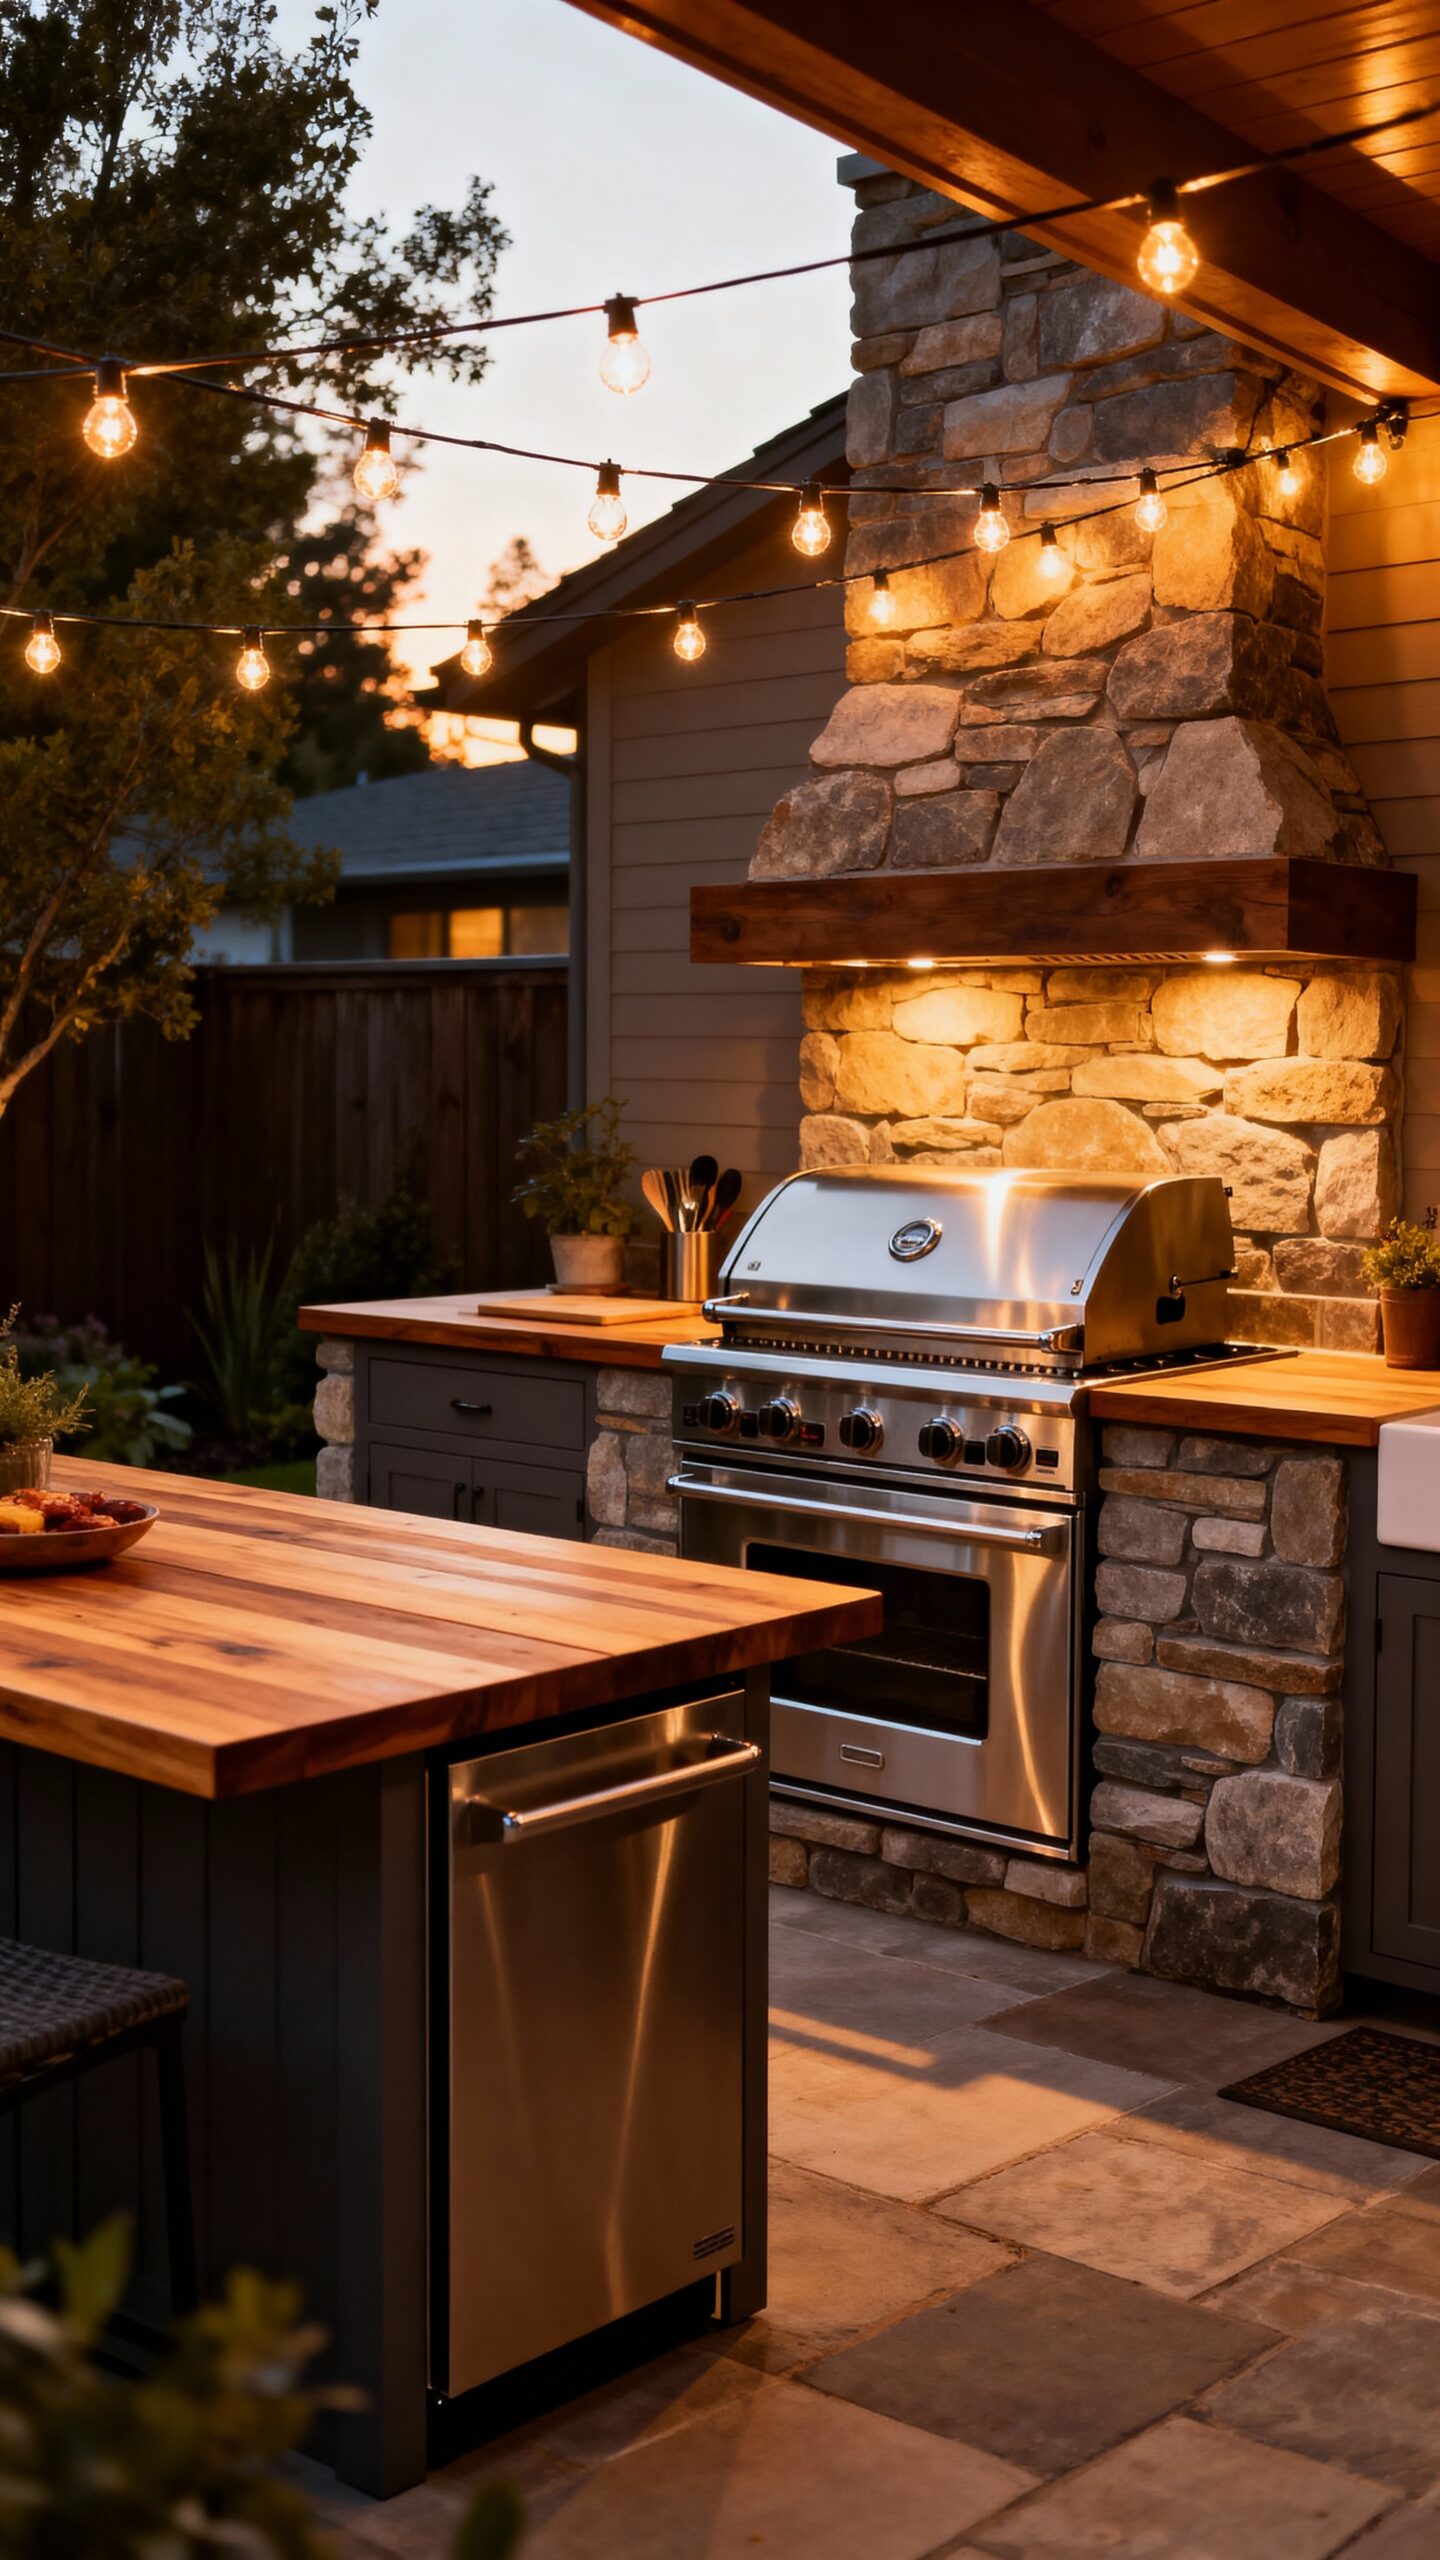
Add String Lights and Solar Lanterns for Ambient Lighting
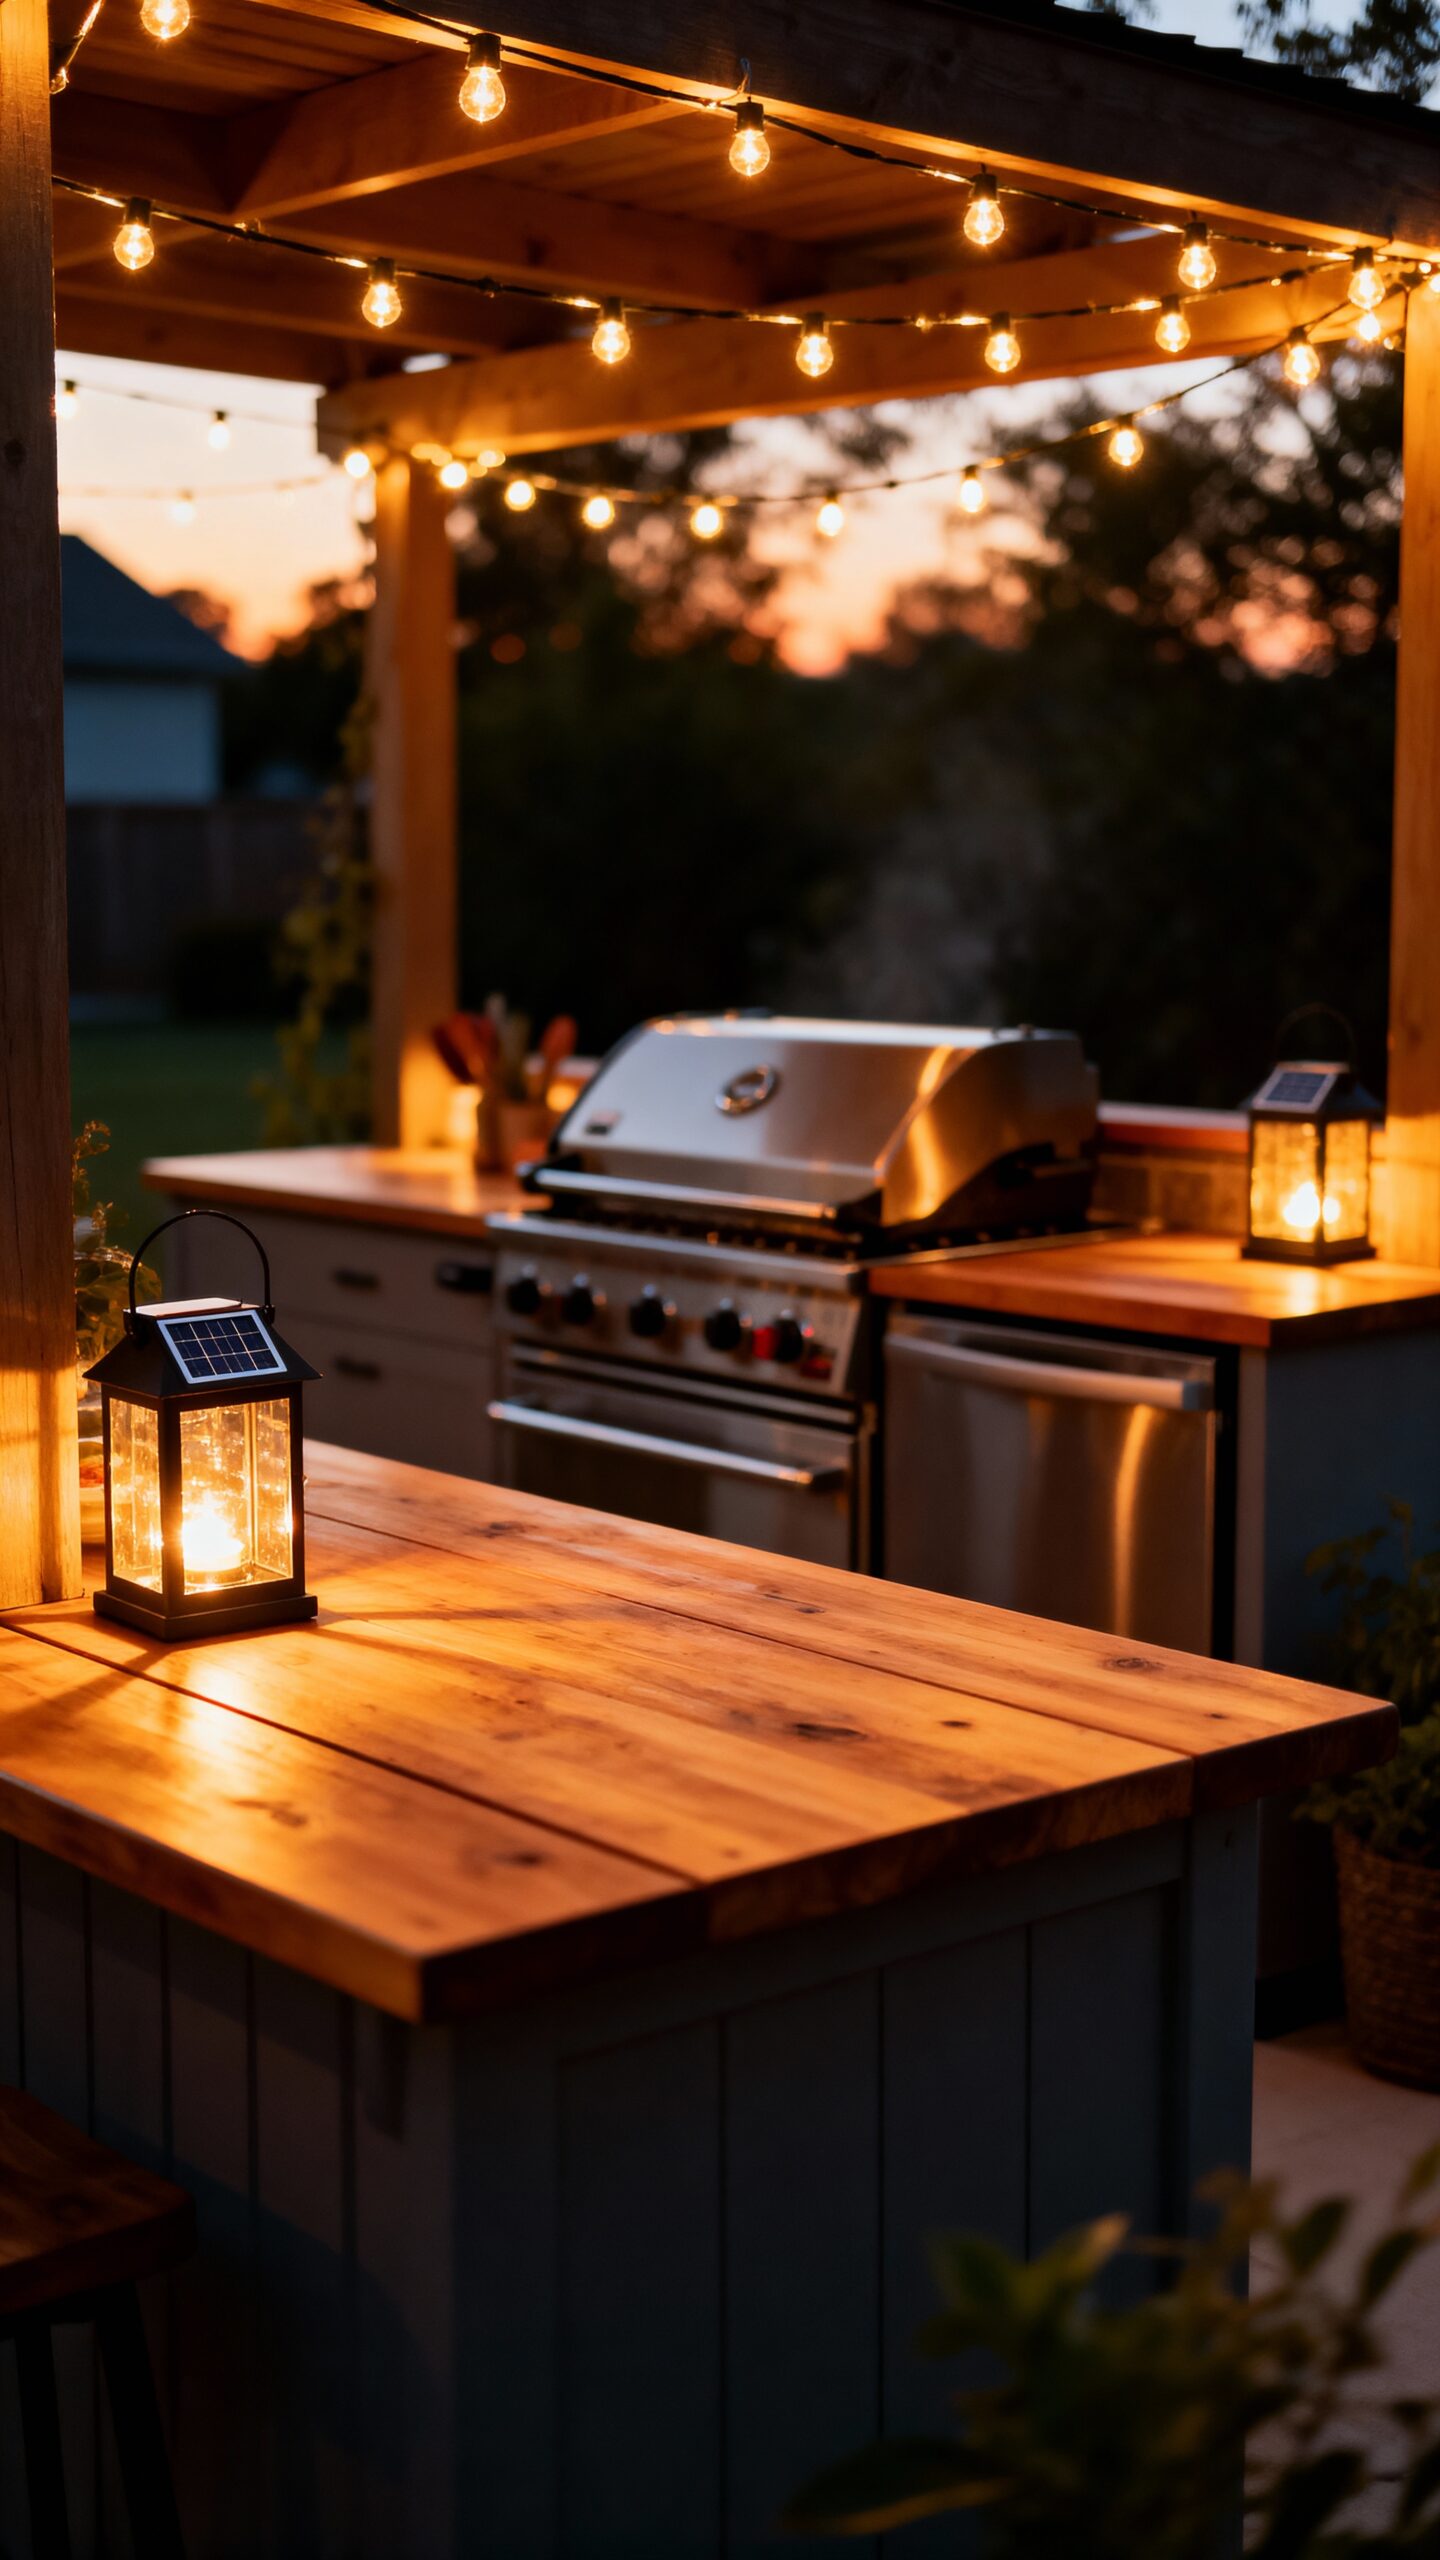
Nothing alters your rustic pallet bar into an enchanting evening gathering spot quite like the warm glow of well-placed lighting. You’ll convert your outdoor kitchen into a magical space without breaking your budget.
Weatherproof string lights offer the most affordable lighting solution. Drape them around your bar’s edges, weave through overhead beams, or create a canopy effect above seating areas. Choose warm white LED bulbs for cozy ambiance.
Battery powered lanterns provide flexible accent lighting you can move anywhere. Place them on bar surfaces, hang from hooks, or scatter around dining areas. Solar options eliminate electricity costs while providing reliable illumination throughout evening gatherings.
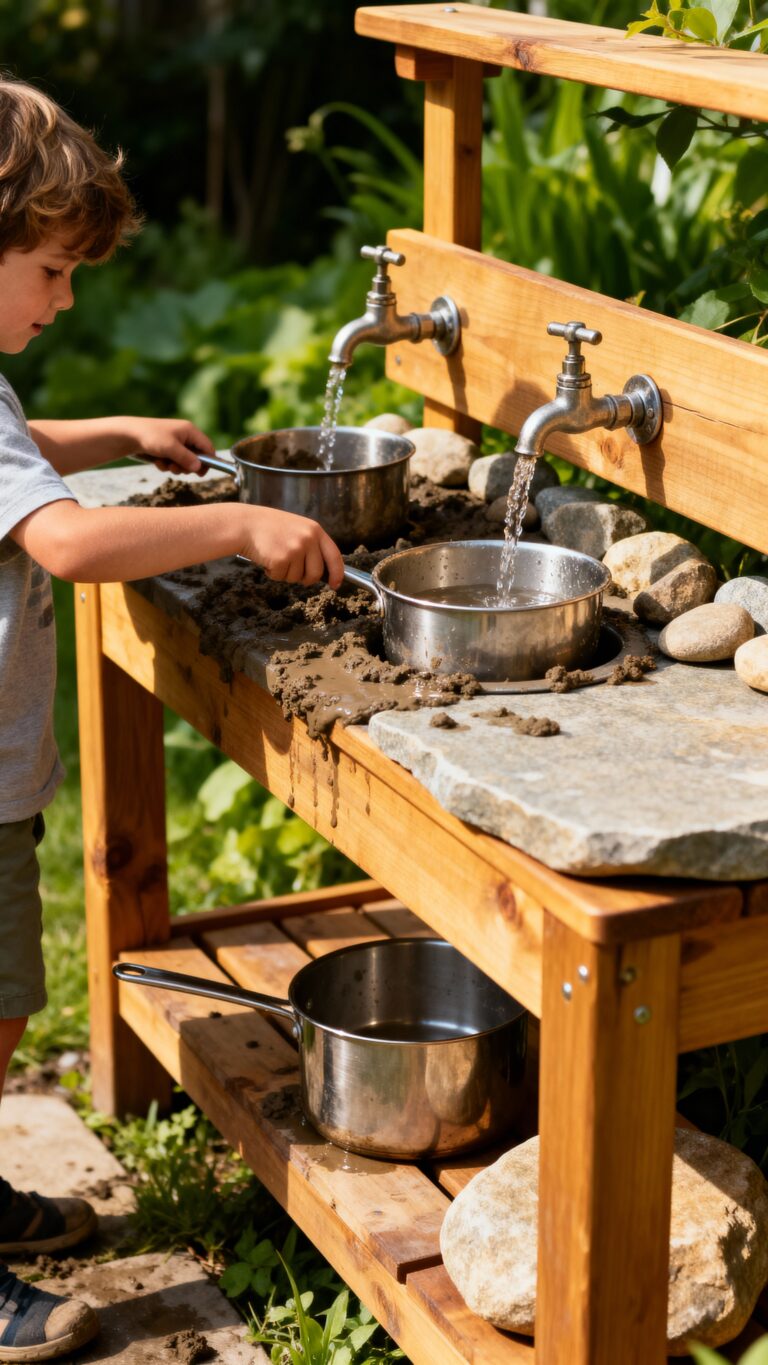
Create a Portable Sink Station With a Garden Hose Connection
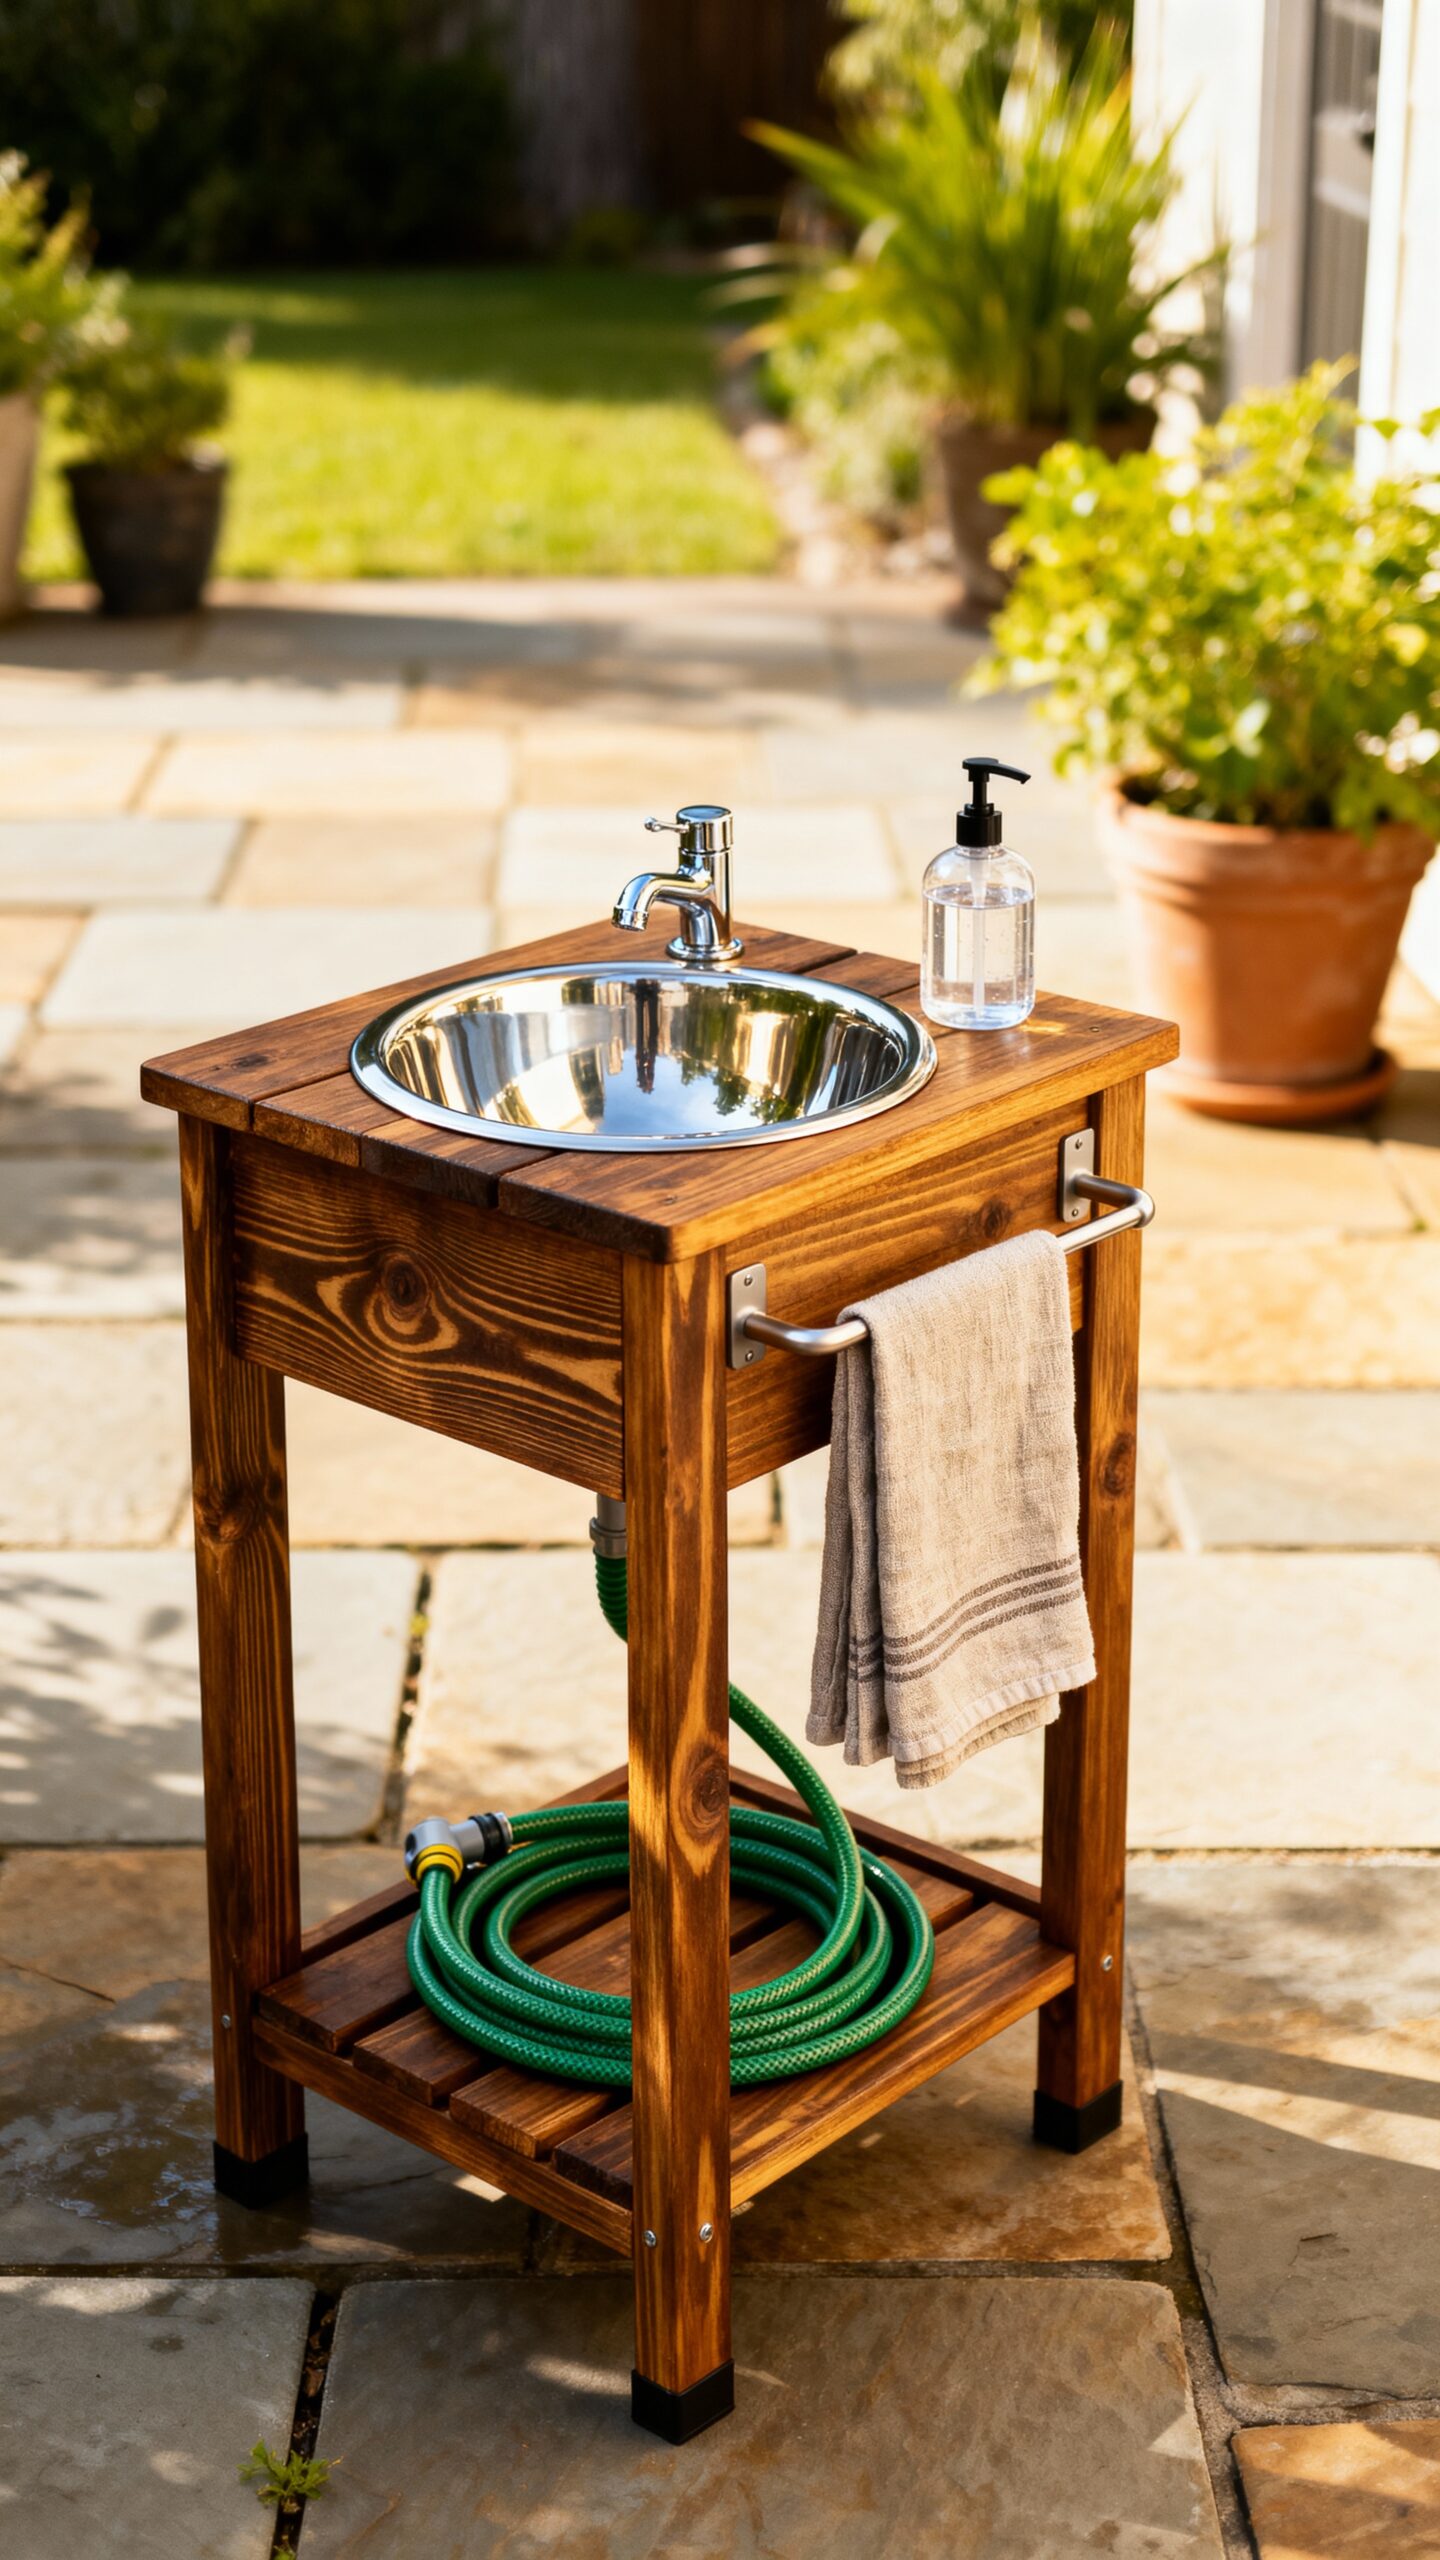
Running water alters your outdoor kitchen from a basic setup into a fully functional cooking space that rivals any indoor facility. You’ll create freedom from constant indoor trips by connecting a portable basin to your garden hose.
Mount a simple spigot on a weatherproof stand, then position a lightweight basin underneath for washing dishes and prepping food. These water efficient plumbing options cost under $50 and require zero permanent installation. Add compact storage solutions like hanging towel bars and soap dispensers to maximize functionality. You’ll enjoy complete independence while maintaining the convenience of running water outdoors.
Build Custom Shelving Using PVC Pipes and Fabric
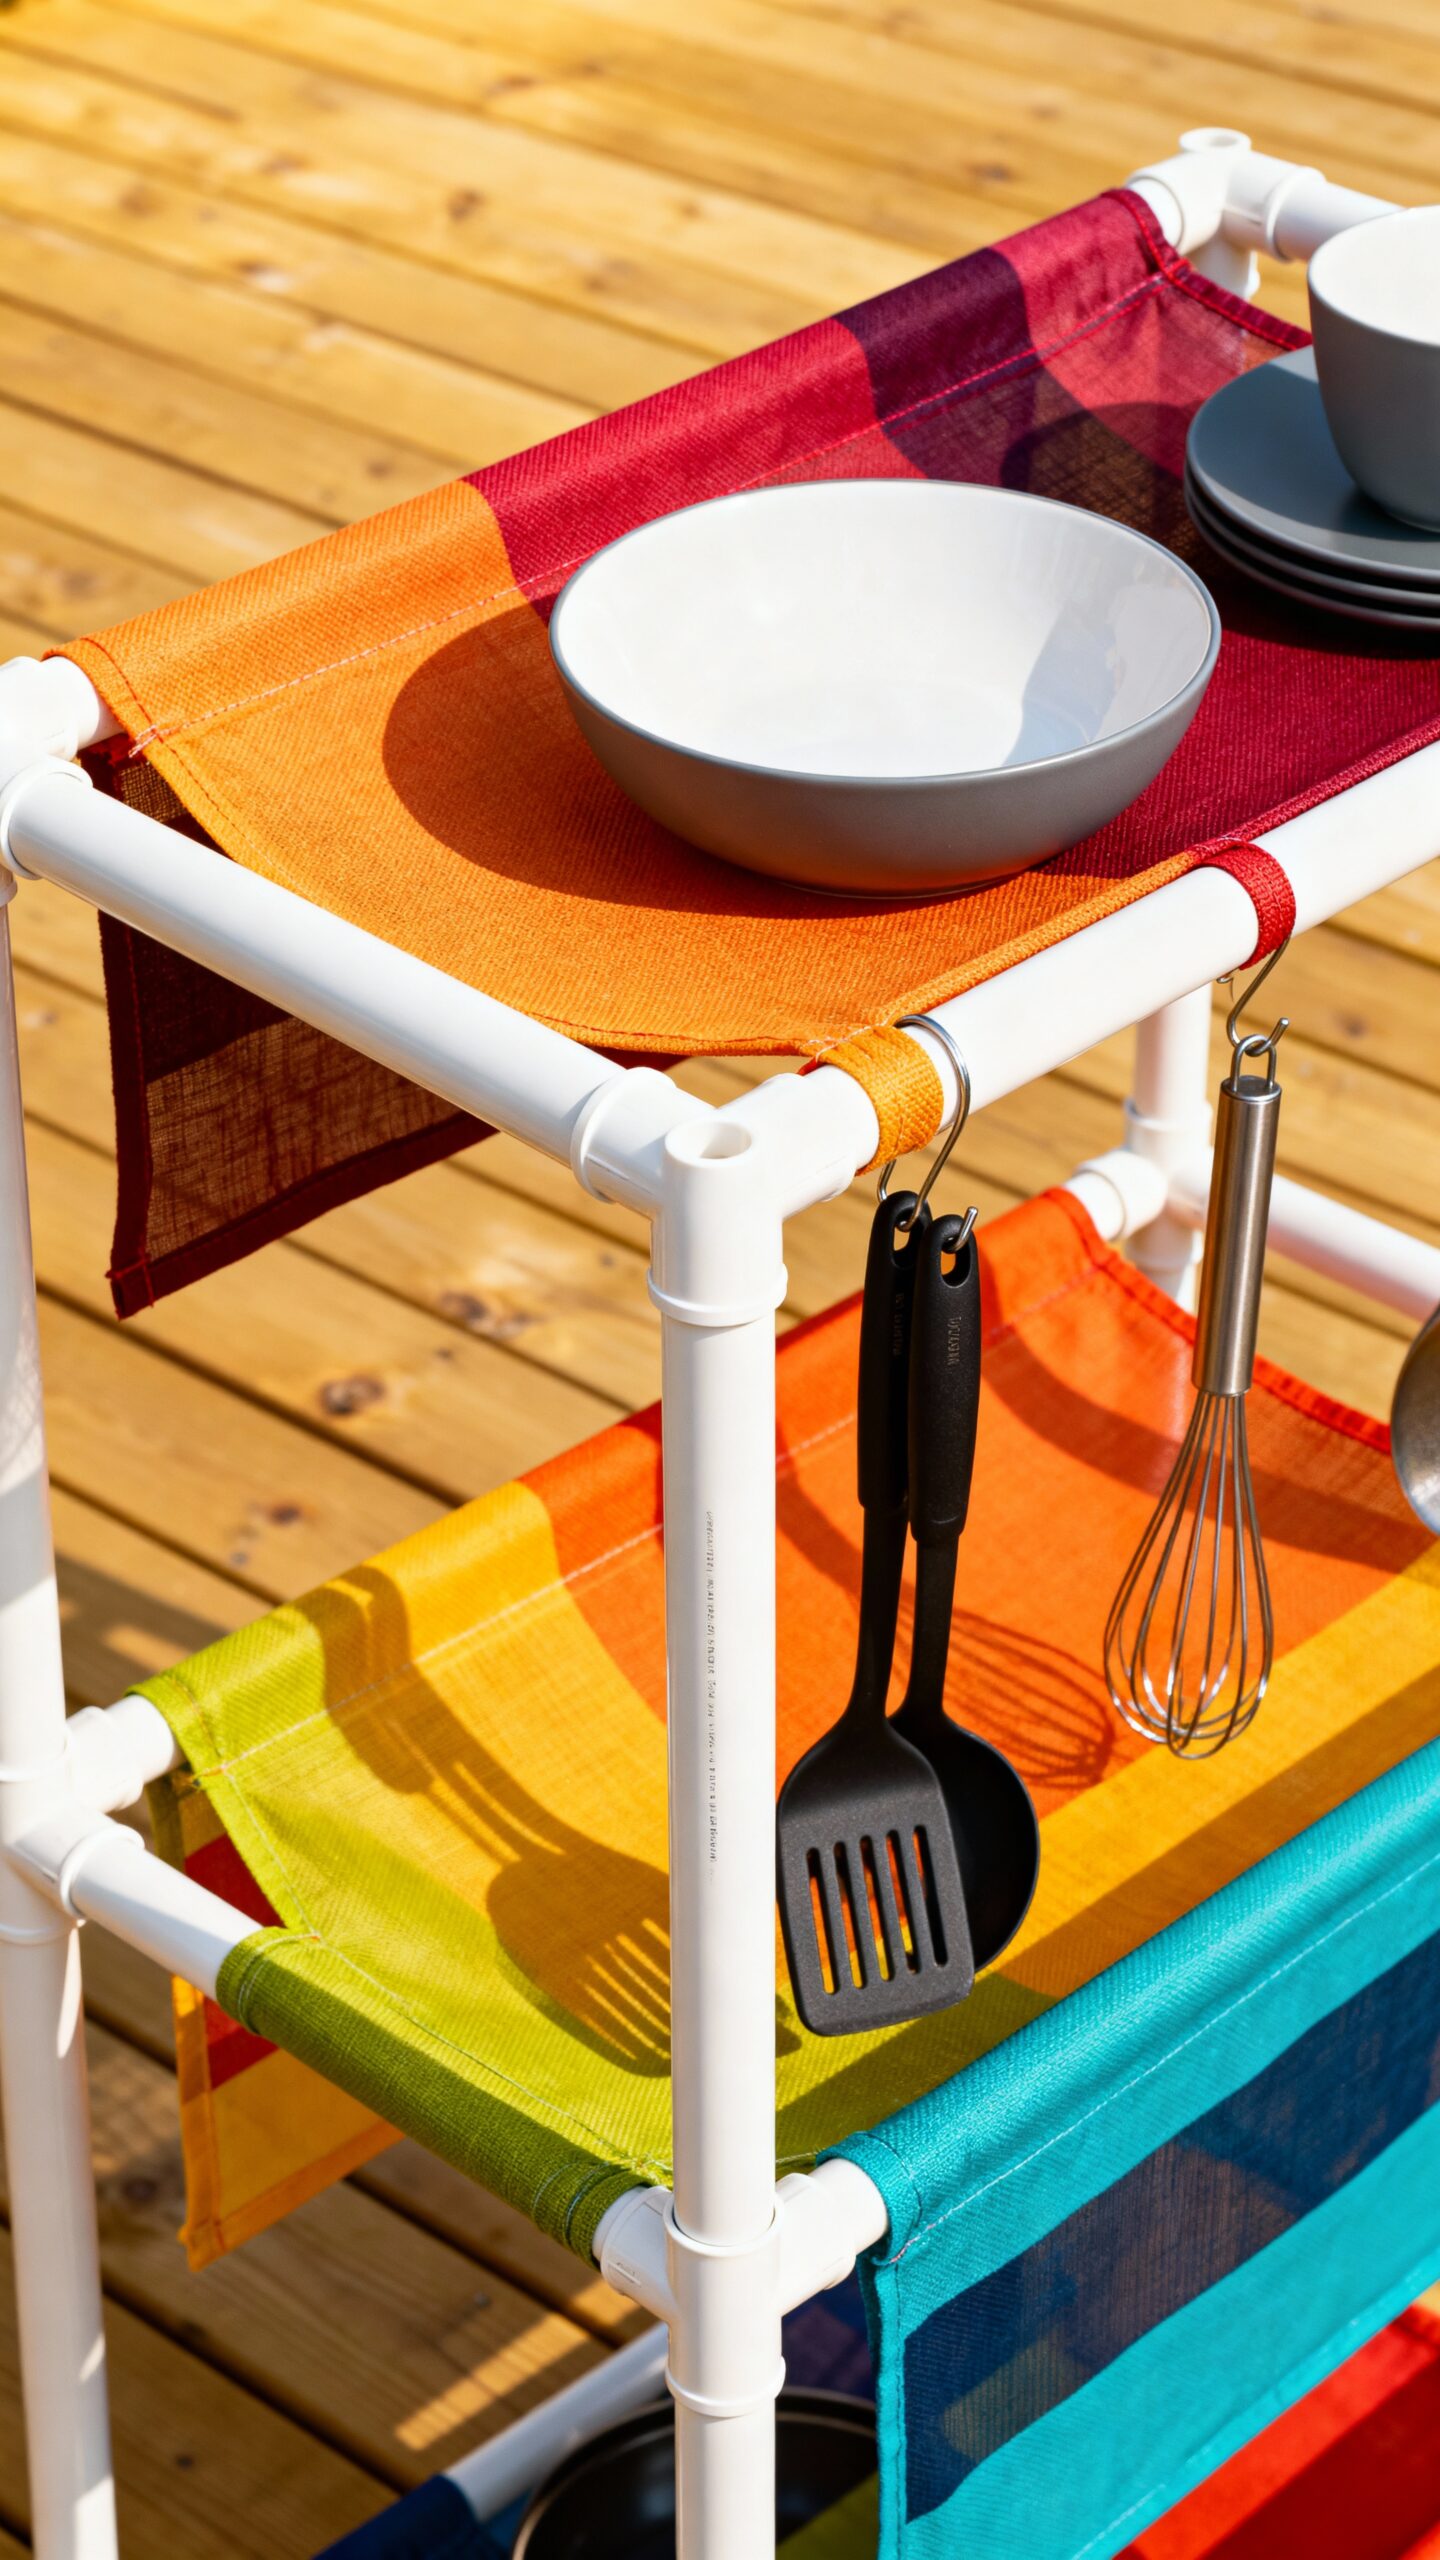
While traditional shelving systems drain your budget quickly, PVC pipes and fabric create versatile storage solutions that cost less than $30 per unit. You’ll use PVC pipe supports as the structure, connecting joints with standard elbows and tees for maximum stability.
Start by cutting pipes to your desired dimensions, then assemble the frame without glue for easy adjustments. Next, incorporate decorative fabrics by stretching waterproof canvas or vinyl between horizontal supports, creating practical shelves for dishes, utensils, and cooking supplies.
This lightweight system moves anywhere you need extra storage, giving you complete control over your outdoor kitchen’s organization and style.
Repurpose an Old Dresser Into an Outdoor Prep Station
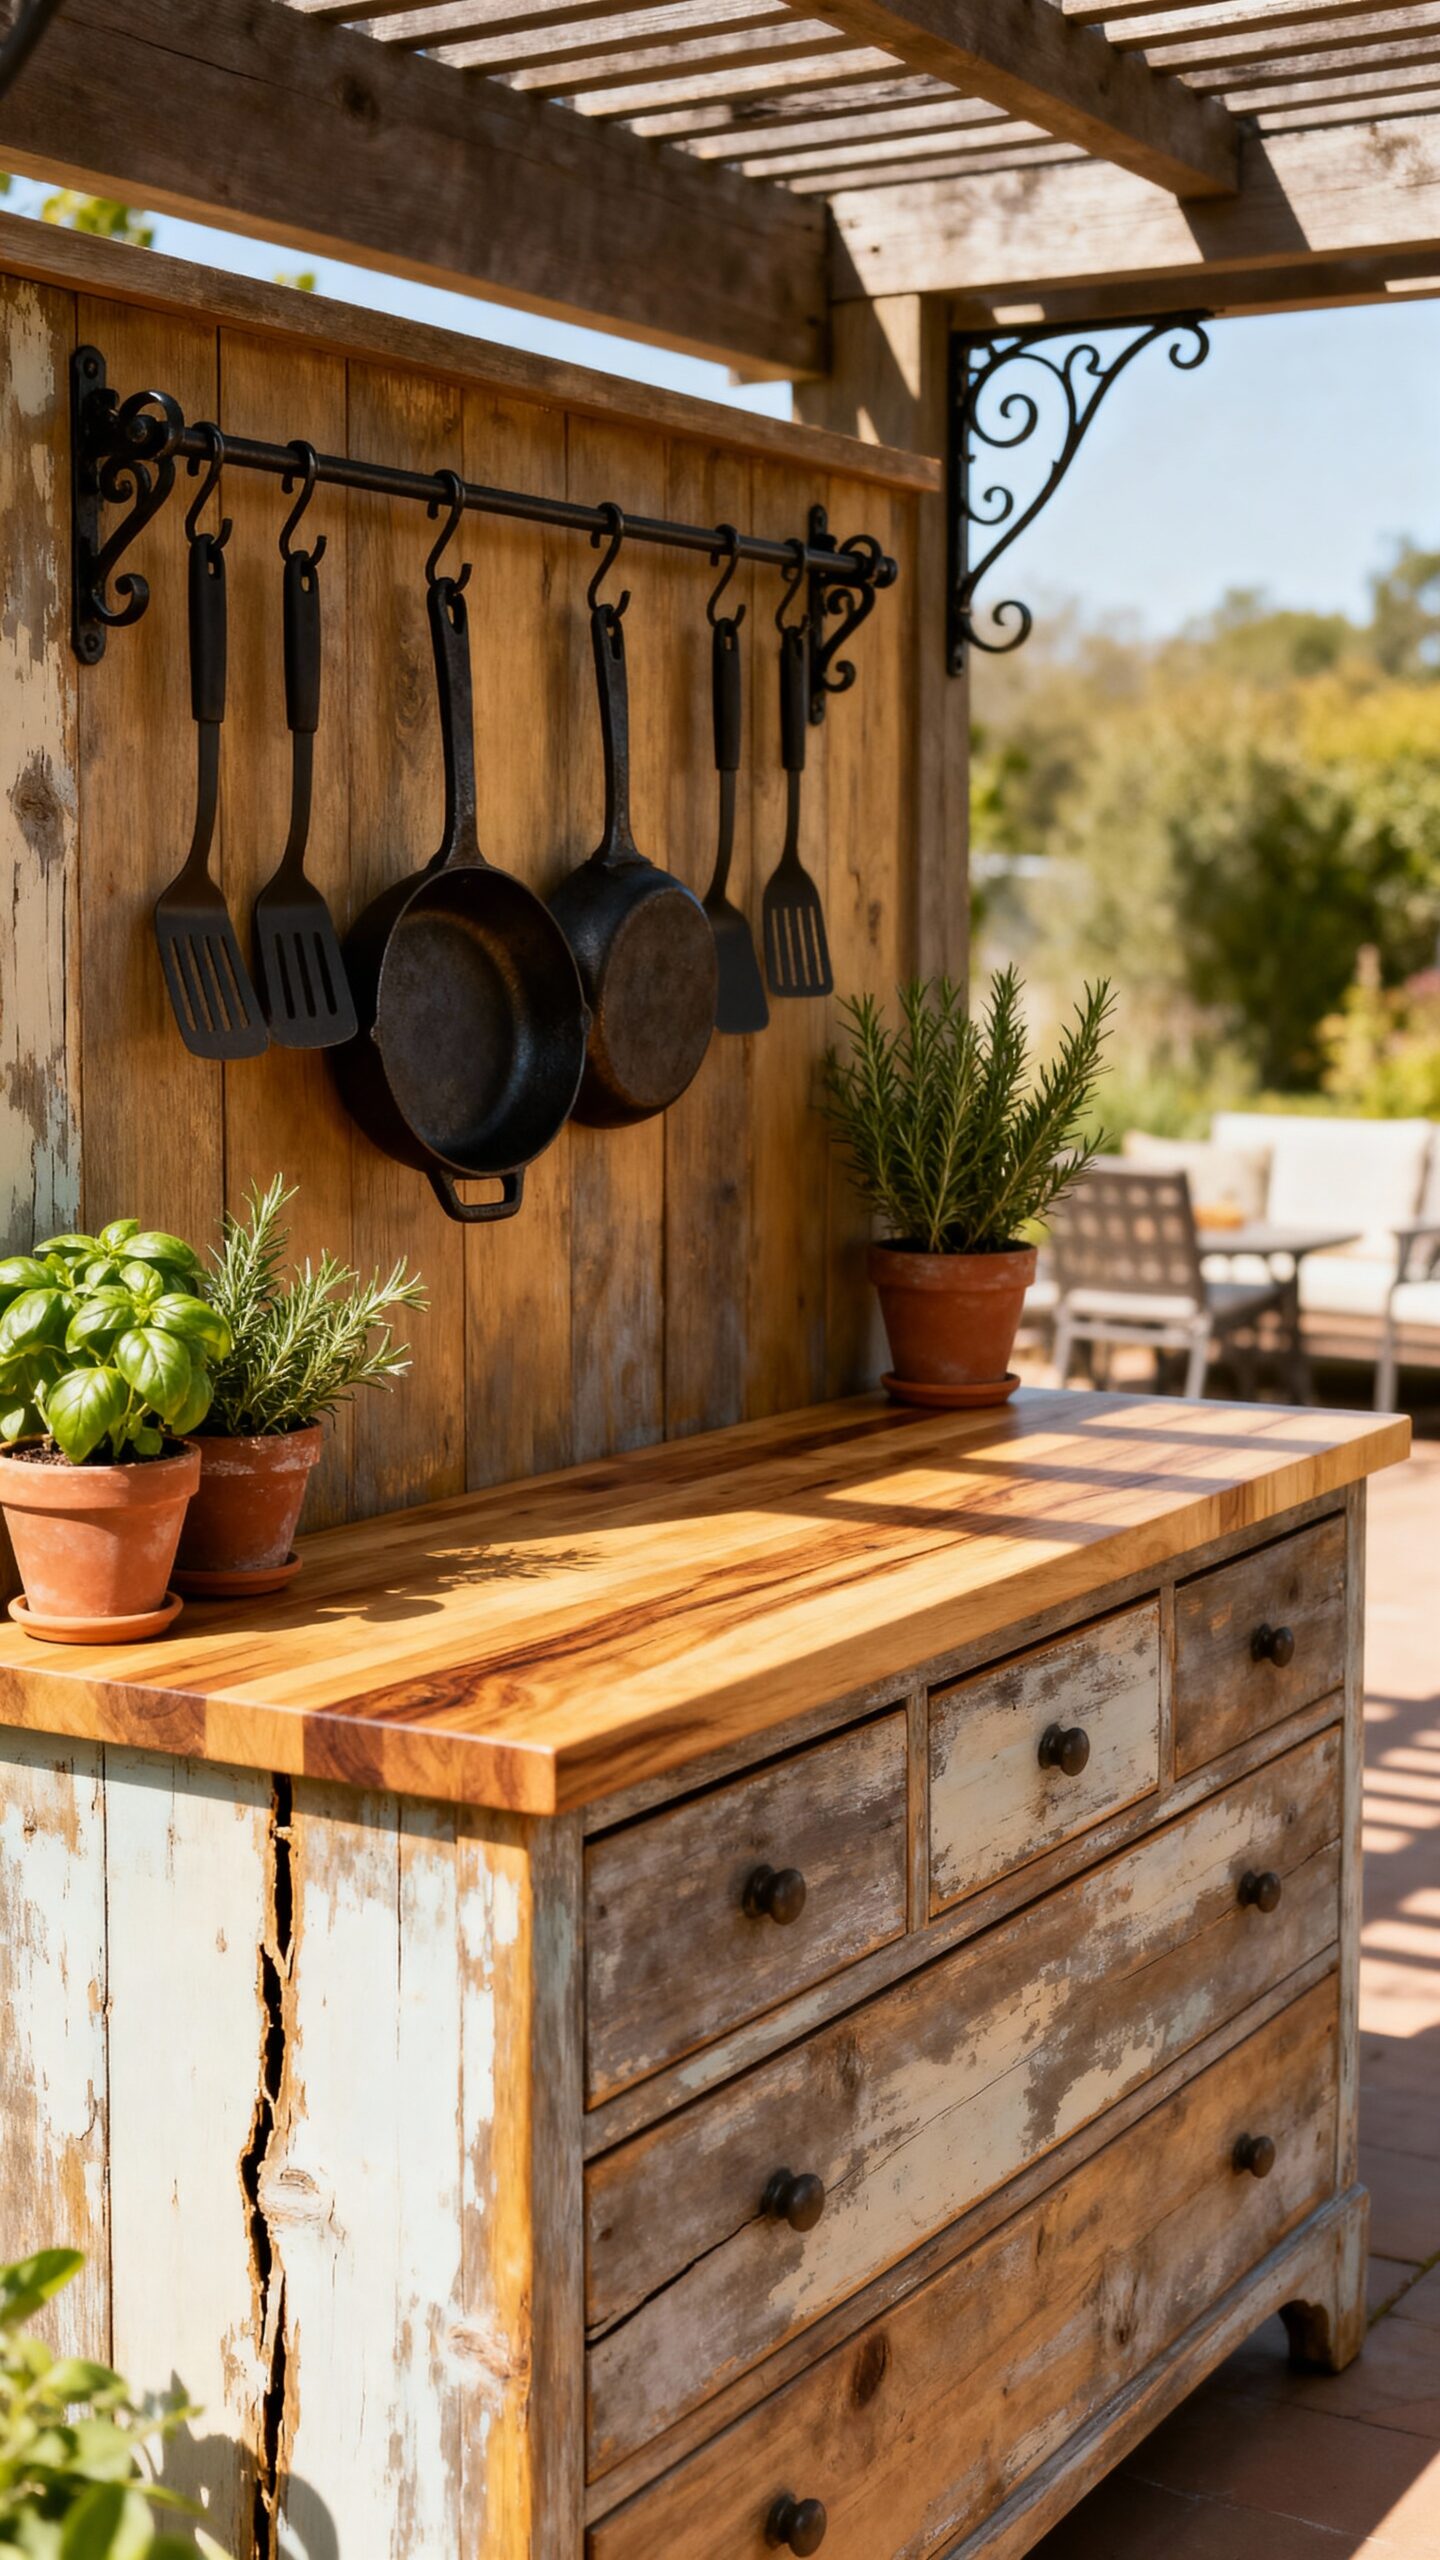
Before you throw away that old dresser gathering dust in your garage, consider converting it into a functional outdoor prep station that rivals expensive commercial units. This DIY project lets you break free from overpriced outdoor furniture while creating something uniquely yours.
Start by sanding the dresser thoroughly, then apply marine-grade polyurethane for weather protection. You’ll want to upcycle vintage drawers as spice racks or utensil organizers. Install hooks on the sides for hanging tools and add a butcher block top for cutting surfaces.
Don’t forget to incorporate weatherproof storage by adding rubber seals around drawer edges to keep your supplies dry.
Install Weather-Resistant Curtains for Privacy and Wind Protection
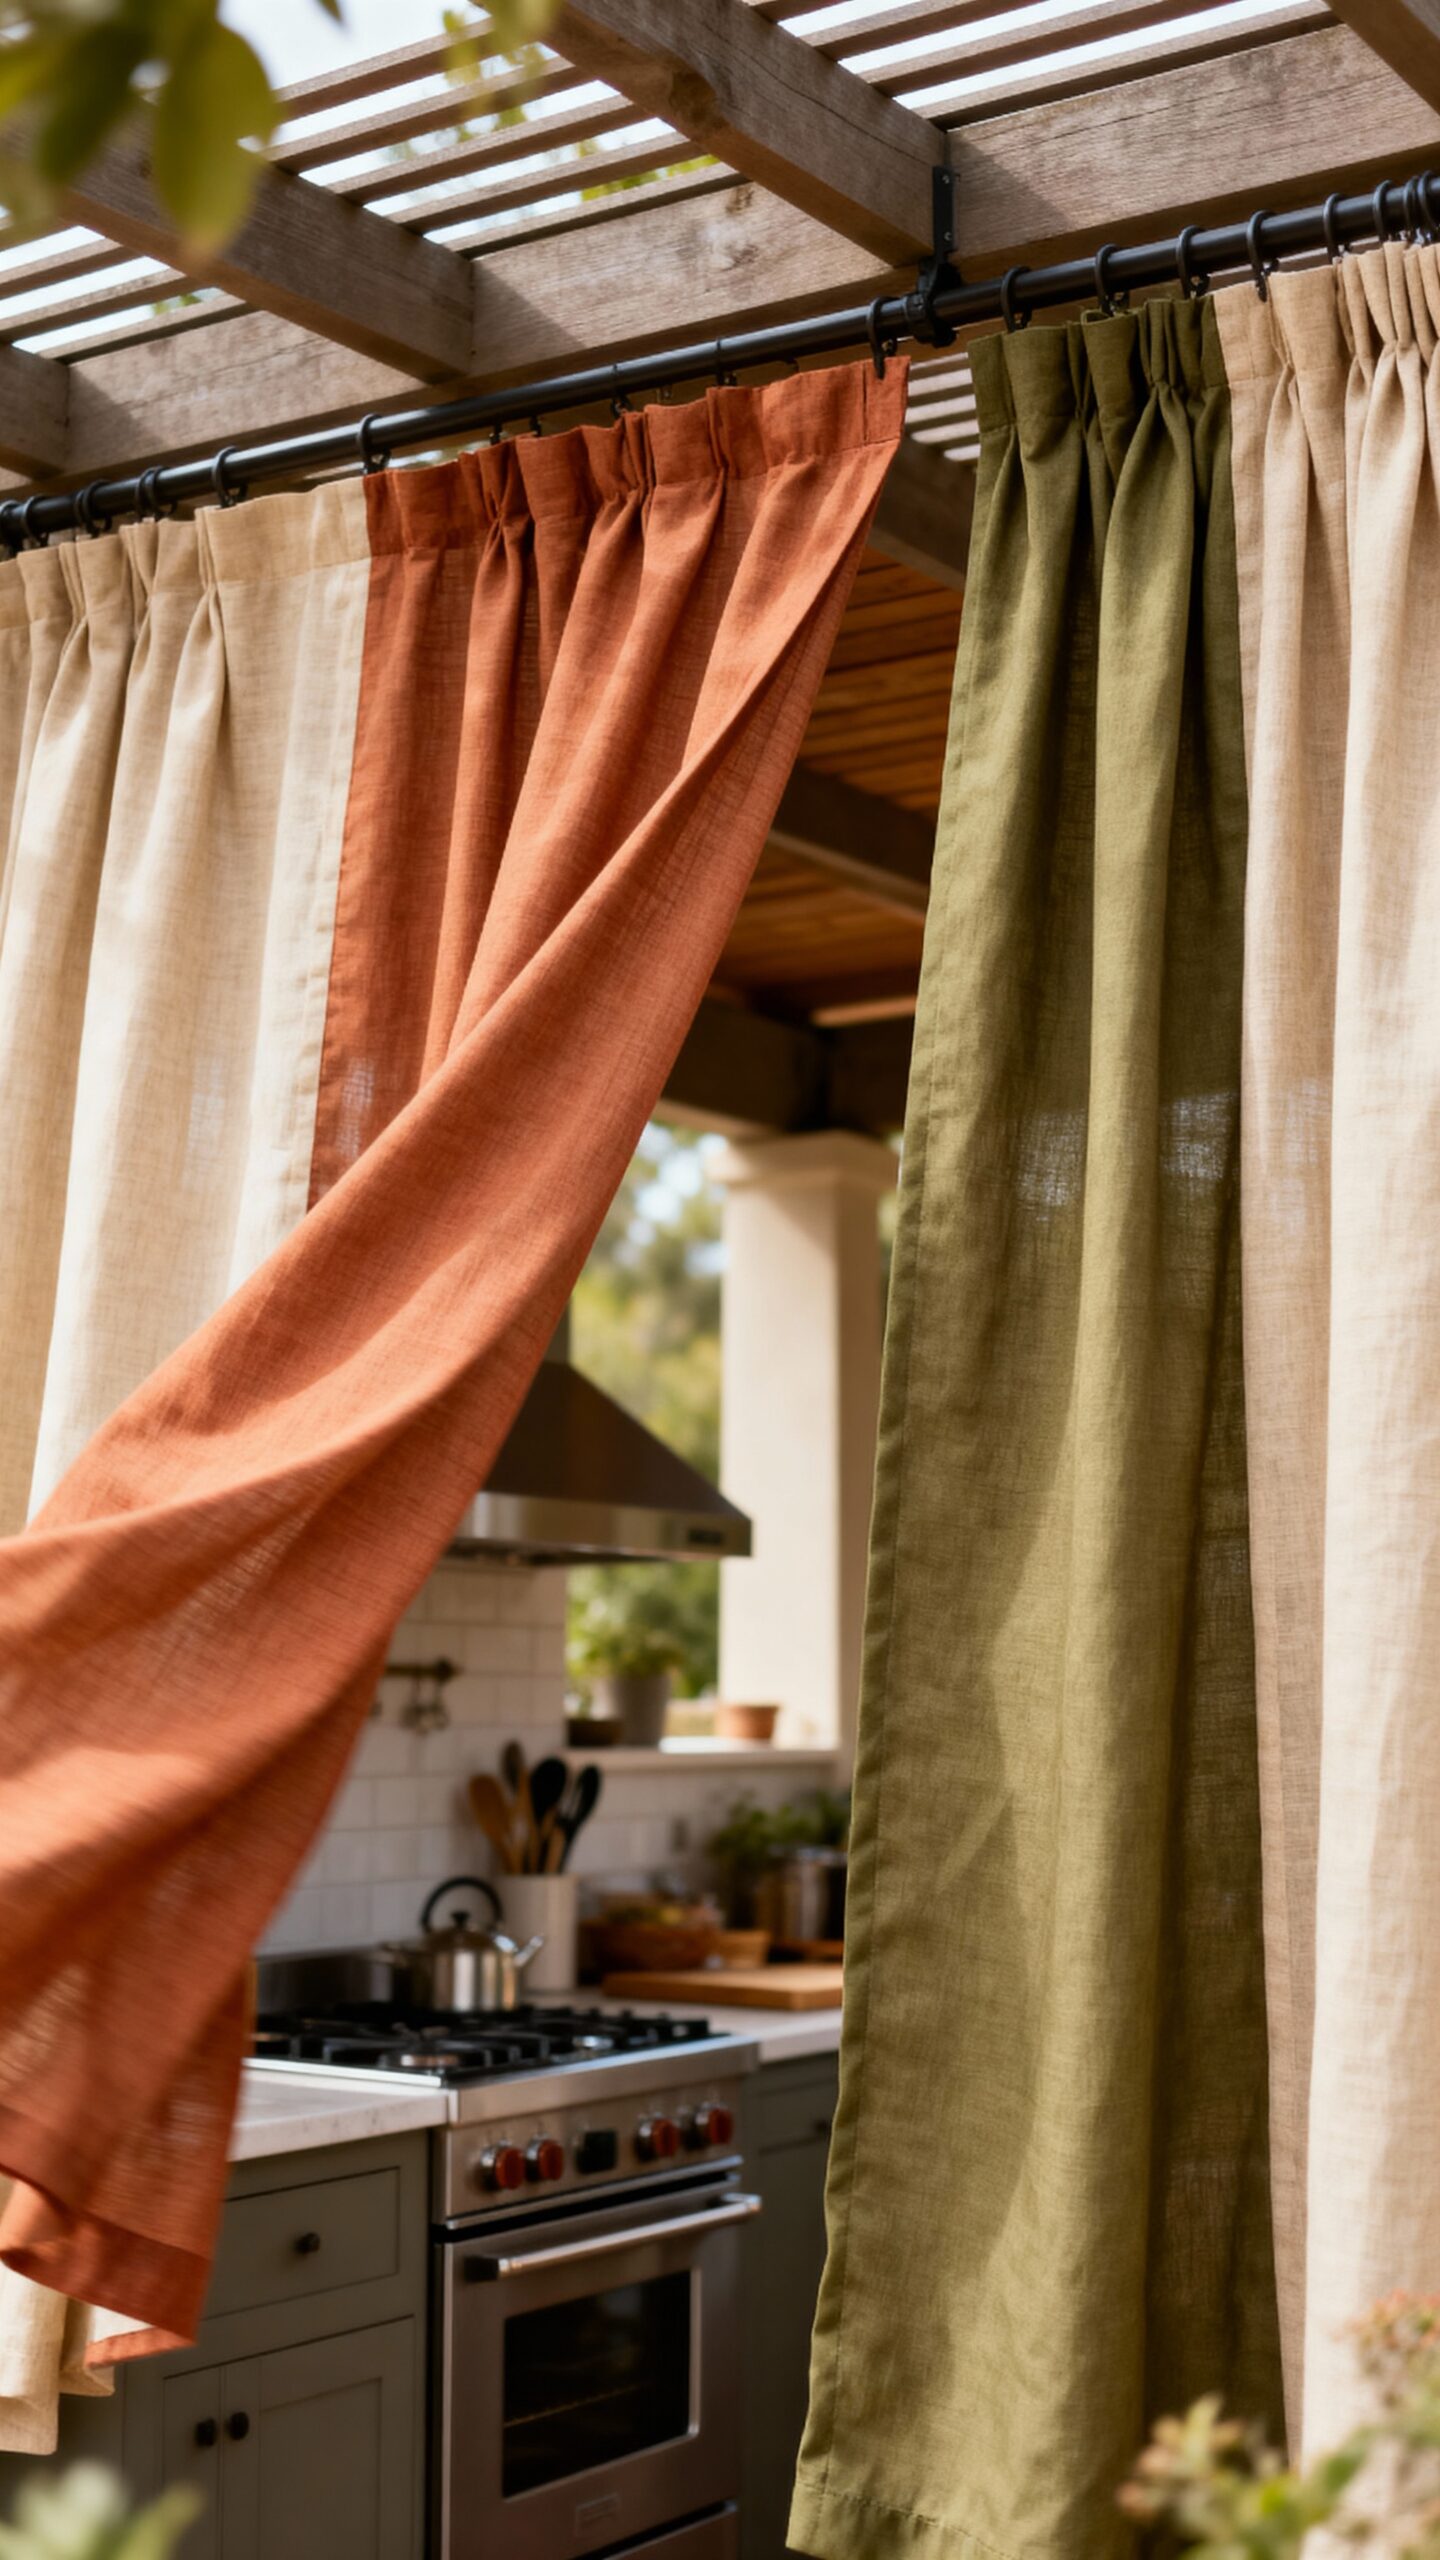
Your newly altered dresser prep station deserves protection from prying eyes and gusty winds that can disrupt your outdoor cooking experience. Retractable fabric panels offer an affordable solution that you can easily install around your cooking area’s perimeter. These panels mount to existing posts or pergola structures using simple hardware from any home improvement store.
Roll up vinyl curtains provide another budget-friendly option that withstands harsh weather conditions while blocking unwanted views. You’ll appreciate how quickly these curtains deploy when unexpected guests arrive or strong winds threaten to scatter your ingredients across the yard.
Design a Fire Pit Cooking Area With Surrounding Seating
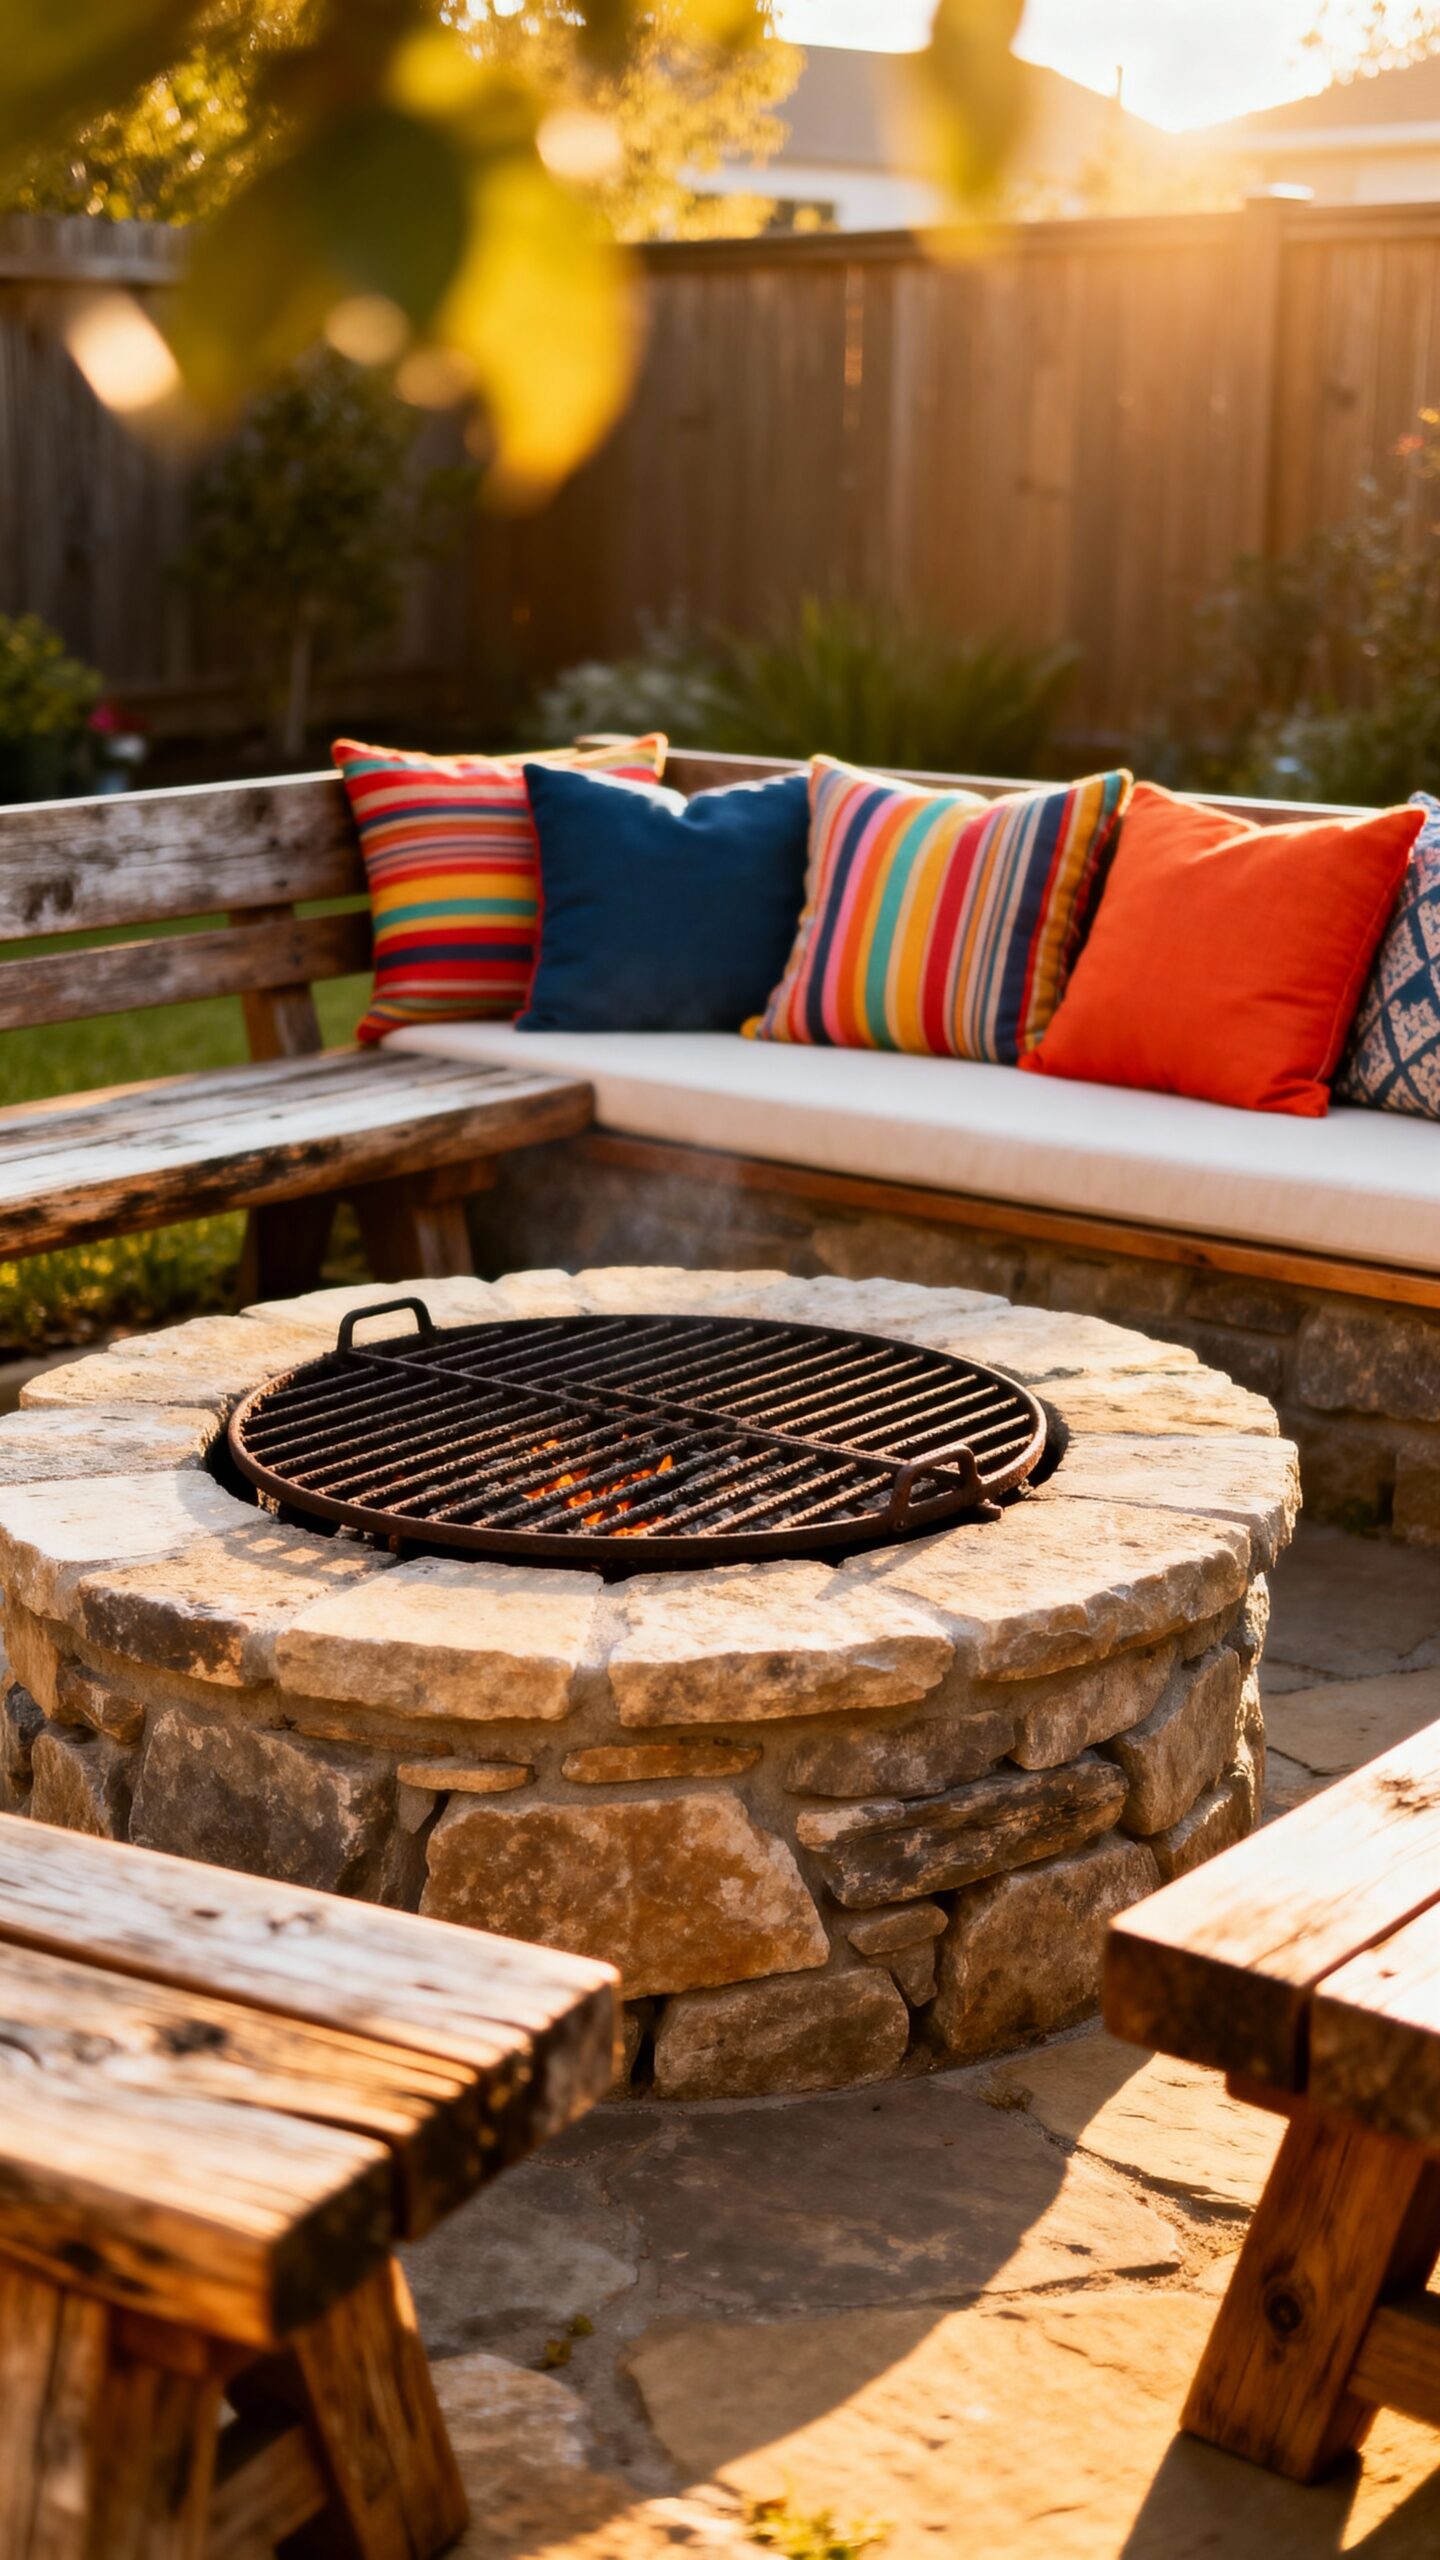
Since fire naturally draws people together, creating a cooking area around your fire pit metamorphoses any backyard into an inviting entertainment hub. You’ll maximize functionality by positioning your fire pit as the centerpiece with strategic outdoor furniture placement surrounding it.
Consider building simple wooden benches or repurposing concrete blocks with cushions for budget-friendly seating options. Your firepit seating arrangement should maintain three-foot clearance for safety while keeping conversations intimate.
Add a nearby prep table using reclaimed wood or metal surfaces. This setup alters cooking from a chore into a social experience where guests can gather, chat, and enjoy the warmth.
Conclusion
You’ve got everything you need to create an impressive outdoor kitchen without breaking the bank. These budget-friendly projects use materials you likely have at home or can find inexpensively. Start with one simple project like a rolling cart or pegboard wall, then expand your setup over time. With creativity and basic DIY skills, you’ll convert your backyard into a remarkable cooking and entertaining space that rivals expensive installations.