18 Home Office Ideas on a Budget That Look High-End
Keep your workspace looking luxurious without breaking the bank using these 18 clever home office tricks that fool everyone.
You don’t need a massive budget to create a home office that rivals expensive designer spaces. With strategic thrift shopping, clever repurposing techniques, and DIY solutions using basic materials, you’ll enhance any workspace into a polished, professional environment. These 18 budget-friendly approaches focus on maximizing visual impact through smart lighting placement, custom storage solutions, and boosted finishes that cost pennies on the dollar. The key lies in knowing which high-end elements to replicate and which shortcuts actually improve your office’s sophisticated appearance.
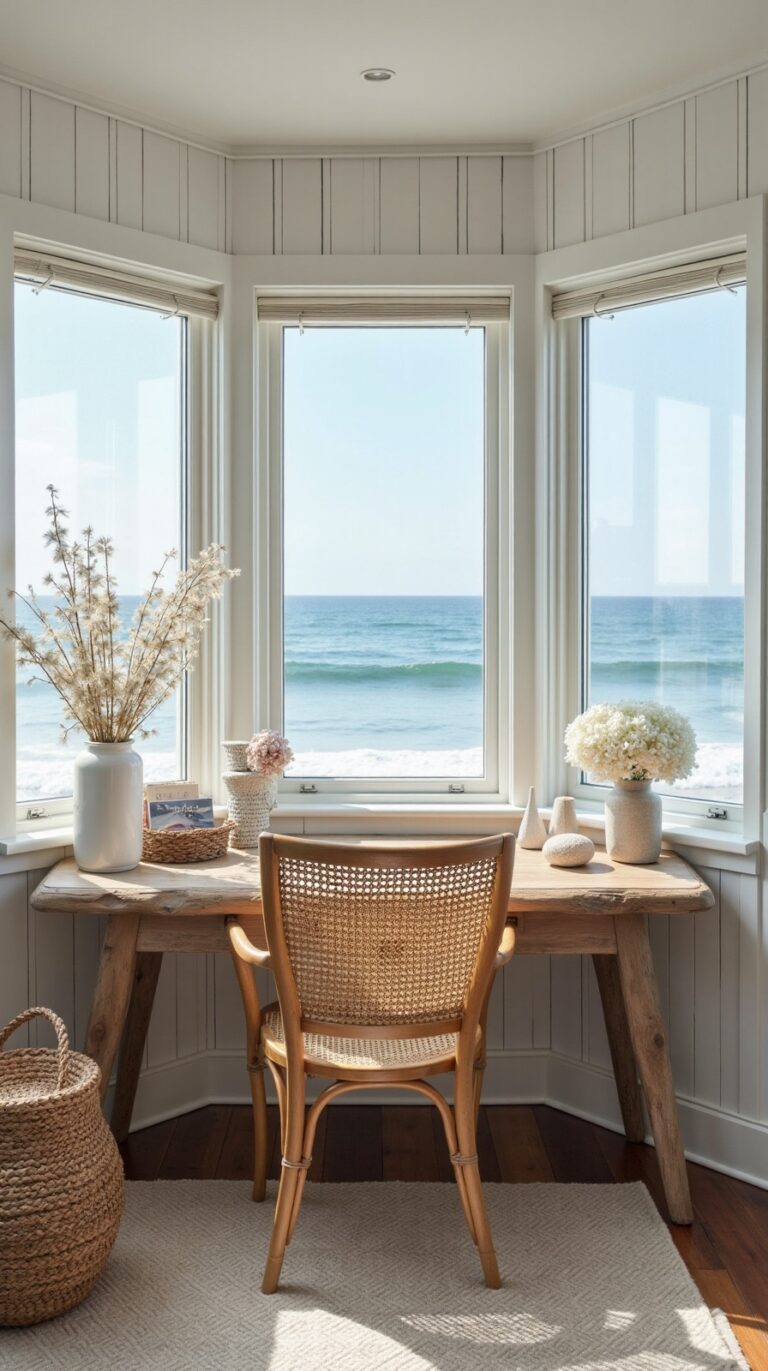
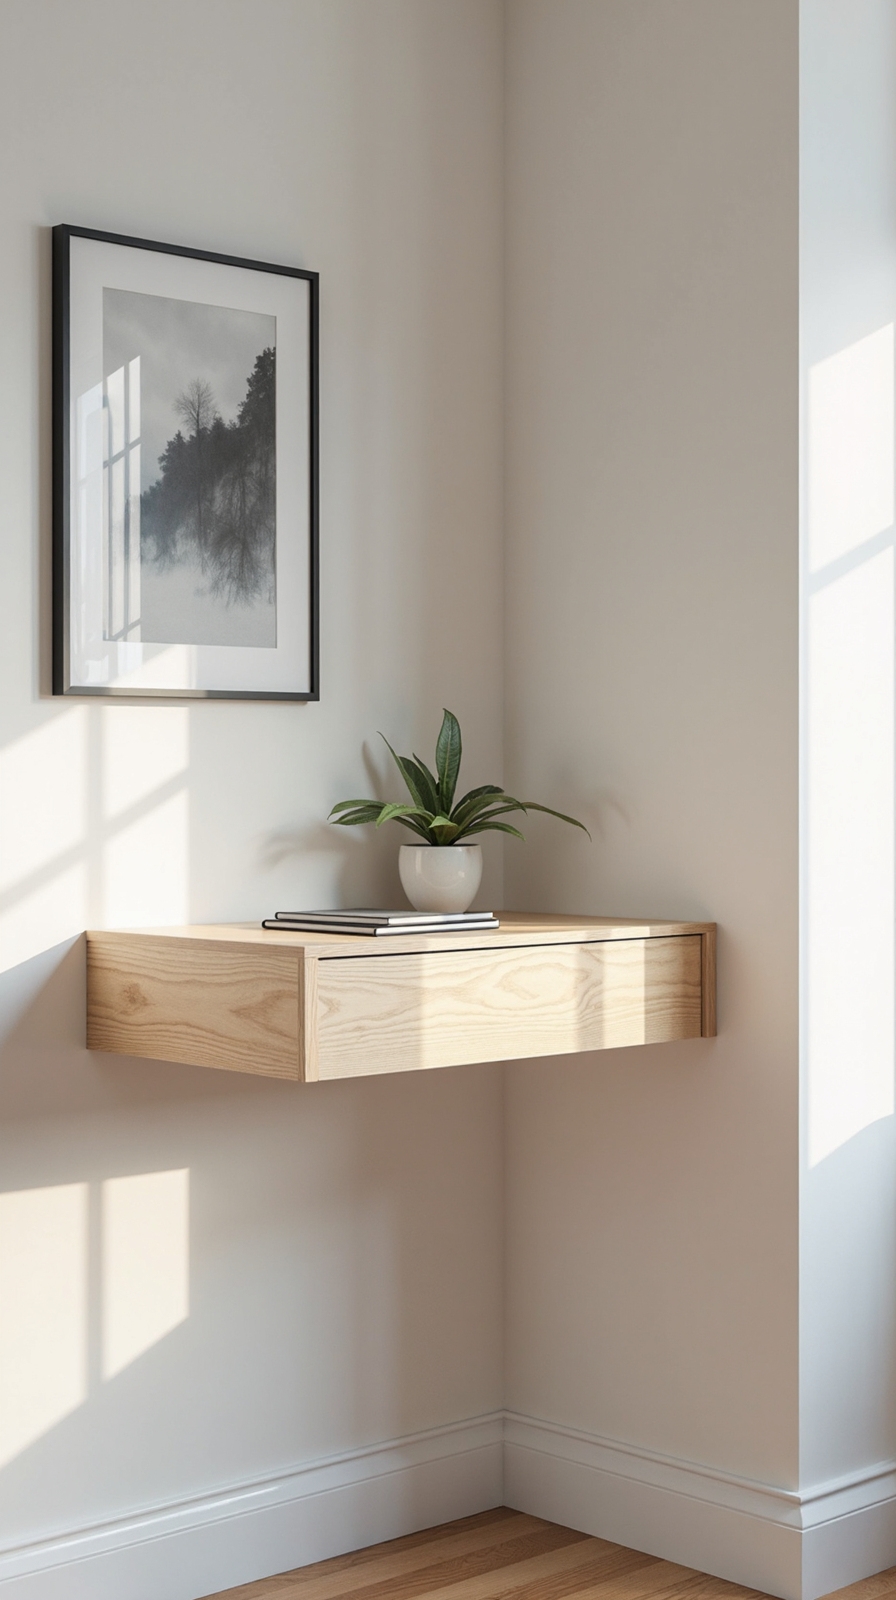
Transform Thrift Store Finds Into Custom Desk Solutions
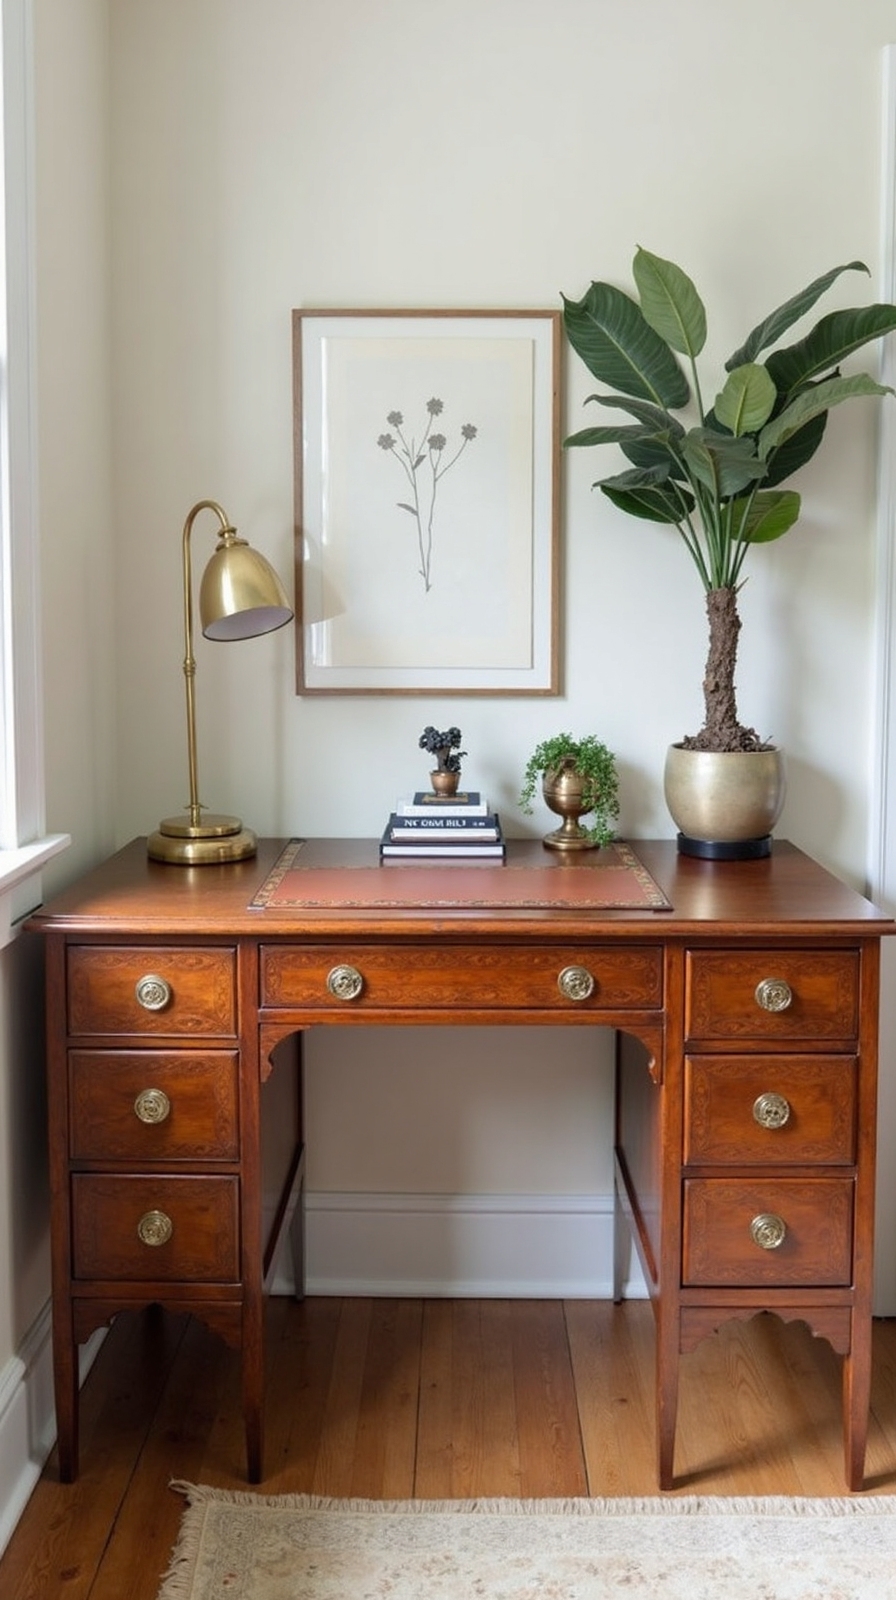
While many people assume creating a functional home office requires expensive furniture, thrift stores offer incredible opportunities to build custom desk solutions for a fraction of retail costs. You’ll locate solid wood dining tables, vintage dressers, and sturdy console tables that make excellent desk foundations when you’re using thrifted furniture strategically.
Start by measuring your workspace requirements before shopping. Look for pieces with good bone structure—scratches and outdated finishes are easily fixable. A vintage dresser becomes a perfect desk with built-in storage when you add a smooth desktop surface.
Don’t overlook repurposing household items you already own. Old doors create spacious desktop surfaces when paired with filing cabinets or sawhorses as legs, giving you maximum workspace freedom.
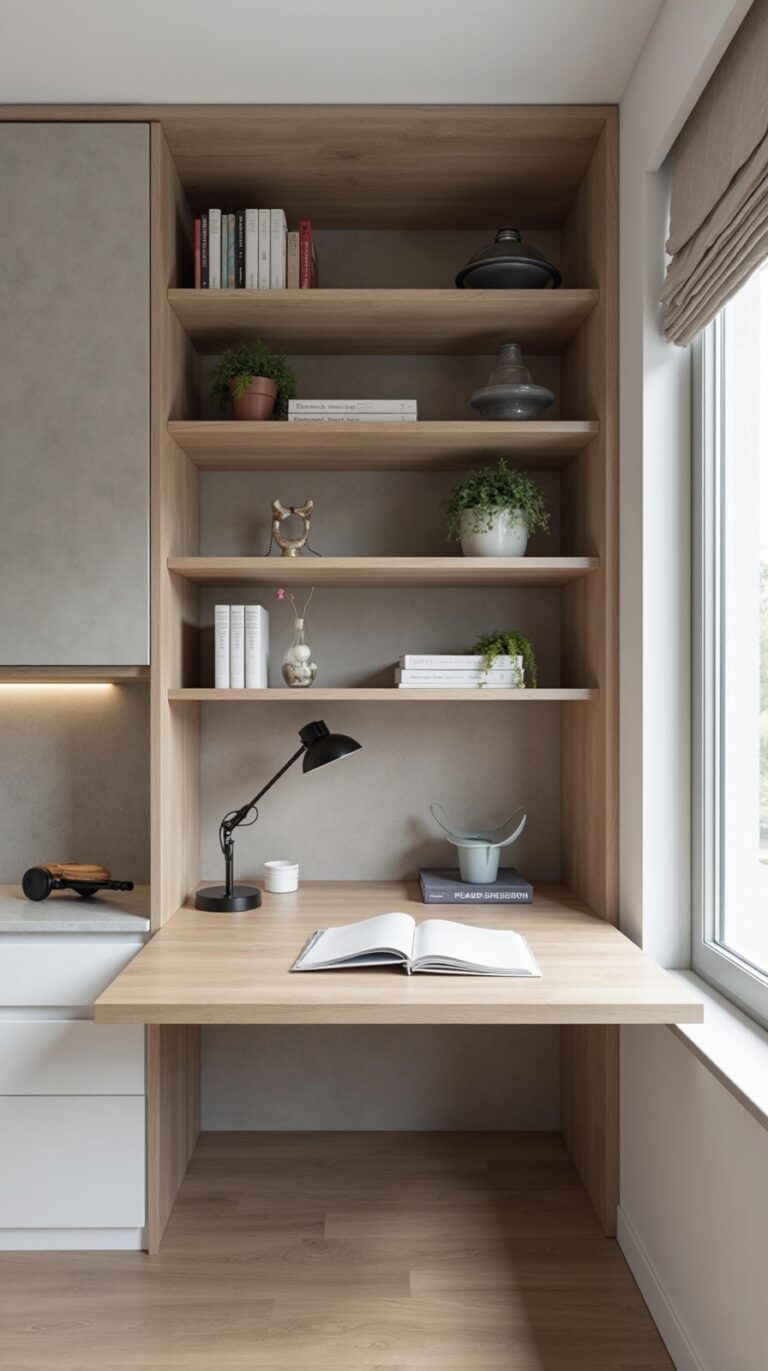
Create Professional-Looking Built-In Shelving With Basic Materials
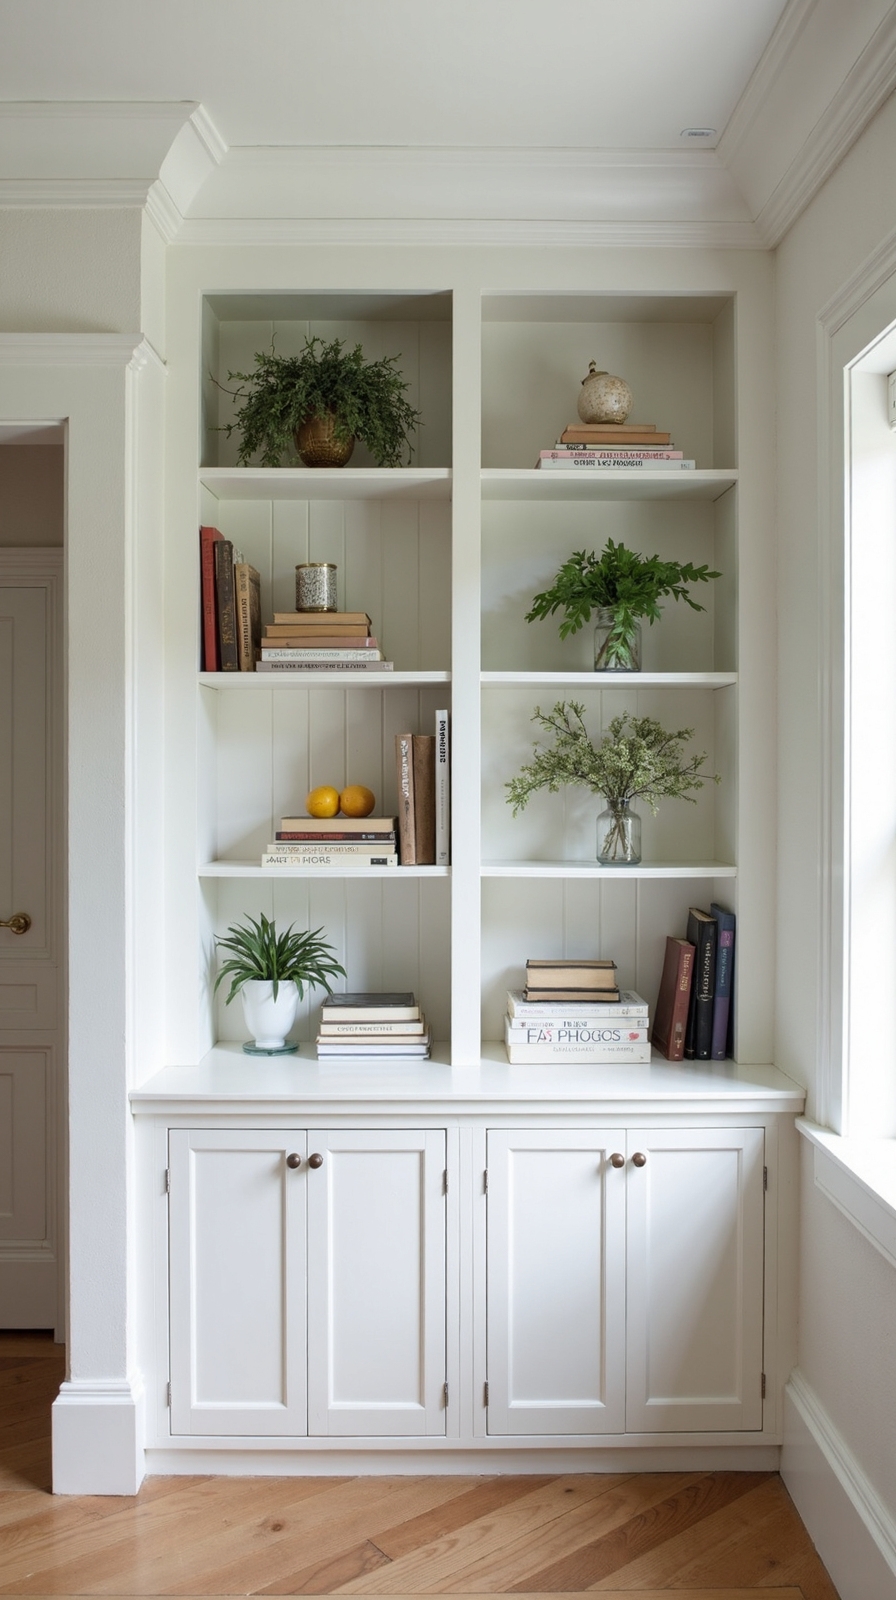
Most homeowners can build impressive built-in shelving using basic lumber and hardware store supplies for under $100 per wall section. You’ll create a custom storage solution that rivals expensive contractor work while maintaining complete control over design and budget.
Start with standard pine boards from your local hardware store to frame your shelving structure. DIY laminate shelving provides durability and a clean, modern appearance that’s easy to maintain. Simply attach laminate sheets using contact cement for professional-grade results.
Add character by incorporating reclaimed wood accent shelving on select shelves or as backing panels. This contrast creates visual interest without overwhelming your space or budget.
Secure everything to wall studs using heavy-duty brackets, ensuring your shelving supports books, equipment, and decorative items safely while looking completely integrated into your office design.
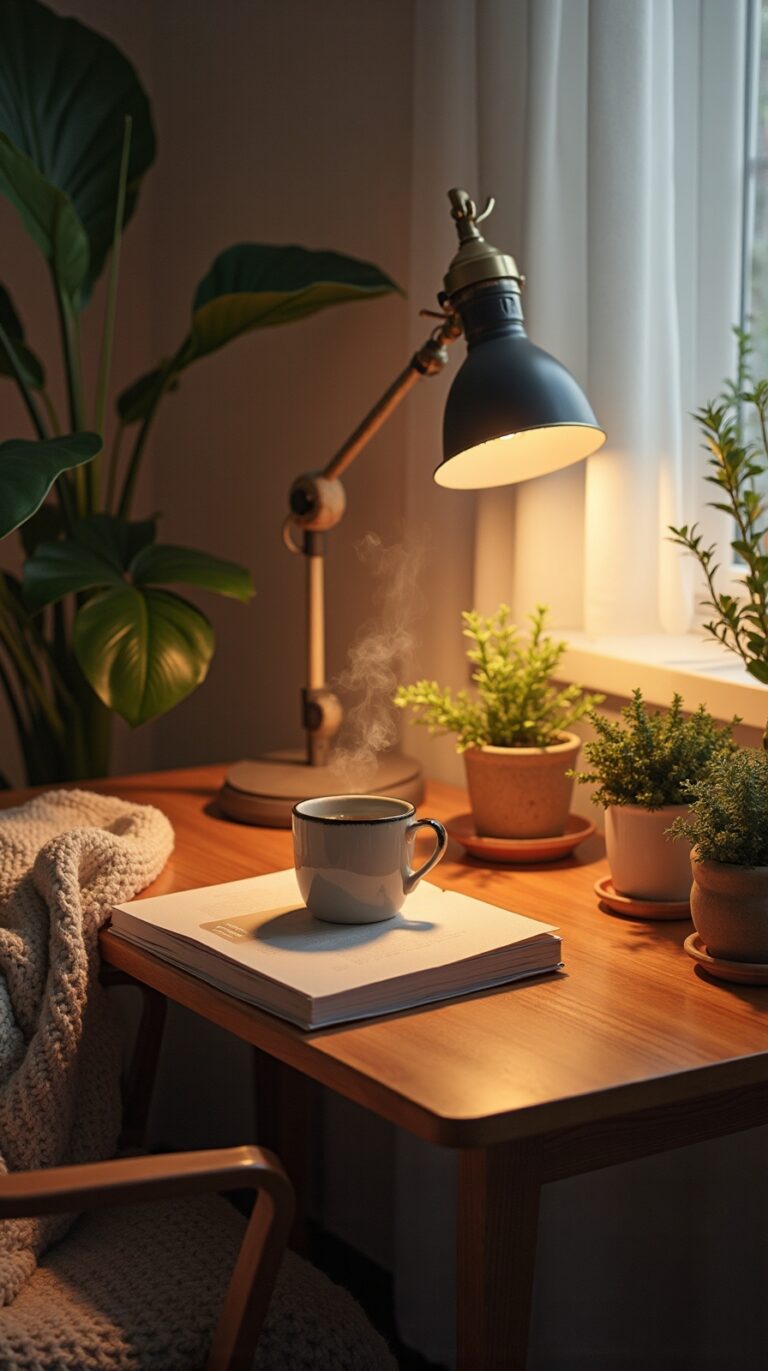
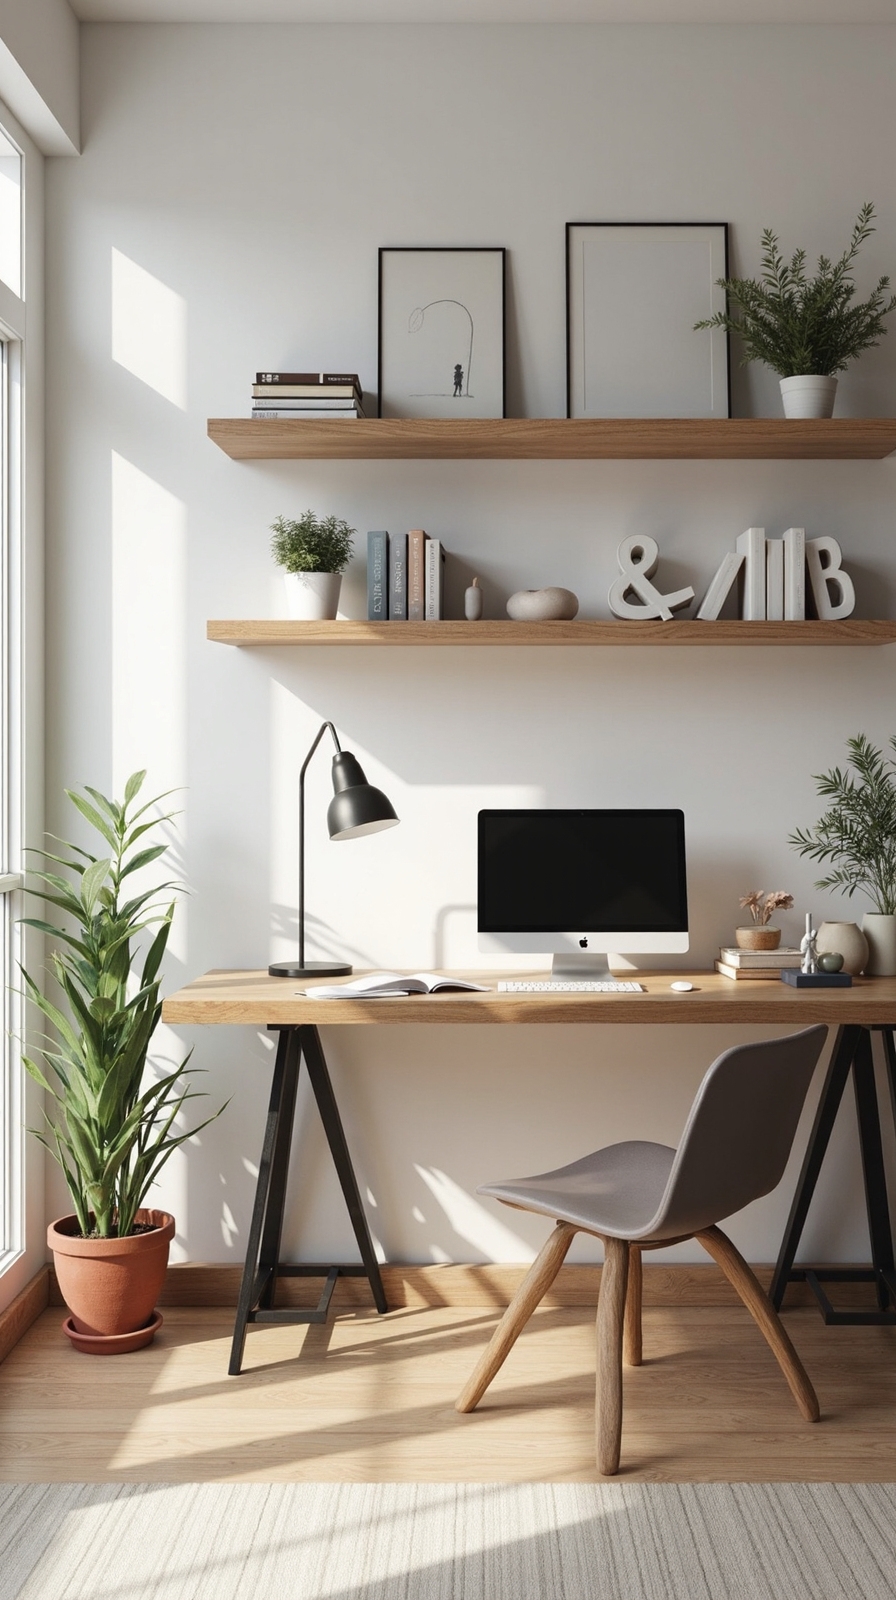
Master the Art of Strategic Lighting on a Shoestring Budget
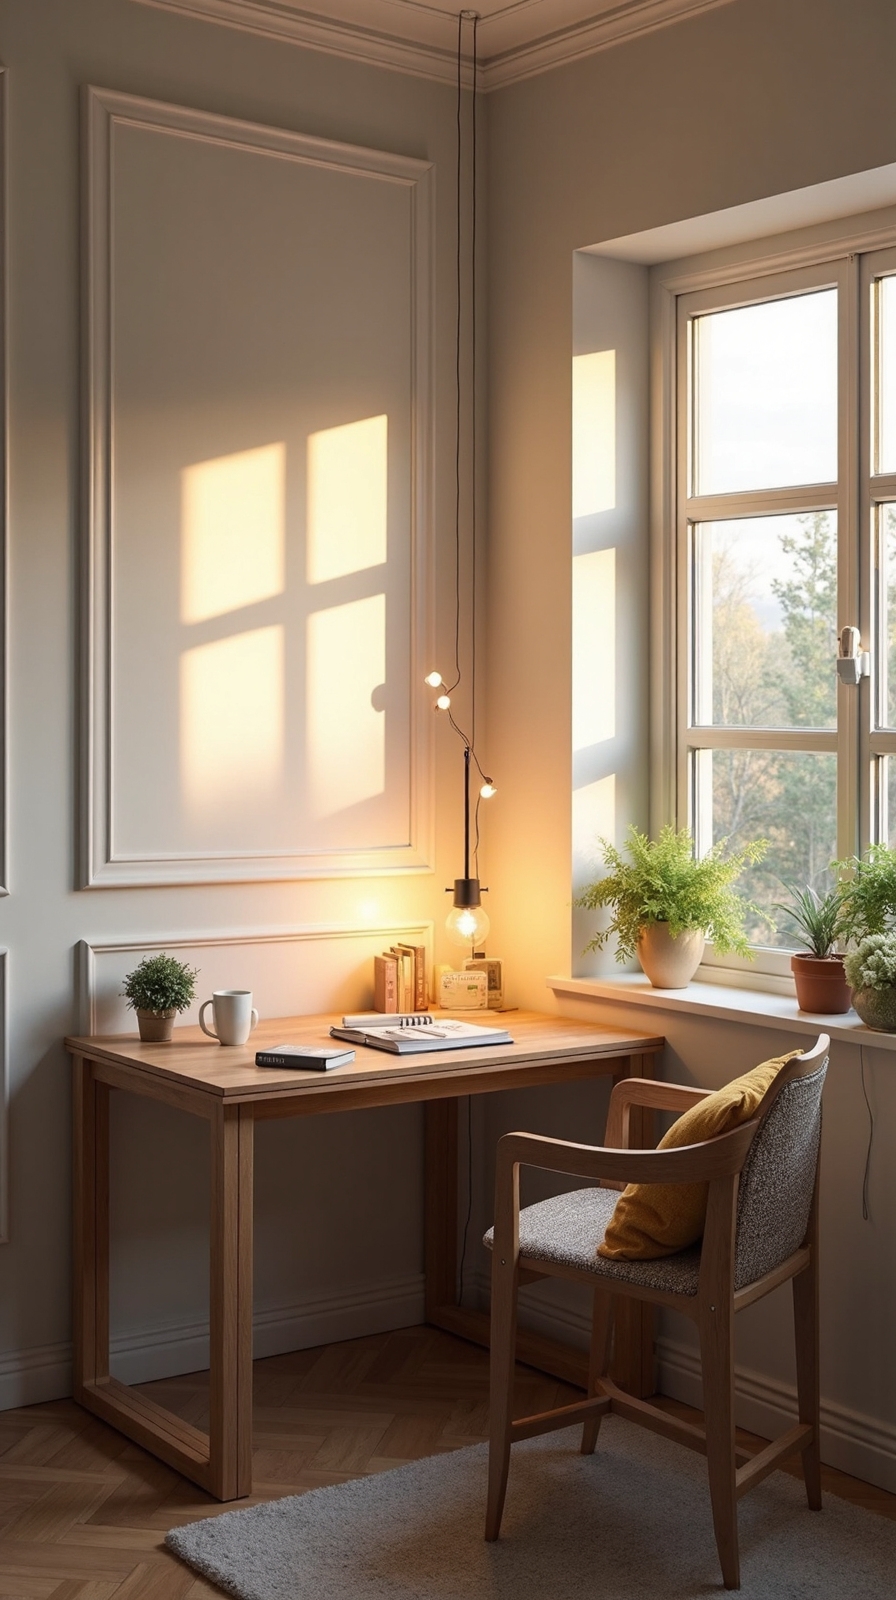
Your beautiful built-in shelving deserves lighting that showcases your organized workspace without breaking your renovation budget. Strategic accent lighting placement alters ordinary shelves into professional displays using affordable LED strip lights or battery-operated puck lights.
Layer your lighting by combining task and ambient light fixtures for maximum impact. Position under-cabinet strips beneath each shelf to eliminate shadows on your work surface. Add warm white LED bulbs in existing table lamps to create inviting ambient lighting throughout your space.
Dollar store battery-operated lights work perfectly for highlighting decorative objects or books. You’ll create depth and visual interest by illuminating different levels of your shelving. Focus bright task lighting on your primary work area while using softer ambient lighting in surrounding areas to reduce eye strain during long work sessions.
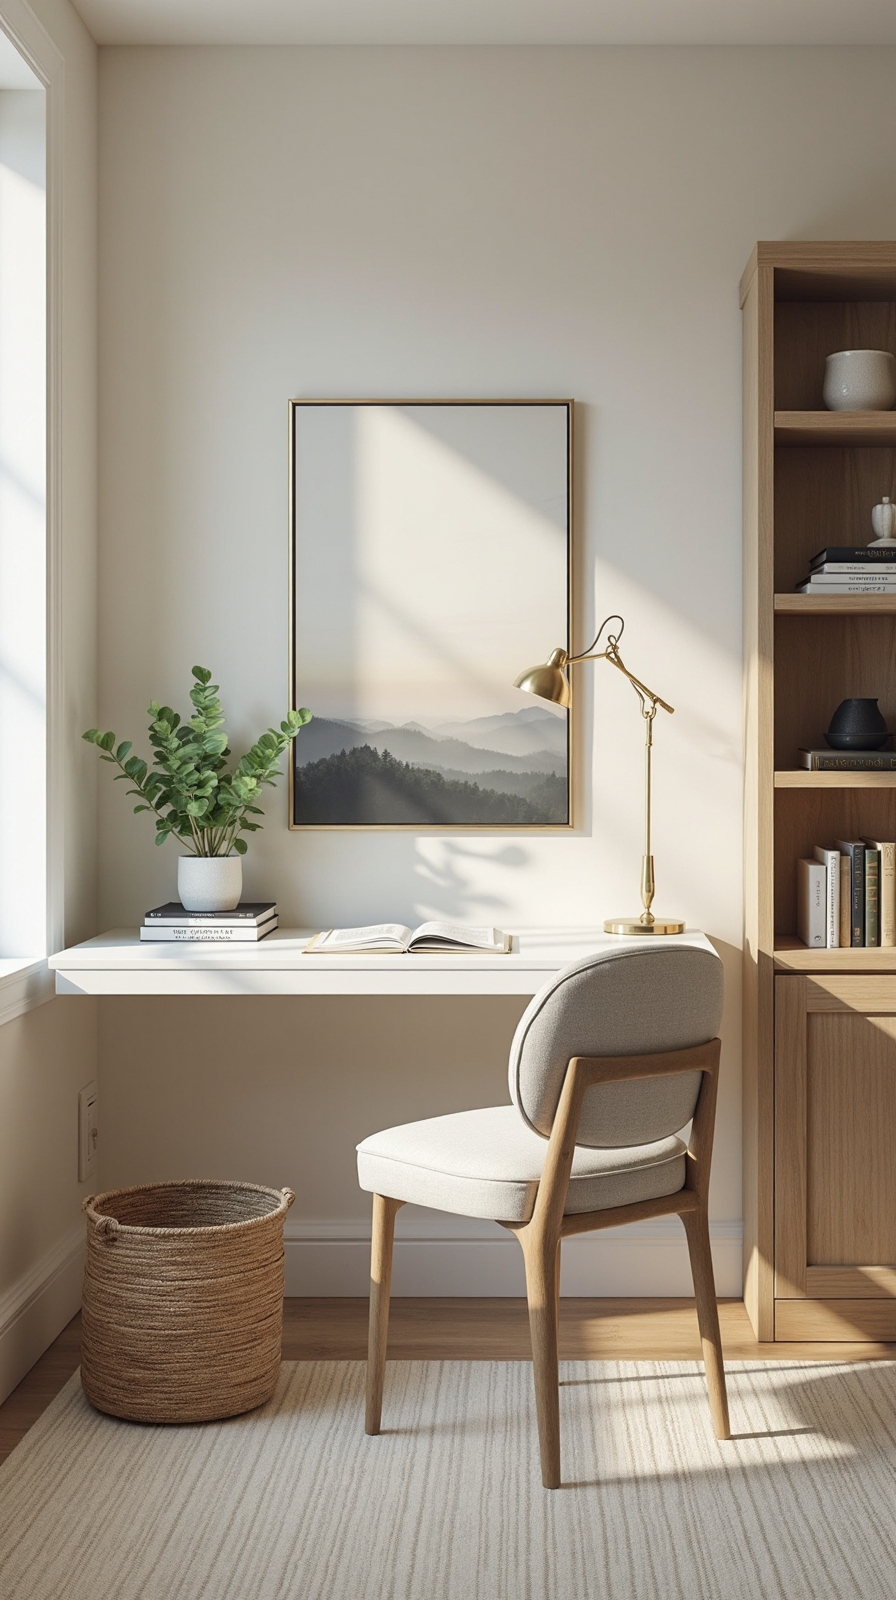
Design a Gallery Wall Using Free Printables and Dollar Store Frames
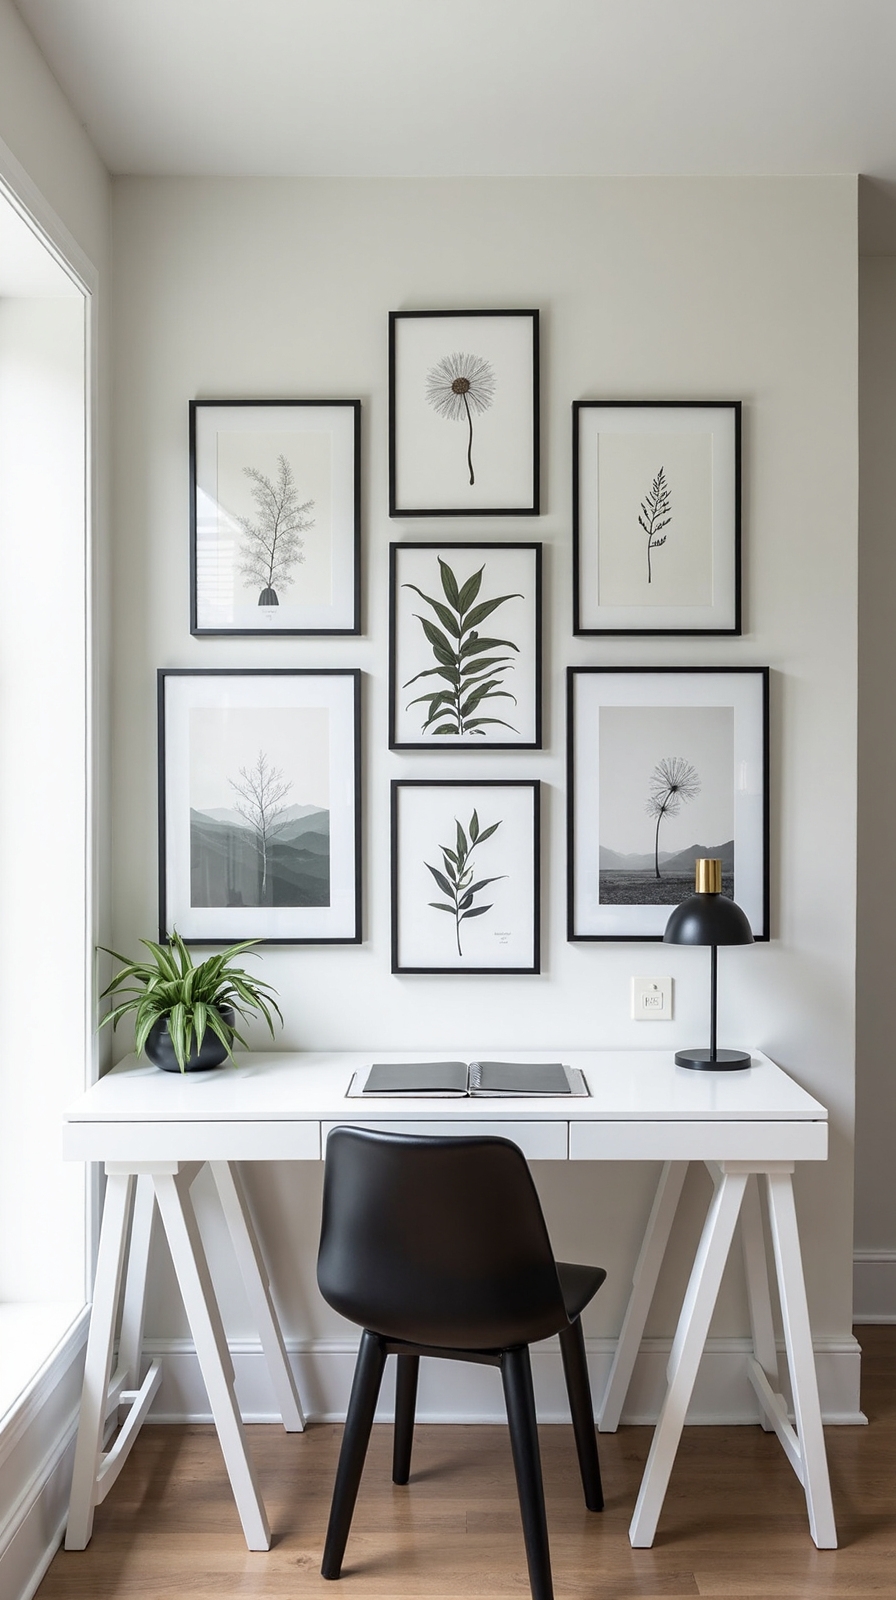
After establishing perfect lighting for your workspace, alter blank walls into inspiring focal points with a carefully curated gallery wall that costs practically nothing. You’ll create visual impact by downloading free printables from design websites, Pinterest, or art blogs that offer motivational quotes, botanical prints, and abstract designs.
Start by collecting 6-8 images with complementary themes while varying your color palette. Use colorful backdrops purposefully to add vigor without overwhelming your workspace. Purchase inexpensive frames from dollar stores, then experiment with varied frame sizes to create fluid visual rhythm across your wall.
Arrange pieces on the floor first, maintaining 2-3 inches between frames for proper spacing. This approach transforms empty walls into personalized inspiration boards that reflect your style while staying within budget constraints.
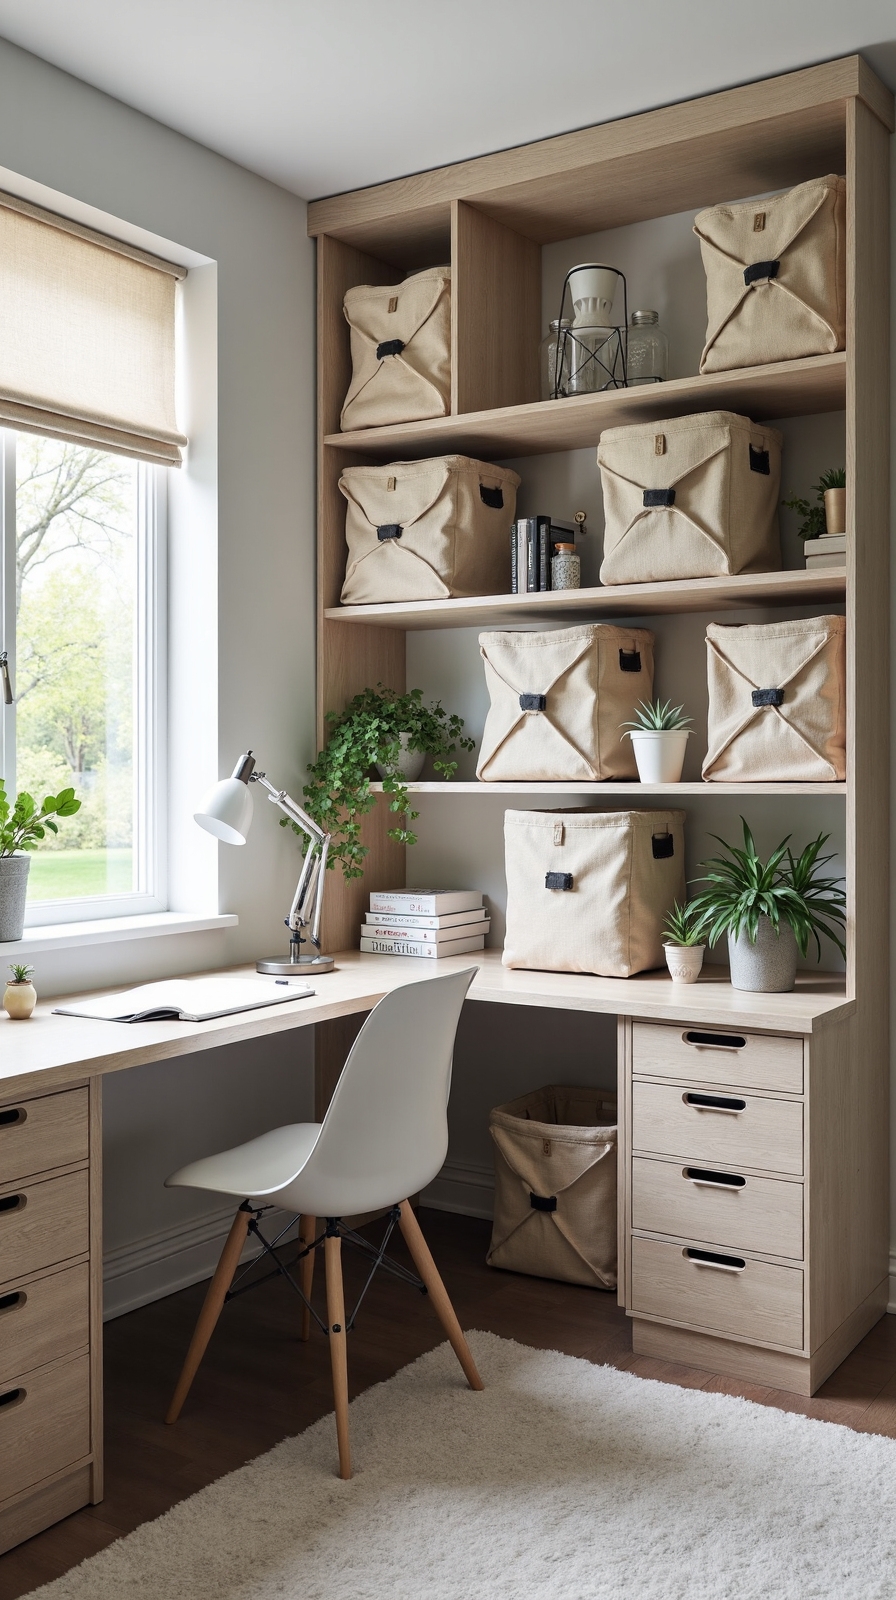
Repurpose Household Items Into Stylish Storage Solutions
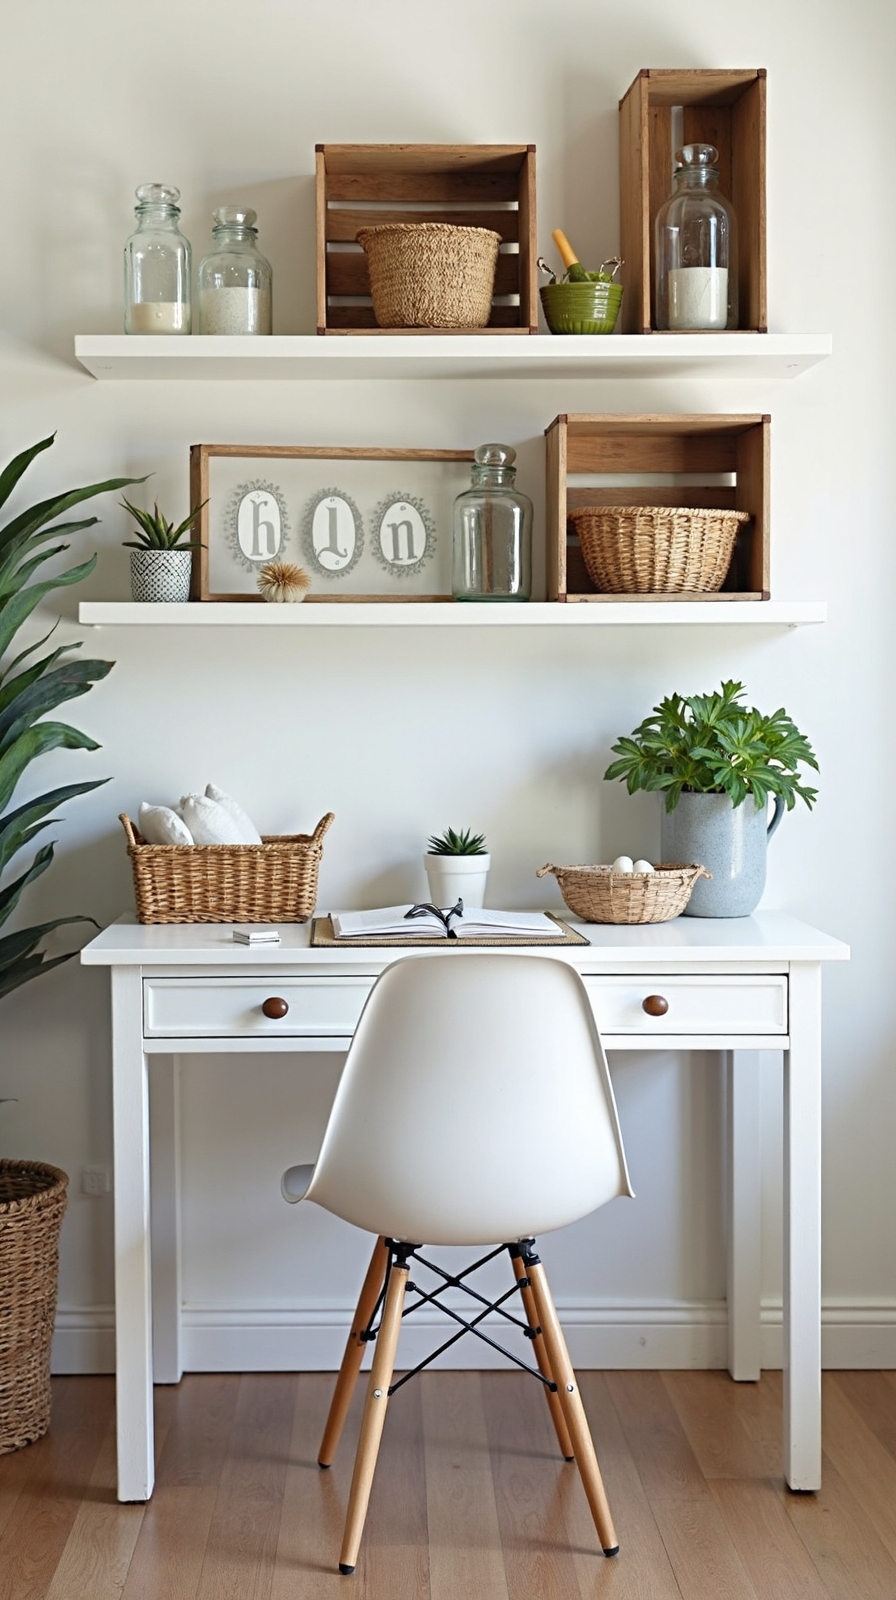
Beyond decorating your walls, smart storage solutions will maximize your home office’s functionality using items you already own around the house. You’ll uncover endless possibilities when you start viewing everyday objects through a creative lens.
Metamorphose thrifted mirrors into magnetic organizers by adding metallic spray paint and small magnets to hold important notes. Old mason jars become perfect pen holders, while vintage teacups can store paper clips and pushpins beautifully.
Repurpose baskets from other rooms as stylish document storage or supply containers. Shoe boxes wrapped in decorative paper create custom drawer organizers for cables and small items. Even empty cereal boxes can become magazine holders when covered with contact paper.
These simple transformations give you professional-looking storage without the hefty price tag, proving that budget-friendly doesn’t mean sacrificing style.
Build a Murphy Desk for Small Spaces Using Plywood and Hinges
When floor space becomes precious in your home office, a Murphy desk offers the perfect solution by folding flat against the wall when not in use. This DIY hinged desk frame converts any wall into a functional workspace without permanent commitment to bulky furniture.
You’ll need a piece of plywood cut to your desired desk size, heavy-duty piano hinges, wall brackets, and basic tools. Mount the hinges along one edge of your plywood, then secure the opposite edge to wall-mounted brackets. Add a fold-down leg for support when the desk’s in use.
These space saving desk alternatives cost under $75 and provide the same functionality as expensive wall-mounted desks. You can customize the finish and size to match your décor perfectly.
Upgrade Basic Furniture With Contact Paper and Paint
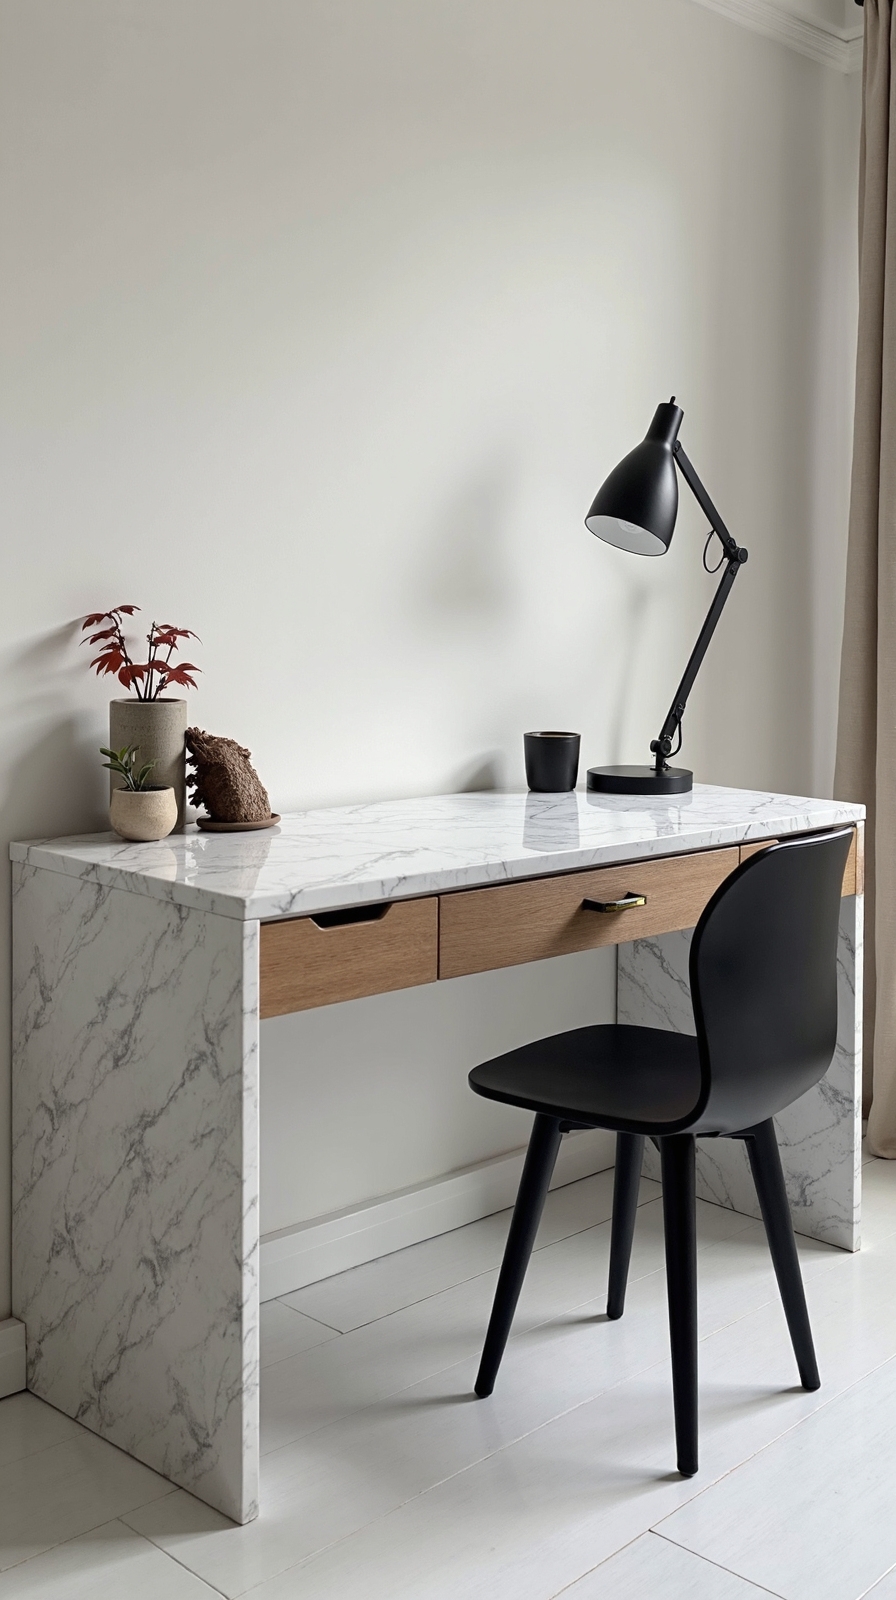
Every piece of basic furniture in your home office can evolve into a custom-designed workspace element with just contact paper and paint. You’ll change ordinary desks, filing cabinets, and shelving units into sophisticated pieces that rival expensive designer furniture.
Start by selecting high-quality contact paper in wood grain, marble, or geometric patterns. Clean your furniture thoroughly, then apply the paper smoothly to avoid bubbles. For metal filing cabinets, use removable wallpaper instead—it adheres better and won’t leave residue.
Paint alters basic pieces instantly. Choose chalk paint for a matte, professional finish that requires minimal prep work. You can conceal storage with fabric by covering open shelving or cabinet fronts with coordinating materials.
These simple upgrades cost under $30 per piece while providing results that look professionally designed.
Create a Professional Backdrop for Video Calls Without Breaking the Bank
Your newly upgraded furniture deserves an equally polished backdrop that makes you look professional on camera without requiring a complete room makeover. Position yourself strategically in front of a clean wall or bookshelf to create instant visual appeal.
A DIY green screen backdrop costs under $20 using green fabric or poster board mounted on your wall. This lets you digitally replace backgrounds with professional images during calls.
Alternatively, hang a simple curtain or hanging textile behind your desk for texture and depth.
Cost effective video conferencing lighting transforms your appearance dramatically. Position a desk lamp or ring light at eye level to eliminate harsh shadows. Natural window light works excellently when you’re facing it directly.
These simple adjustments create a polished, professional appearance that commands respect during virtual meetings.
Turn Milk Crates and Fabric Into High-End Looking Storage Cubes
Creativity converts ordinary milk crates into sophisticated storage solutions that rival expensive organizational furniture found in high-end office stores. You’ll enhance basic plastic crates into professional-looking cubes using simple fabric wrapping techniques that cost under ten dollars per unit.
Choose neutral fabrics like linen, canvas, or cotton in colors matching your office aesthetic. Cut fabric pieces allowing four inches of overlap on all sides. Stretch fabric tautly around each crate, securing with heavy-duty double-sided tape or a staple gun on the bottom surface.
When you repurpose household fabrics from old curtains or bedsheets, you’ll create custom storage at fraction of retail prices. Add decorative trim or rope handles to improve basic crates further. These fabric-wrapped cubes provide concealed storage for supplies, files, and equipment while maintaining your office’s polished appearance.
Design a Sophisticated Color Scheme Using Paint Samples and Neutrals
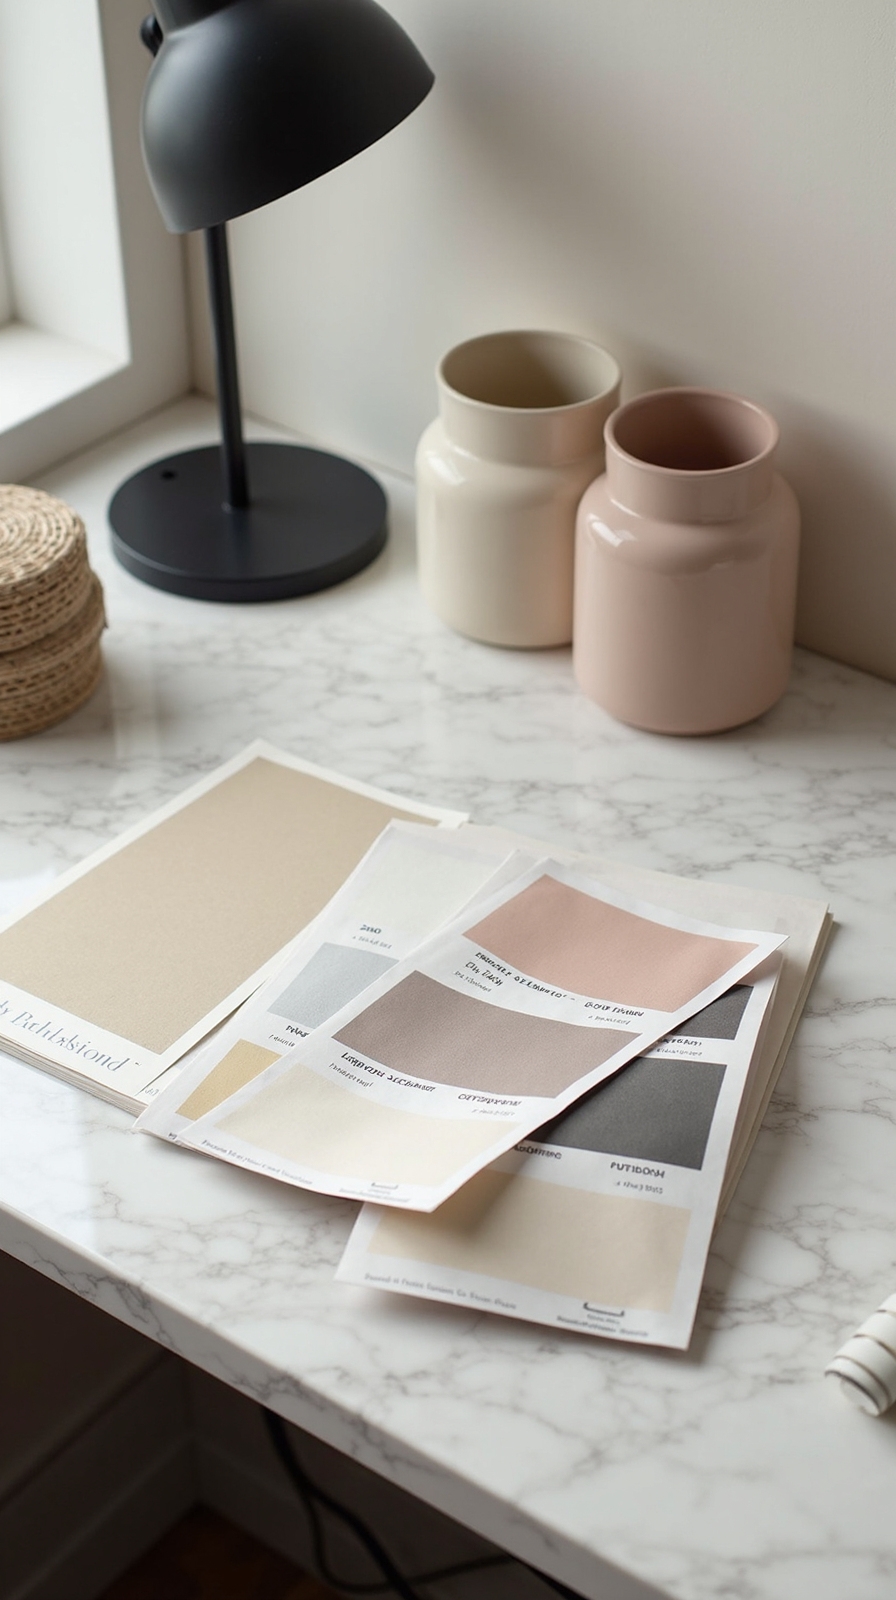
While storage solutions organize your workspace, the colors surrounding you dramatically impact productivity and professional appearance throughout your workday. You don’t need expensive paint to create a polished look that commands respect and inspires focus.
Start your color palette selection with free paint samples from hardware stores. Choose three neutral base colors like warm gray, soft beige, or crisp white for walls and larger surfaces. These create a sophisticated foundation that won’t overwhelm your space or distract from important tasks.
Add personality through neutrals with pops of color using one or two accent shades. Deep navy, forest green, or burgundy work beautifully as accent colors through desk accessories, artwork, or a single feature wall that energizes without breaking your budget.
Craft Custom Organizers From Cereal Boxes and Pretty Paper
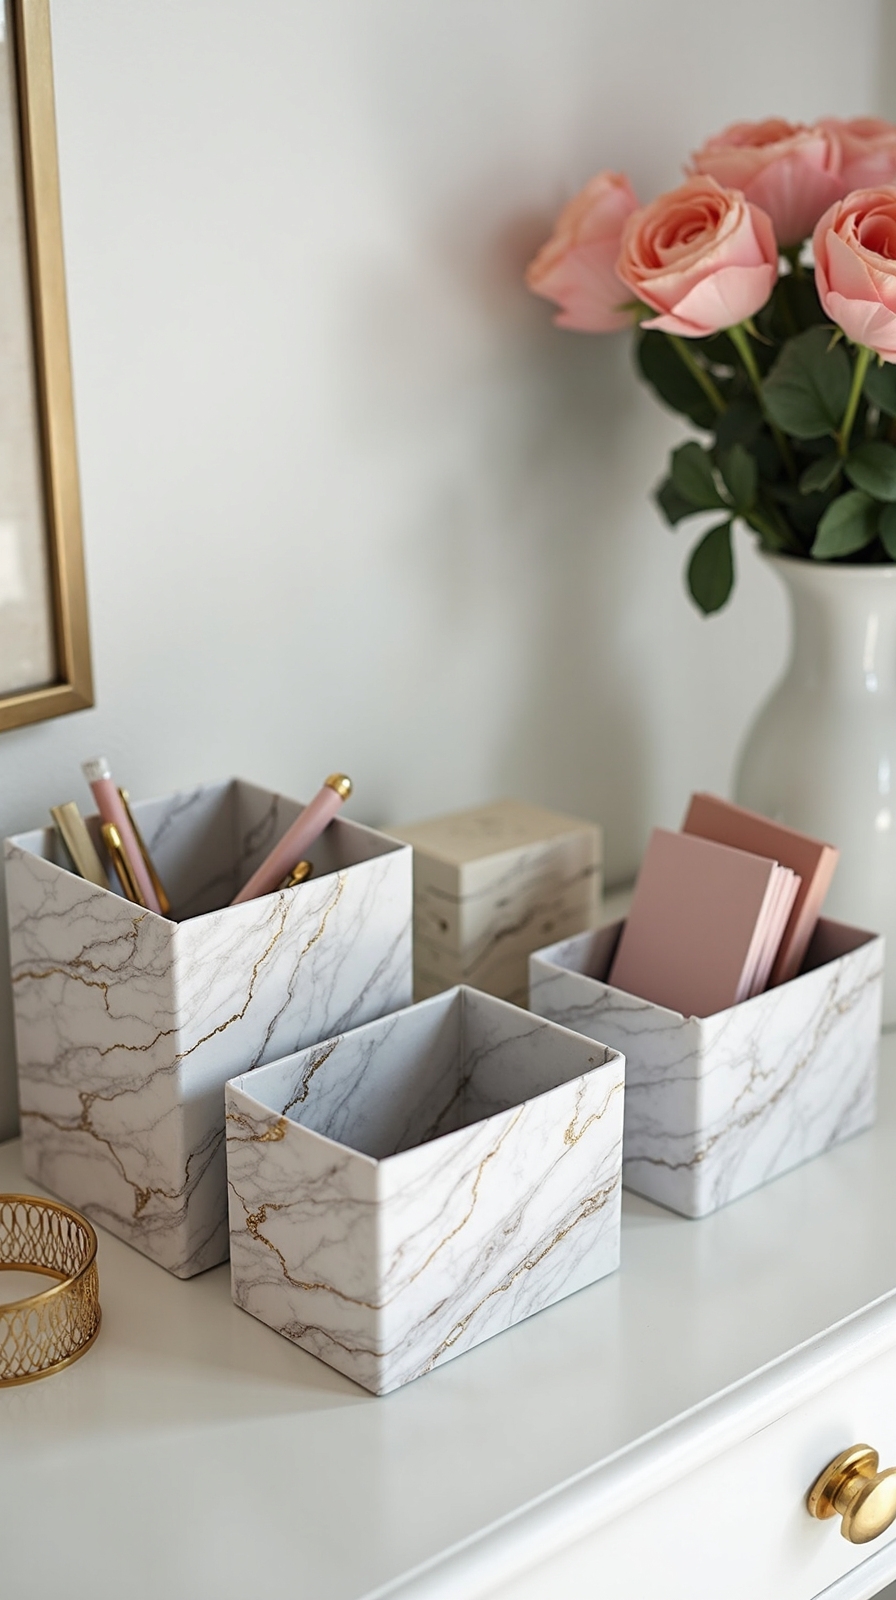
Convert empty cereal boxes into professional-looking desk organizers that rival expensive store-bought versions for pennies on the dollar. You’ll metamorphose everyday waste into sophisticated storage solutions that perfectly match your office aesthetic.
Start by cutting cereal boxes at diagonal angles to create desktop file holders, or trim them into shorter magazine organizers. Cover each box completely with decorative paper, wrapping corners like gift packages for clean edges. These upcycled organizers become instant focal points when you add personalized paper accents in coordinating patterns.
Create compartments by inserting cardboard dividers wrapped in matching paper. You can customize heights and widths to fit your specific supplies—from pens to documents. The result? Professional organization systems that cost under five dollars each while giving you complete creative control over your workspace design.
Create the Illusion of Expensive Window Treatments With Clever Tricks
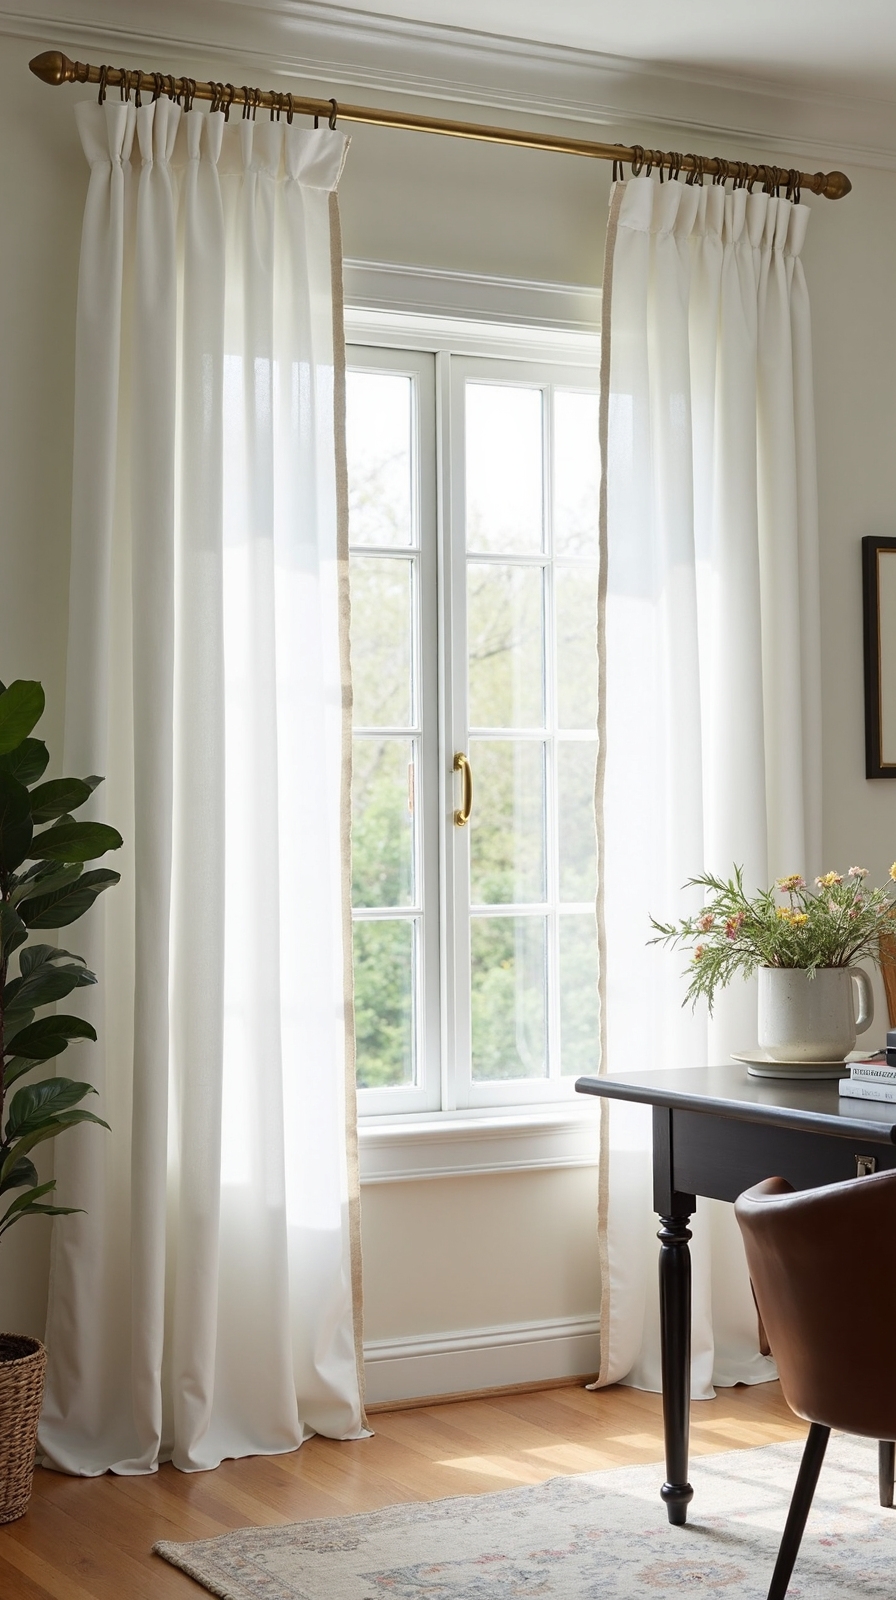
Just as custom organizers enhance your workspace storage, strategic window treatments can greatly improve your home office’s professional appearance without the designer price tag. You’ll achieve a polished look by hanging inexpensive sheer curtain panels higher and wider than your actual window frame. This simple trick creates the illusion of larger windows and grander proportions.
Transform basic curtains with custom valance treatments made from fabric remnants or repurposed materials. Mount your hardware closer to the ceiling rather than just above the window to draw the eye upward and make your space feel more expansive.
Layer different textures and heights for visual interest without spending a fortune. You can even create faux Roman shades using tension rods and coordinating fabric for that high-end custom look.
Build a Standing Desk Converter From IKEA Parts
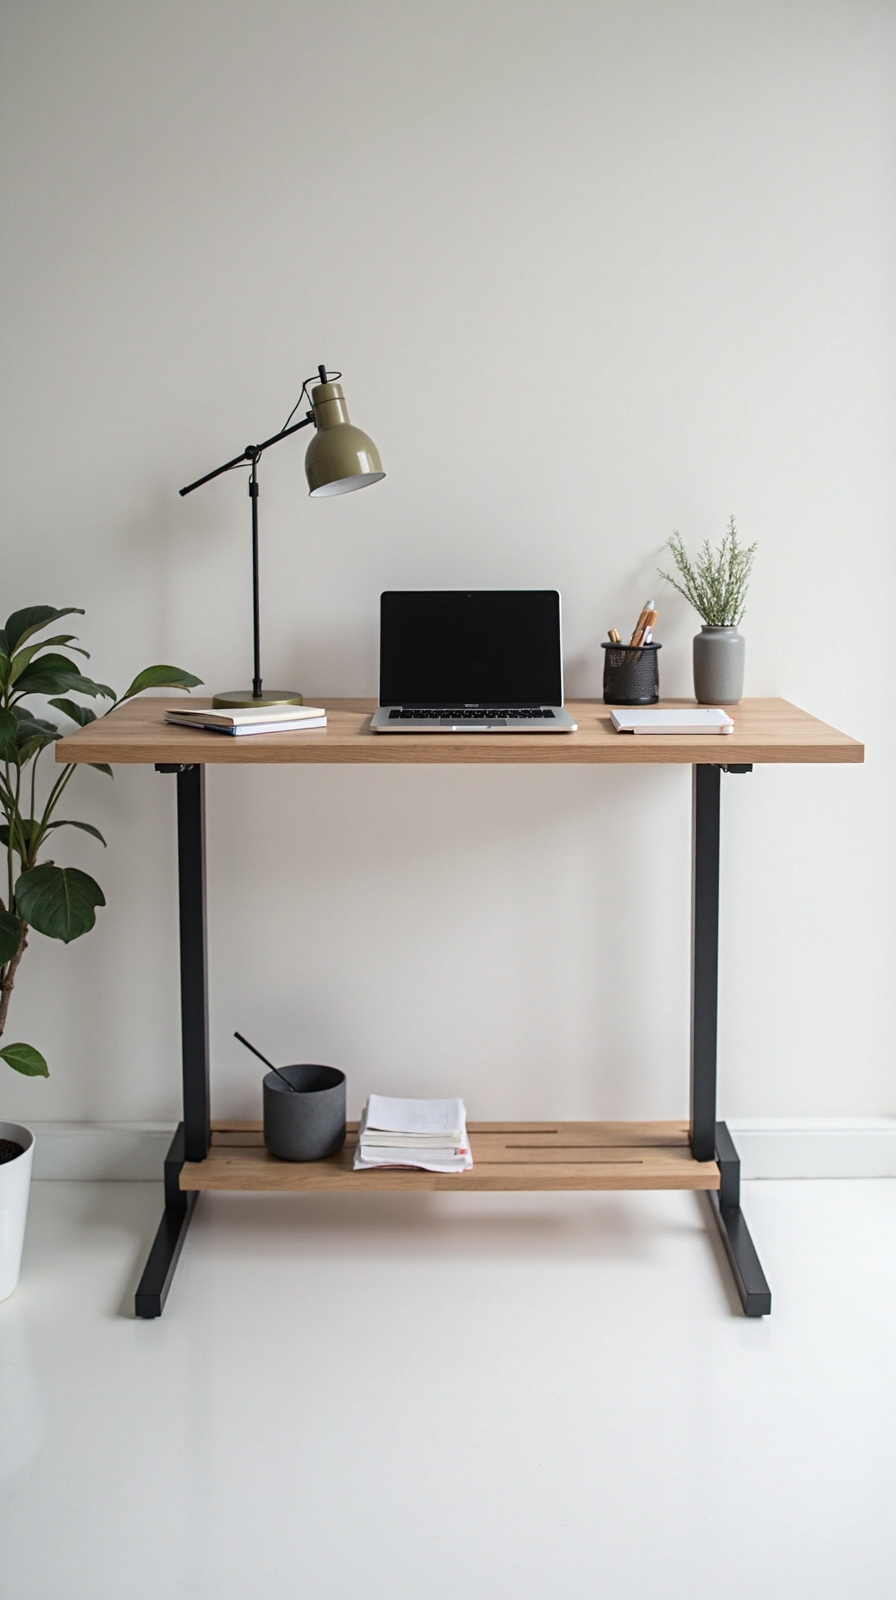
Since standing desks can cost hundreds of dollars, you’ll find that creating your own converter using affordable IKEA components offers the same ergonomic benefits at a fraction of the price. This custom IKEA desk converter gives you complete control over dimensions and functionality without breaking your budget.
Start with the BEKANT shelf unit as your foundation, then add the EKBY ALEX drawer unit for keyboard placement. Position the LACK floating shelf on top for your monitor at proper eye level. You’ll spend roughly $60 total compared to $300+ for commercial alternatives.
This budget friendly standing desk hack reshapes any existing workspace into an ergonomic powerhouse. Simply stack components to achieve your ideal standing height, then secure connections with L-brackets for stability and professional appearance.
Design a Professional Pegboard System for Under $50
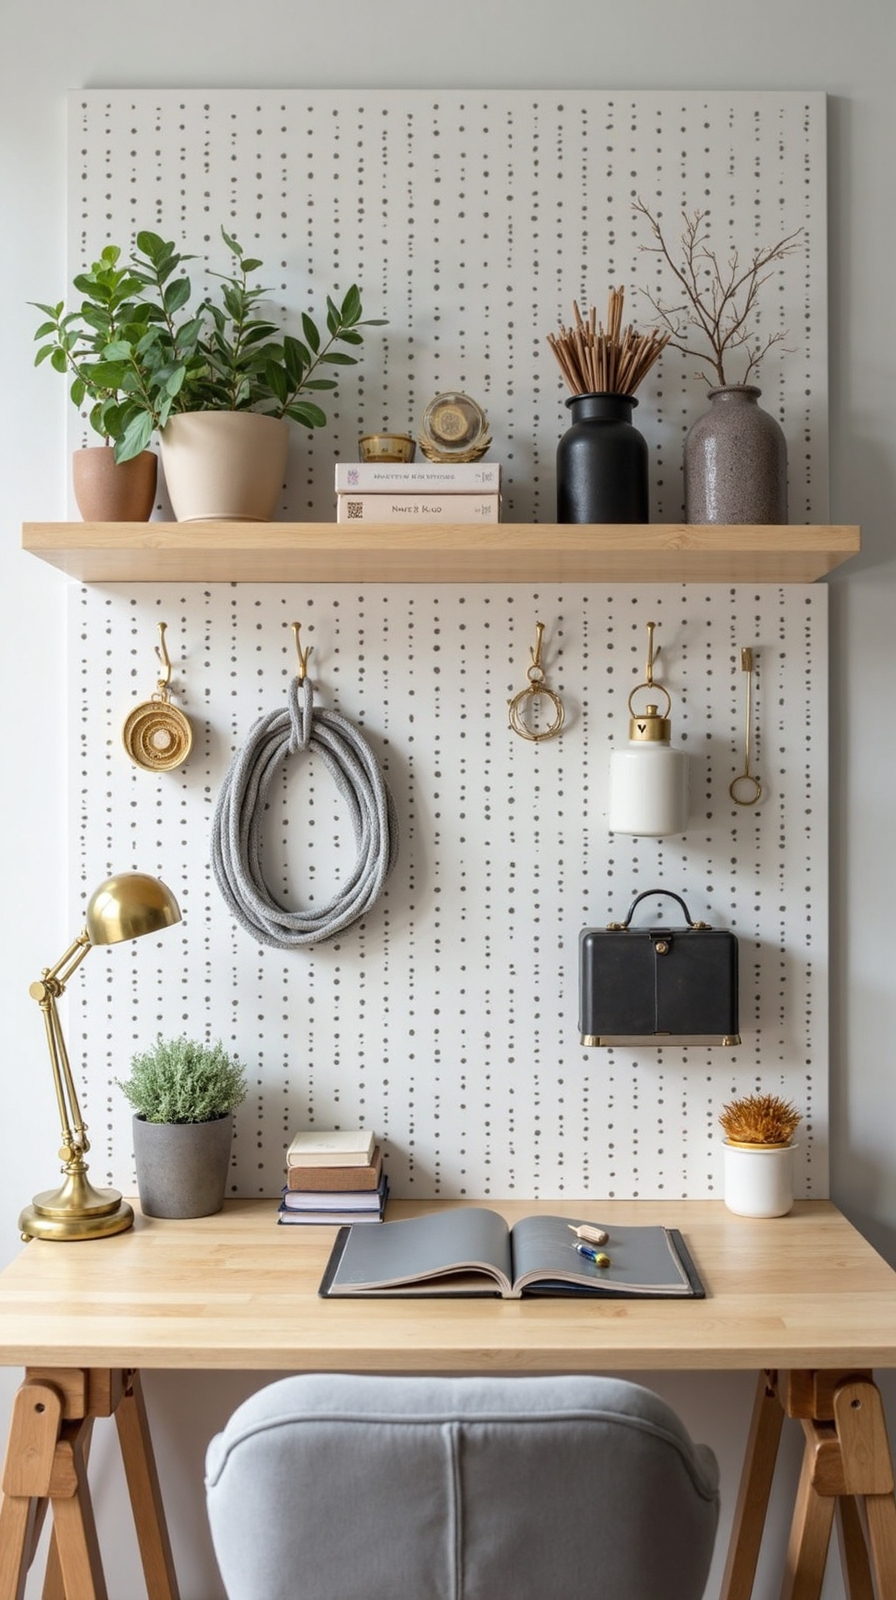
Pegboards offer exceptional workspace organization while maintaining the same budget-conscious approach that makes DIY solutions so appealing. You’ll convert any wall into a functional command center using basic materials from your local hardware store.
Start with a standard 24×48-inch pegboard panel ($15-20) and mount it securely using furring strips for proper spacing. Paint it with primer and your chosen color to match your office aesthetic perfectly.
Create your customizable pegboard layout by mapping out zones for different tools and supplies before installation. Purchase inexpensive pegboard accessories like hooks, baskets, and shelves in bulk from discount retailers or online marketplaces.
Add personal touches with small containers, cord organizers, and even smartphone holders. You’ll achieve professional organization freedom while staying well under your $50 budget limit.
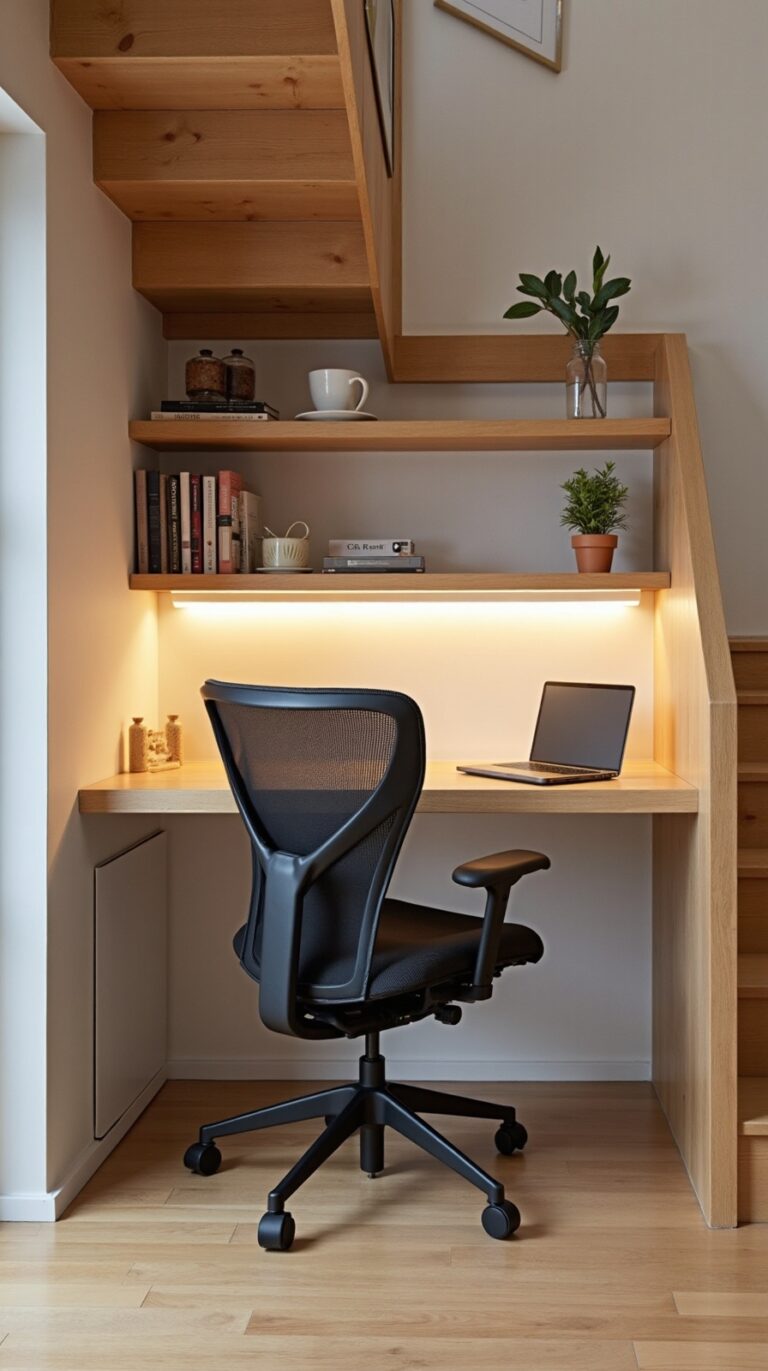
Transform a Closet Into a Sleek Office Nook
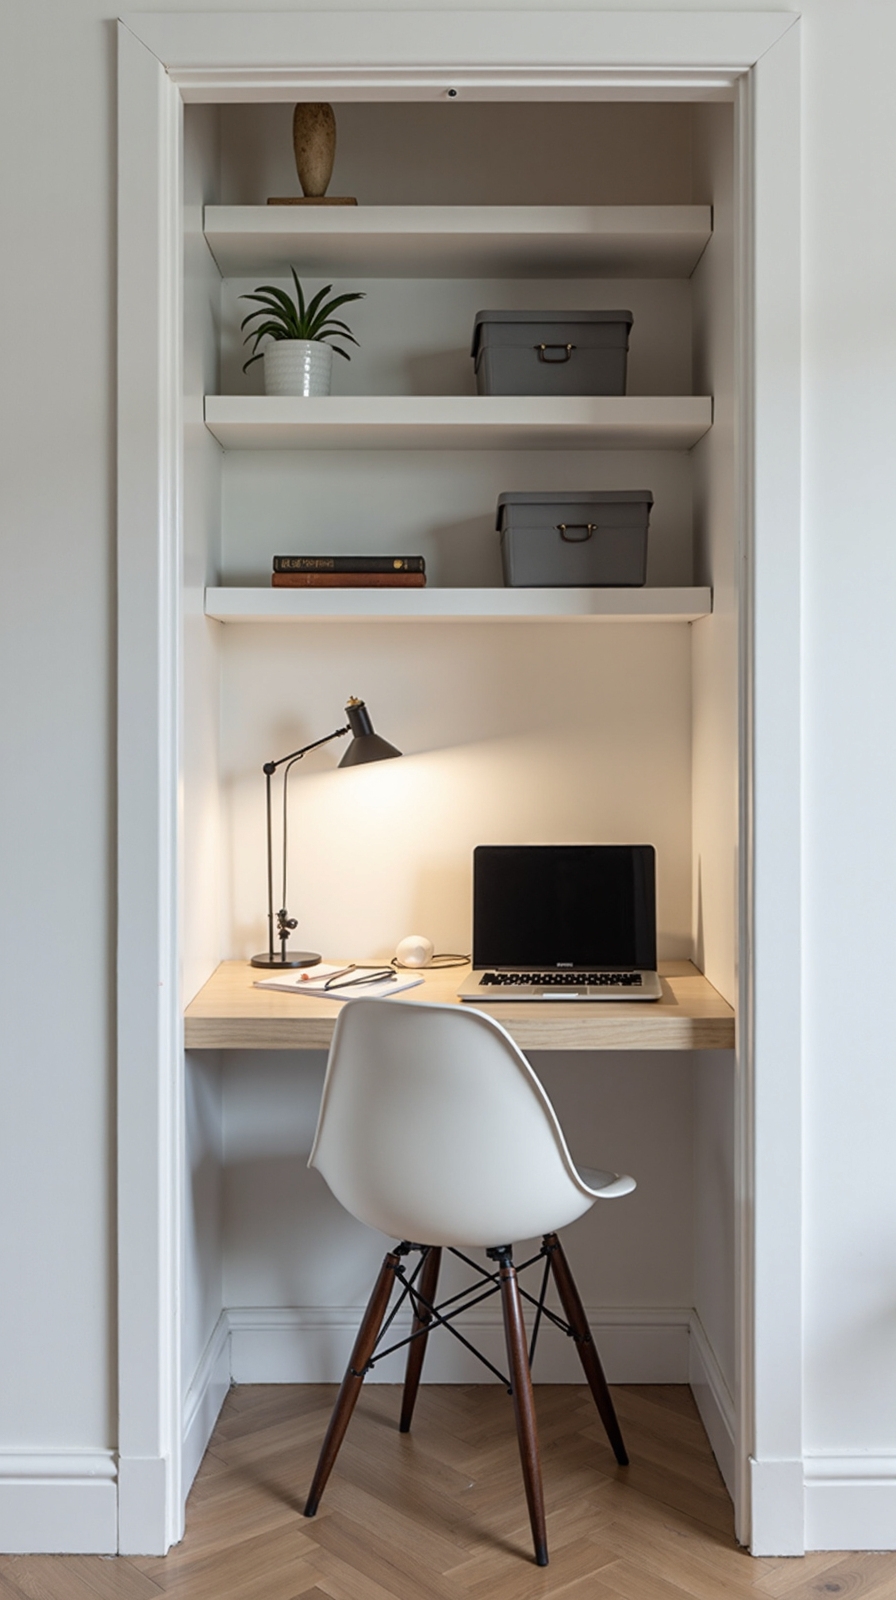
Even the smallest closet can become your dedicated workspace sanctuary with strategic planning and creative space optimization techniques. Start by removing the closet doors to create an open, integrated feel with your room’s existing design aesthetic.
Install a floating desk at the perfect height for comfortable typing and writing tasks. You’ll optimize cabinet configuration by adding slim shelving units above your workspace for storing office supplies and decorative items.
Maximize vertical storage with wall-mounted organizers, hooks, and small cubbies that keep essentials within arm’s reach. Paint the interior walls a light, energizing color to make the space feel larger and more inviting.
Add a small table lamp and consider installing a ceiling-mounted light fixture to eliminate shadows while working on important projects.
Create Custom Wall Molding Using Foam Board and Paint
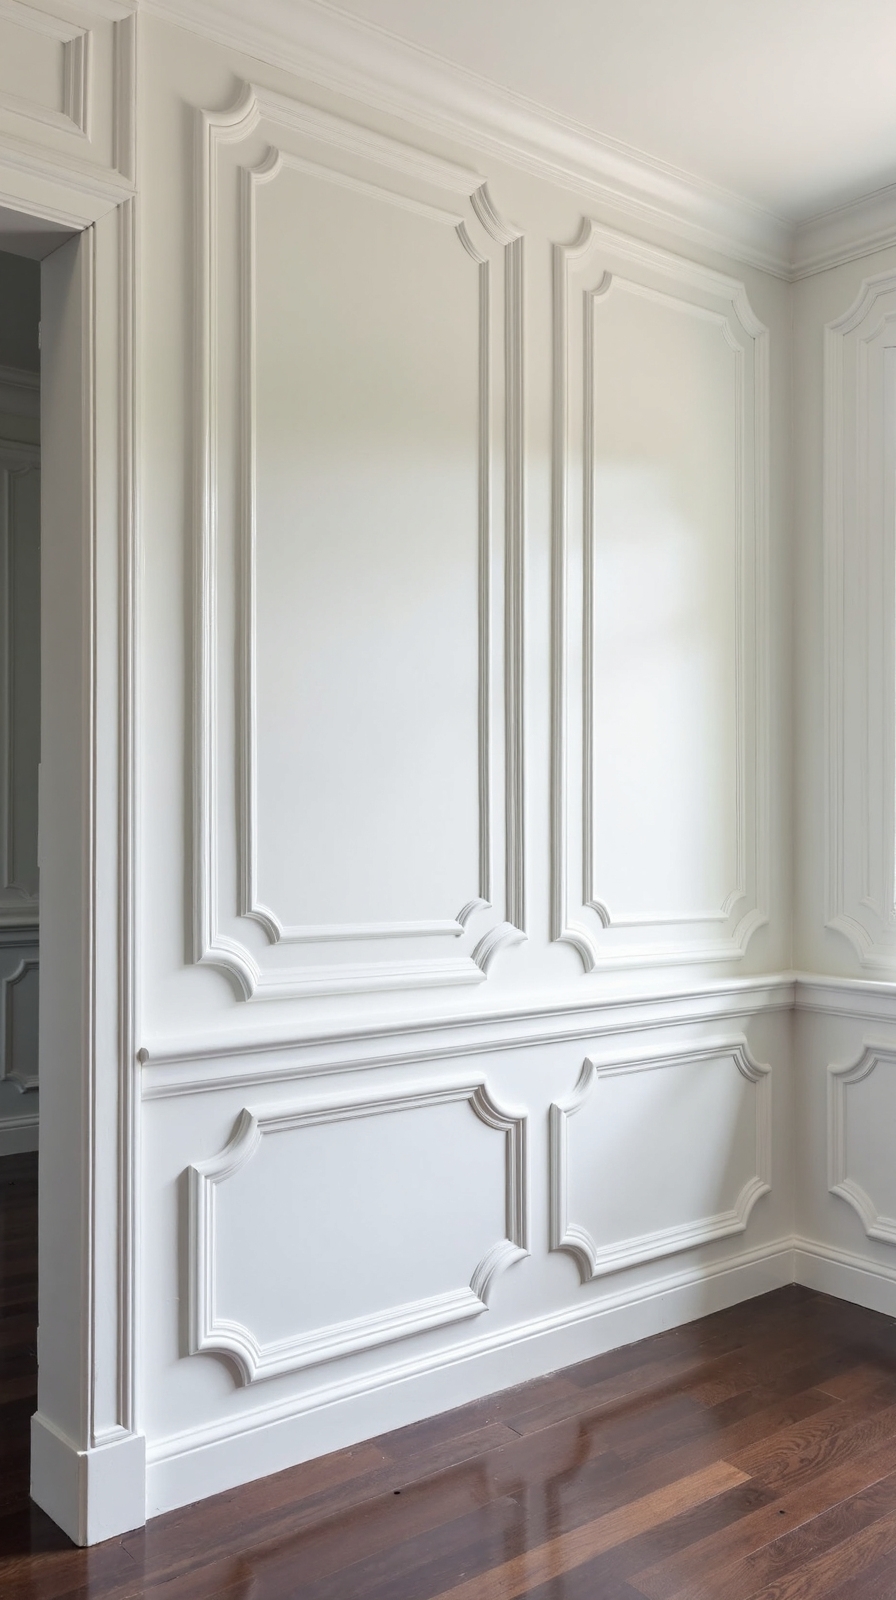
When you’re looking to add sophisticated architectural detail to your home office without the hefty price tag of traditional millwork, foam board offers an incredibly versatile and budget-friendly solution. You can create stunning wainscoting, chair rails, or decorative panels using these affordable molding materials for just a fraction of professional installation costs.
Start by measuring your wall space and sketching your desired pattern. Cut foam board into strips using a sharp utility knife, then attach pieces directly to the wall with construction adhesive. These DIY molding techniques allow you to experiment with different configurations until you achieve the perfect look.
Apply primer followed by high-quality paint in your chosen color. The finished result delivers custom millwork elegance while keeping your renovation budget completely under control.
Design a Luxury-Looking Desk Pad From Materials You Already Own
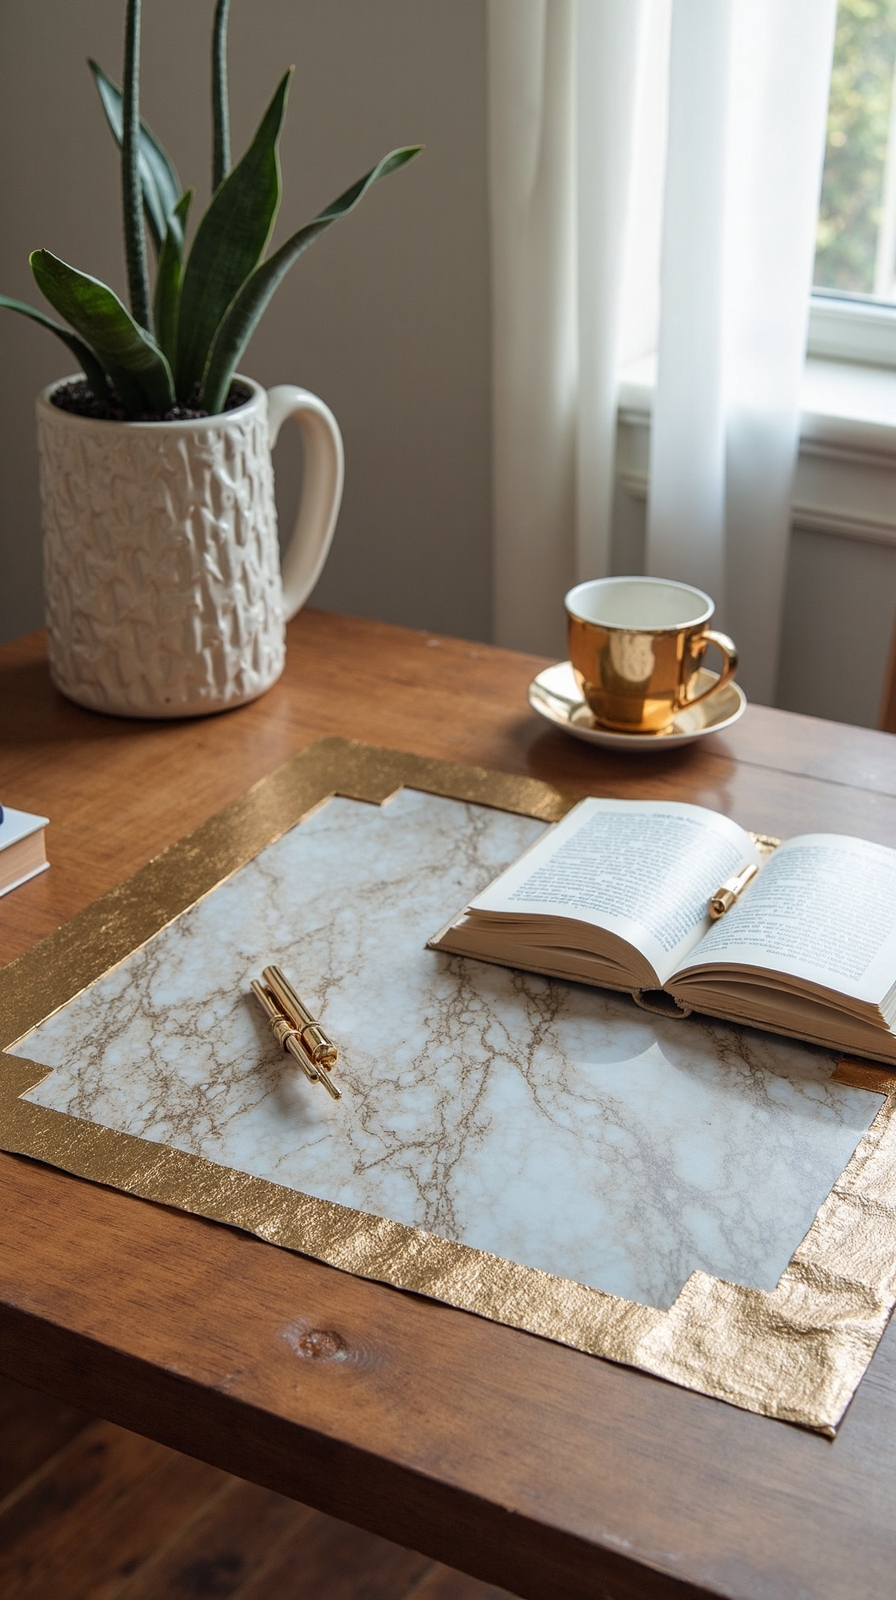
Alter ordinary household materials into a refined desk pad that rivals costly leather versions from high-end office stores. You’ll convert recycled materials repurposing into sophisticated workspace accessories without spending a dime.
Start with a large cardboard piece from shipping boxes as your base foundation. Cover it with fabric from old clothing, tablecloths, or unused curtains for texture. Stretch the material tightly around edges and secure with staples or strong tape underneath.
Create unconventional desk pads using faux leather from old purses or jackets for premium appearance. Add padding beneath using towels or foam from cushions. Finish edges with decorative ribbon or trim from craft supplies.
Your custom pad protects surfaces while adding professional polish that guests won’t believe cost nothing.
Upgrade Your Chair With Simple Reupholstering Techniques
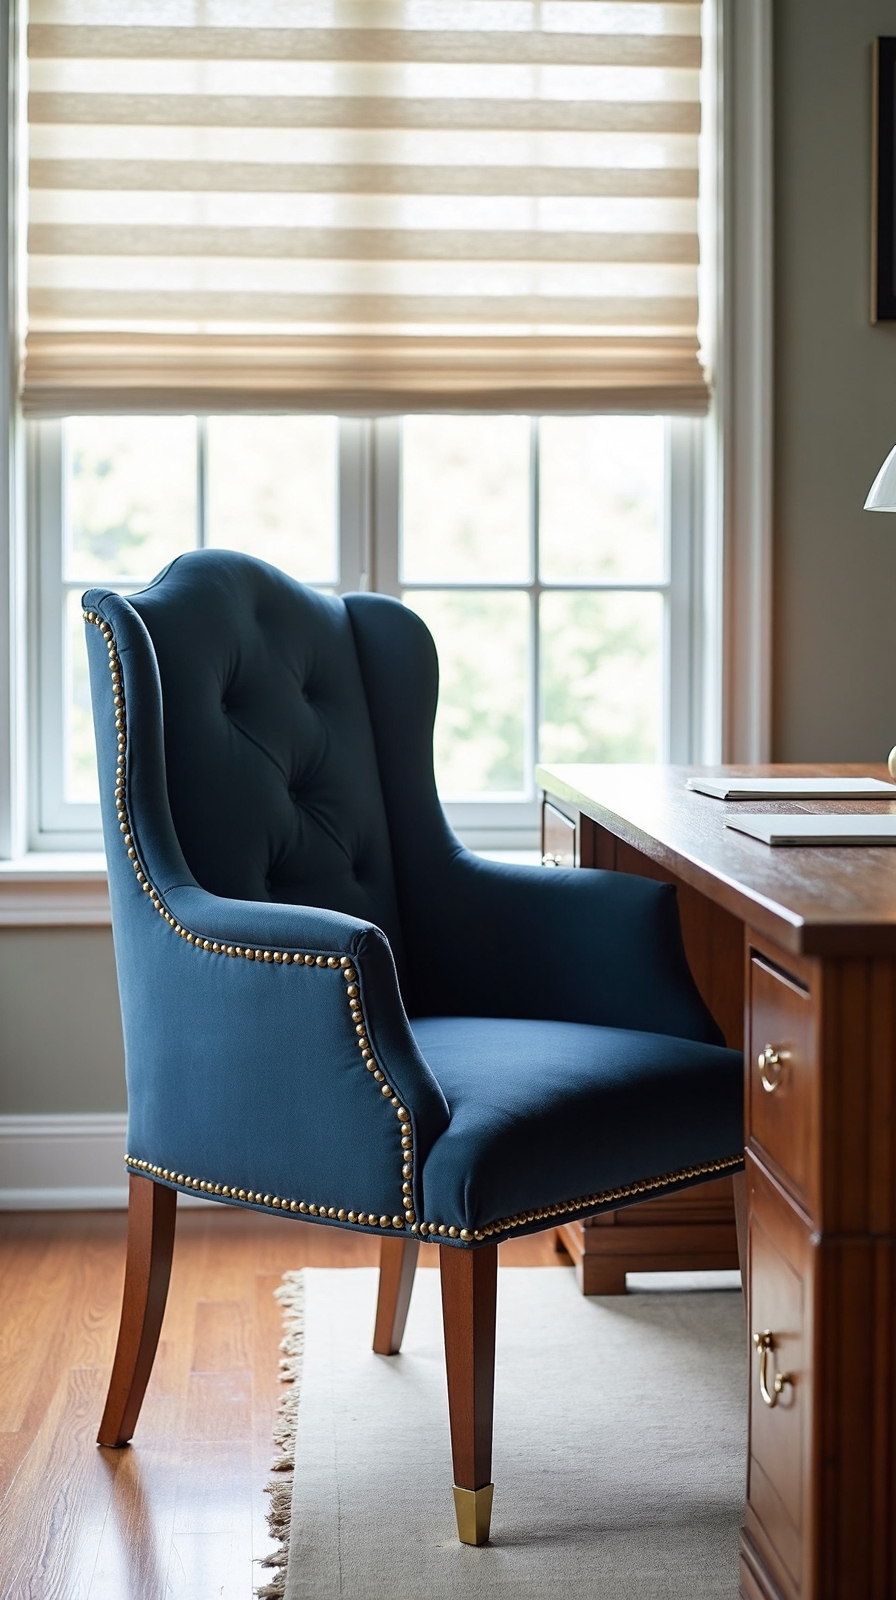
Metamorphose your worn office chair into a professional centerpiece using basic reupholstering methods that require minimal tools and experience. You’ll need fabric, scissors, a staple gun, and screwdriver to remove the seat cushion from its base.
Start by carefully removing old fabric, preserving it as your cutting template. Raid your fabric stash for reusable fabric scraps from previous projects, or repurpose quality materials like canvas drop cloths. Cut new fabric two inches larger than your template on all sides.
Position fabric face-down, center the cushion, and pull fabric taut while stapling every two inches. Focus corners first, creating clean folds. Reattach using salvaged hardware from the original assembly. This twenty-dollar transformation rivals expensive ergonomic chairs while expressing your personal style.
Conclusion
You’ve got everything you need to create a stunning home office without spending a fortune. These budget-friendly techniques prove that professional aesthetics don’t require professional prices. Start with one or two projects that excite you most, then gradually build your dream workspace. With creativity and determination, you’ll metamorphose any space into a polished office that rivals expensive designer setups while staying within your budget constraints.