
Have you ever wondered what to do with those banana peels and coffee grounds that end up in your trash? I’m excited to tell you that composting is your answer! It’s like cooking up a magical soil recipe where your kitchen scraps and yard waste convert, metamorphose, or transmute into gardening gold. You’ll be amazed at how simple it is to start your own compost pile, even if you’re new to gardening. Trust me, once you see how your plants thrive with this homemade superfood, you’ll wonder why you didn’t start sooner.
Understanding the Basics of Composting

While many new gardeners might feel intimidated by composting, I promise it’s one of the most rewarding gardening skills you’ll ever learn!
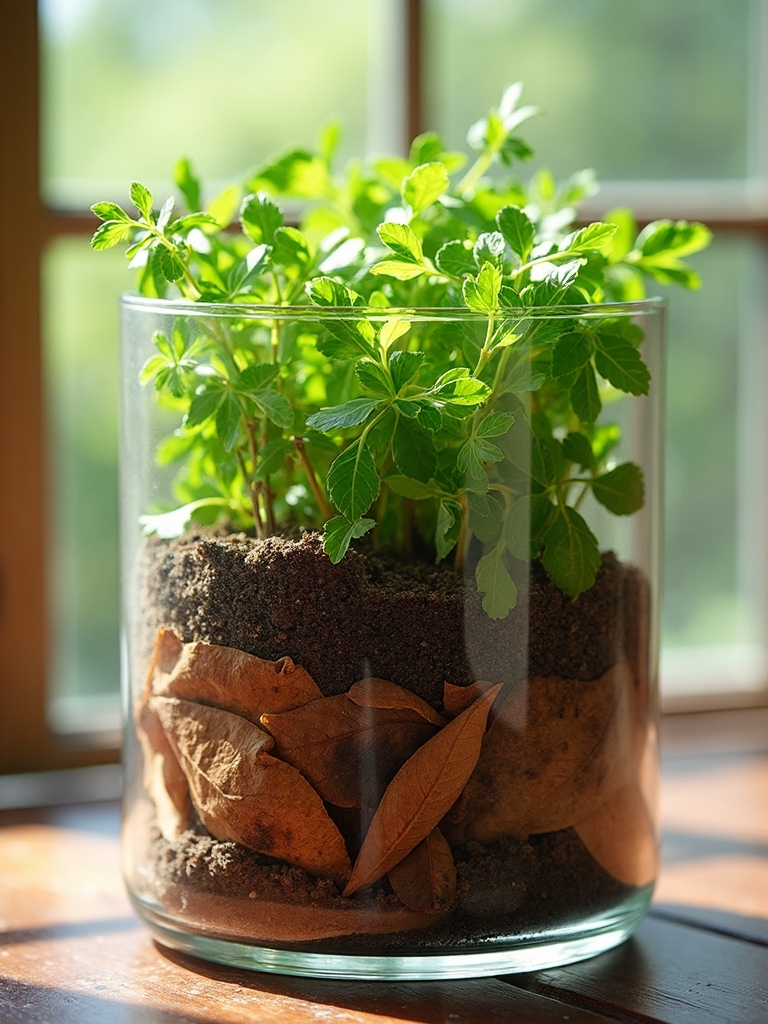
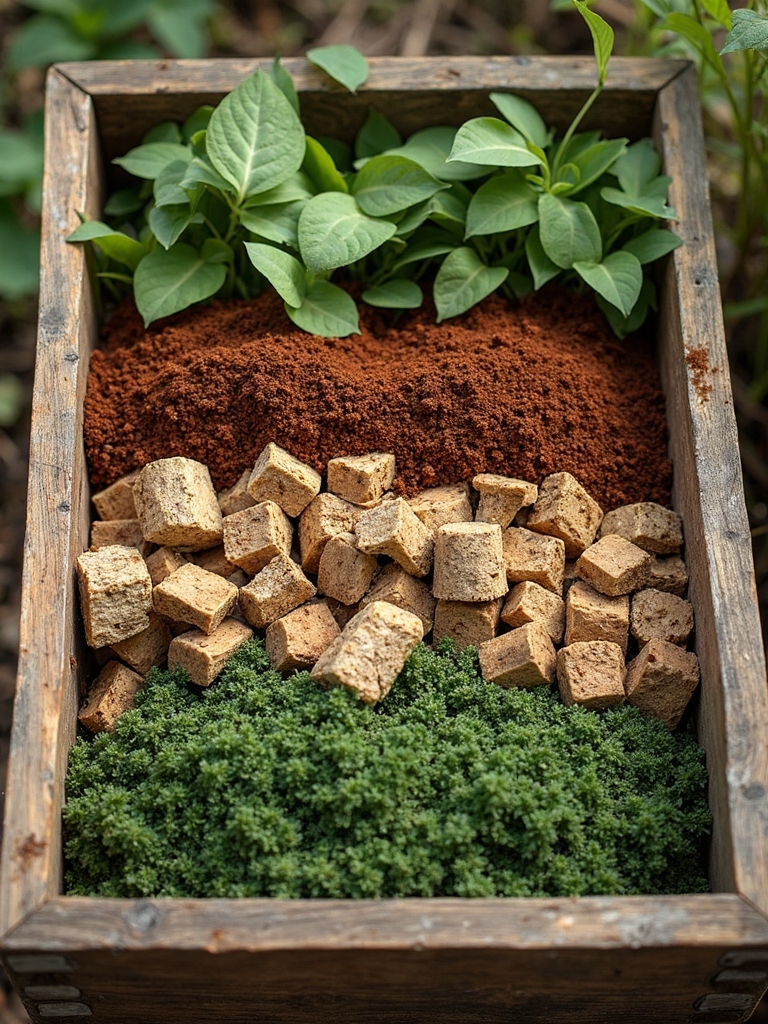
At its heart, composting is simply nature’s recycling system. You’ll create a pile where organic materials decompose. The secret is balancing “brown” carbon-rich materials (like leaves) with “green” nitrogen-rich materials (like kitchen scraps). It’s like making a delicious soil sandwich!
The Science Behind Decomposition
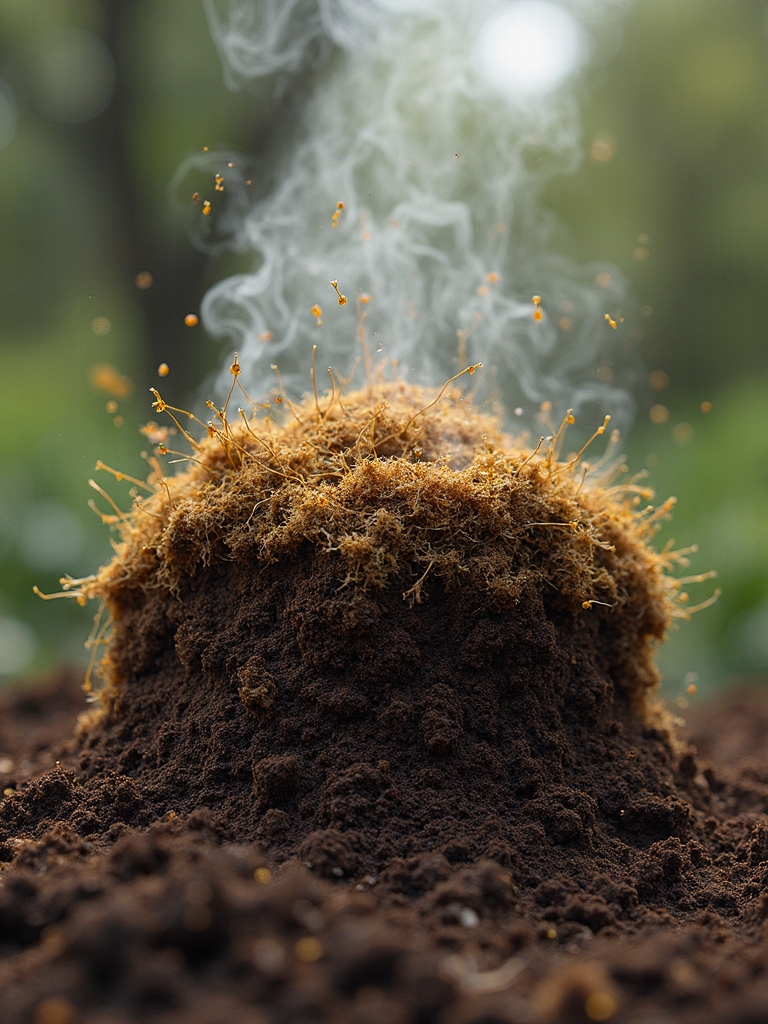
Although composting may seem like magic, there’s actually fascinating science happening inside your compost pile! Your organic matter breaks down thanks to hardworking microorganisms that thrive in specific conditions.
I’ve found that maintaining proper temperature, moisture, and aeration creates the perfect environment for these tiny decomposers. They convert kitchen scraps and yard waste into nutrient-rich soil that your plants will love!
Hot vs. Cold Composting Methods
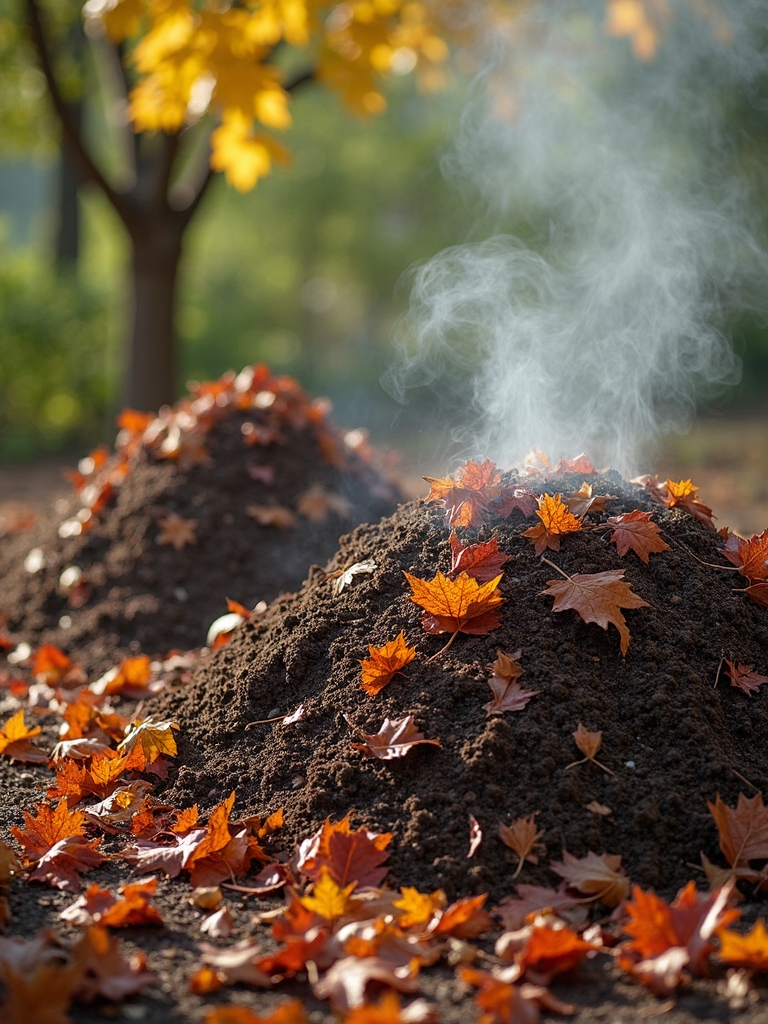
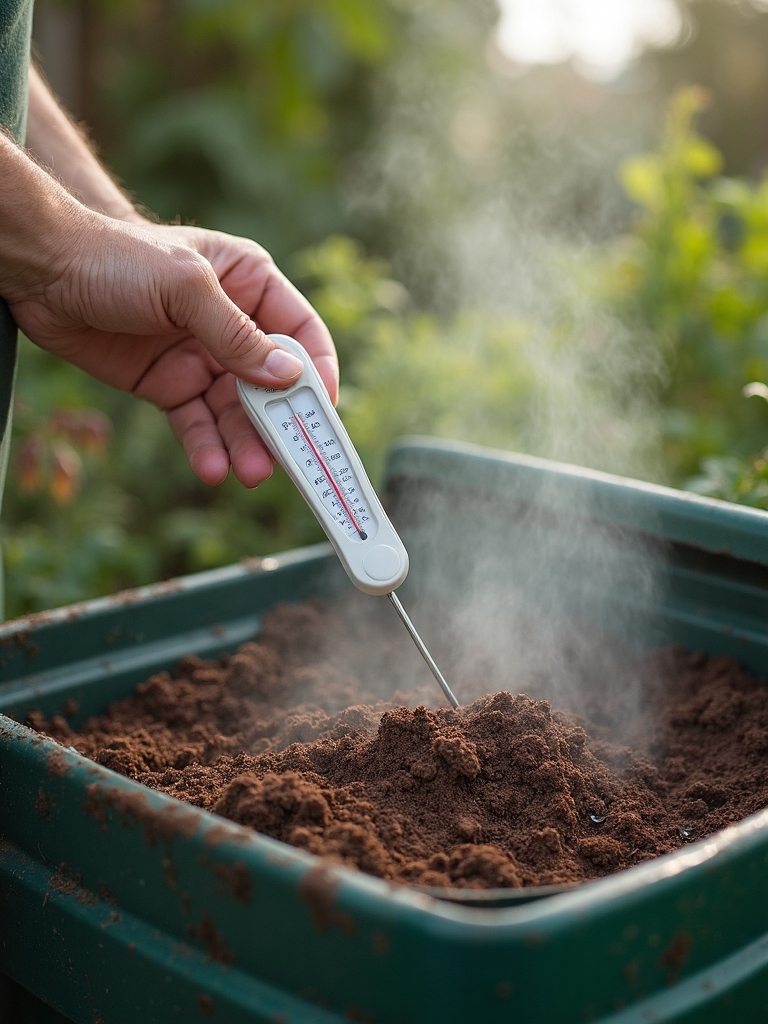
Depending on your gardening goals and lifestyle, you’ll need to choose between hot or cold composting methods. Hot composting works faster (2-4 months) by combining nitrogen, carbon, air, and water at 130-150°F. You’ll need to keep turning the pile regularly.
Cold composting is perfect if you’re patient—just add yard waste occasionally and wait about a year. No rush, no fuss!
Setting Up Your First Compost Pile
Once you’ve decided between hot and cold composting, it’s time to create your first pile—I’m so excited for you to start this rewarding project!
Choose a compost bin that fits your garden space, and place it somewhere with good drainage. Mix your kitchen scraps (green materials) with dried leaves or shredded paper (brown materials) in a 1:3 ratio.
Keep your plant-feeding factory moist and turn it weekly!
Green and Brown Materials: Finding the Right Balance
When I first started composting, I quickly learned that creating the perfect compost is like baking a cake—you need the right ingredients in the right proportions!
You’ll want to make a pile with three parts brown to one part green materials. Keep the pile moist, turn it regularly with a compost thermometer handy, and you’ll soon have rich compost tea to feed your plants!
What to Add to Your Compost Bin
Every successful compost pile begins with the right ingredients! I’ve found that mixing kitchen scraps and yard waste creates composting magic.
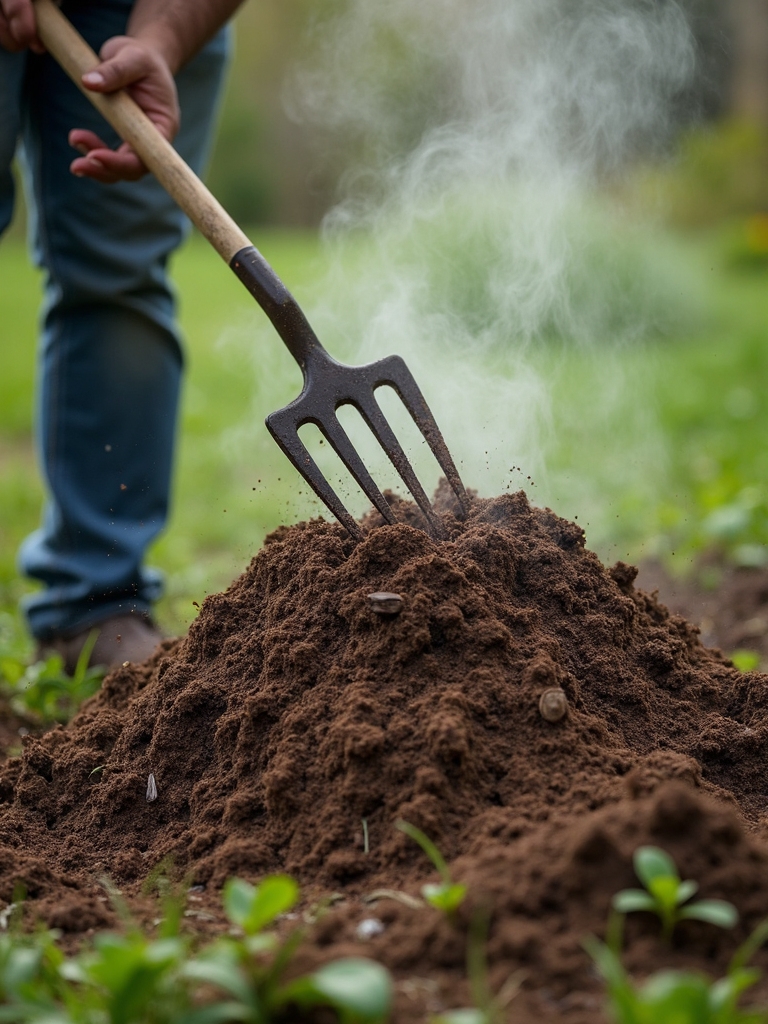
You’ll want to add food scraps like vegetable peels, coffee grounds, and fruit cores along with dry leaves at a 3:1 ratio. Turn everything with your garden fork, and sprinkle in some compost starter to jumpstart decomposition. Trust me, your organic materials will metamorphose beautifully!
Materials to Keep Out of Your Compost

While creating rich, nutritious compost is exciting, not everything from your kitchen or yard belongs in your bin! Unlike egg shells, which are great additions, meat scraps will attract pests and smell bad.
Keep pet waste out too—it harbors harmful pathogens. Diseased plant material can spread problems to your garden, while treated lumber and glossy papers release toxins. Trust me, your compost pile will thank you!
DIY Compost Bin Options for Every Space
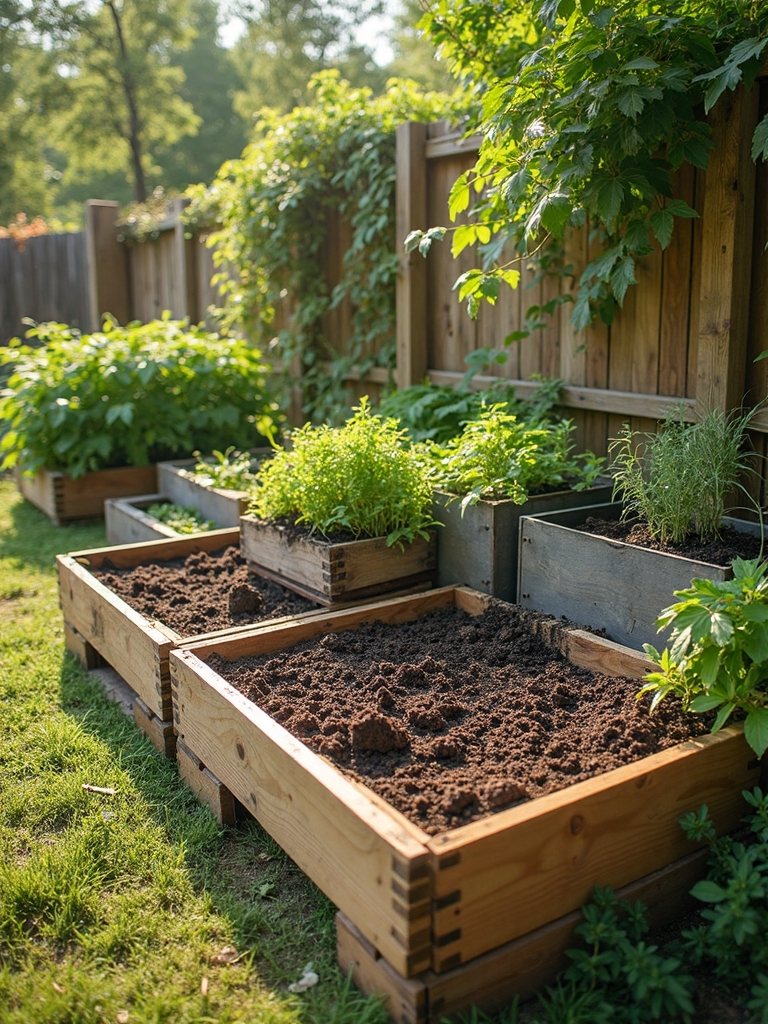
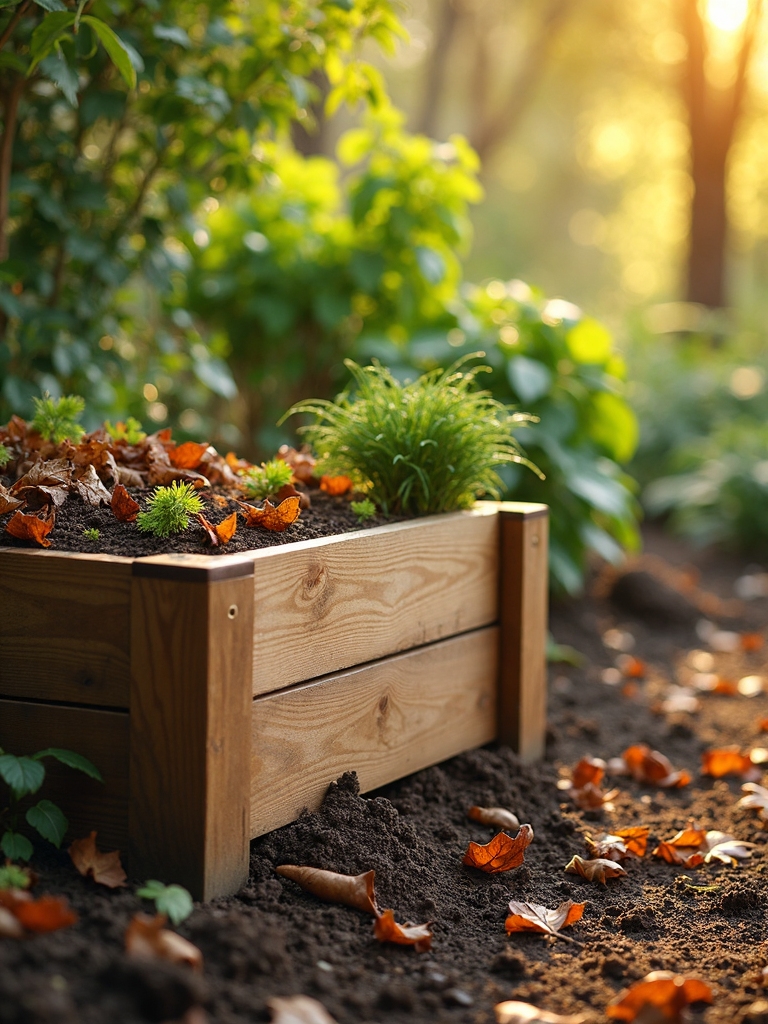
You can set up a compost system no matter where you live! Whether you need a small counter-top bin for apartment living or larger compost piles for your backyard, I’ve got you covered.
Plastic and wooden compost bins provide excellent air circulation for organic waste, speeding up decomposition during the growing season. Wire mesh options are budget-friendly too! Your healthy soil and finished compost await—your plants will thank you!
Maintaining Moisture and Aeration
The perfect compost pile feels exactly like a damp sponge—not too wet, not too dry! You’ll need to balance both air and water to guarantee proper decomposition.
Use a compost aerator to introduce oxygen by turning your pile every 1-2 weeks. Monitor the temperature of your compost—it should be high enough (130-150°F) to prevent rodents while providing you everything you need for rich, earthy gold!
Troubleshooting Common Composting Problems
Even the most attentive composters face challenges now and then! If you’re noticing unpleasant odors, that’s your compost’s way of saying it needs help—likely too much moisture or an imbalance.
Plants need that perfectly decomposed organic material, which is gold for compost! To speed up the composting on a smaller scale, turn your pile every week and bury fresh plant scraps to deter pests.
One simple fix for wet, slimy compost? Add more browns!
Harvesting and Using Your Finished Compost
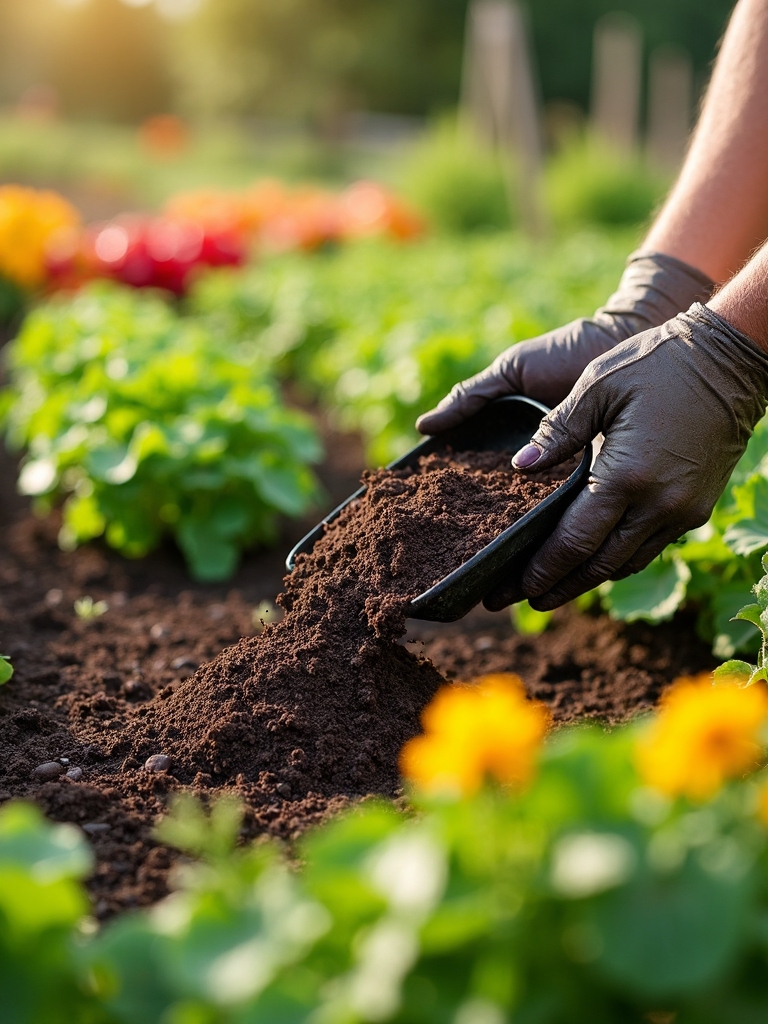
After months of patience and care, your reward awaits in the form of dark, crumbly goodness that gardeners often call “black gold.” Recognizing when your compost is ready couldn’t be simpler—it’ll look like rich chocolate cake soil, smell earthy and sweet (nothing like the original scraps), and feel light and fluffy between your fingers.
You can use compost in your vegetable garden by mixing 2-4 inches into each square foot of soil. Earthworms and other soil creatures will celebrate your addition! Top-dress your lawn, create compost “tea” from kitchen waste, or blend it into potting mix for houseplants.
Seasonal Composting Tips and Techniques
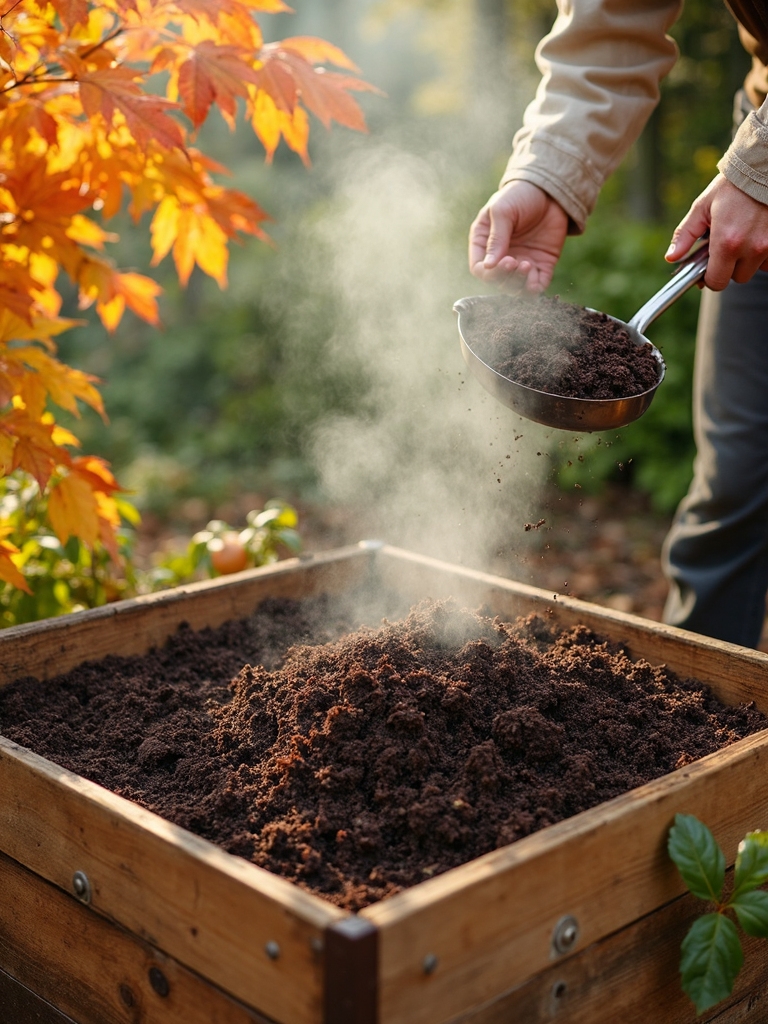
Seasons dramatically affect your composting expedition, each bringing its own challenges and opportunities.
During winter, composting requires patience as materials decompose without the summer speed. Keep your pile insulated with straw and turn it monthly. Mix one part grass clippings with extra browns in cold weather.
How long does it take? Longer in winter! But don’t worry—you can still add organic materials year-round.
Frequently Asked Questions
How Do Beginners Start Composting?
To start composting, choose a bin that fits your space, layer brown and green materials (3:1 ratio), maintain proper moisture, guarantee airflow by turning regularly, and troubleshoot issues like odor by adjusting your material balance.
What Is the First Rule of Composting?
The first rule of composting is maintaining a proper 30:1 carbon-to-nitrogen ratio. You’ll need to balance “brown” and “green” composting materials for ideal decomposition temperature, moisture content, aeration, and odor control during the composting process.
What Are the 5 Easy Steps in Composting?
The 5 easy steps in composting are: selecting materials in 3:1 brown-to-green ratio, creating layers, maintaining moisture, turning regularly for aeration, and monitoring temperature until you can employ the dark, crumbly end product for your garden.
Do and Don’ts of Composting?
Do add green waste materials and household compost items, maintain carbon to nitrogen ratio, guarantee proper aeration techniques, manage moisture levels, and maintain your compost bin. Don’t include meat, dairy, or pet waste in food waste decomposition.
Conclusion
You’re now ready to start your composting process! I’ve been amazed at how my garden evolved once I began feeding it homemade compost. It’s like cooking up a gourmet meal for your plants! Remember, composting isn’t rocket science—it’s just giving nature a helping hand. Start small, be patient, and soon you’ll have black gold that your garden will thank you for. Happy composting!